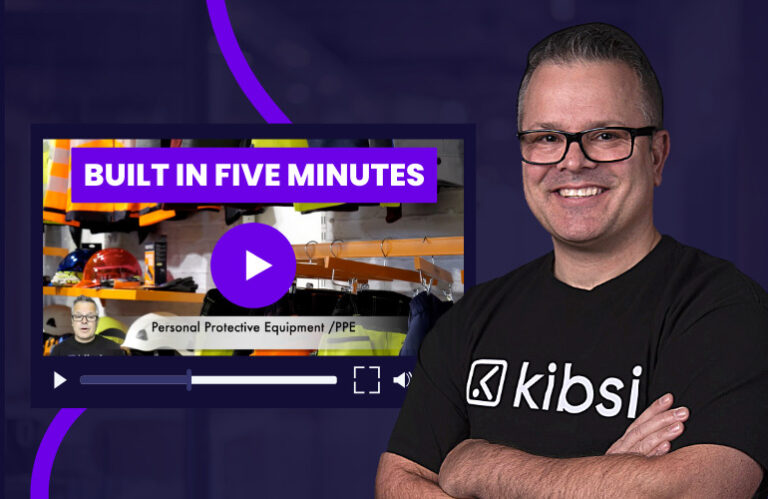
Hi, I’m Eric Miller from Kibsi and I’ve just launched a new video series called: “Built in 5 Minutes.” In each episode, I’ll pick a real-world business problem and show you how you can solve it using computer vision on the Kibsi computer vision platform. This week I’ll walk you through how to detect Personal Protective Equipment (PPE) with computer vision.
Video transcription:
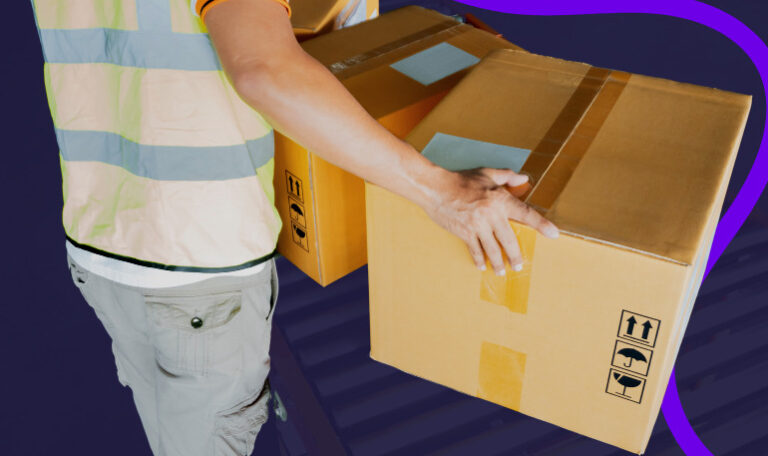
If you’re in manufacturing, warehouse, supply chain, or any related industry, then you know the proper use of Personal Protective Equipment, or PPE, is important for worker safety. But how do you ensure that PPE is being used properly by everyone, everywhere, all the time? And how can you track PPE usage? I’ll walk you through it from start to finish in about five minutes on Kibsi.
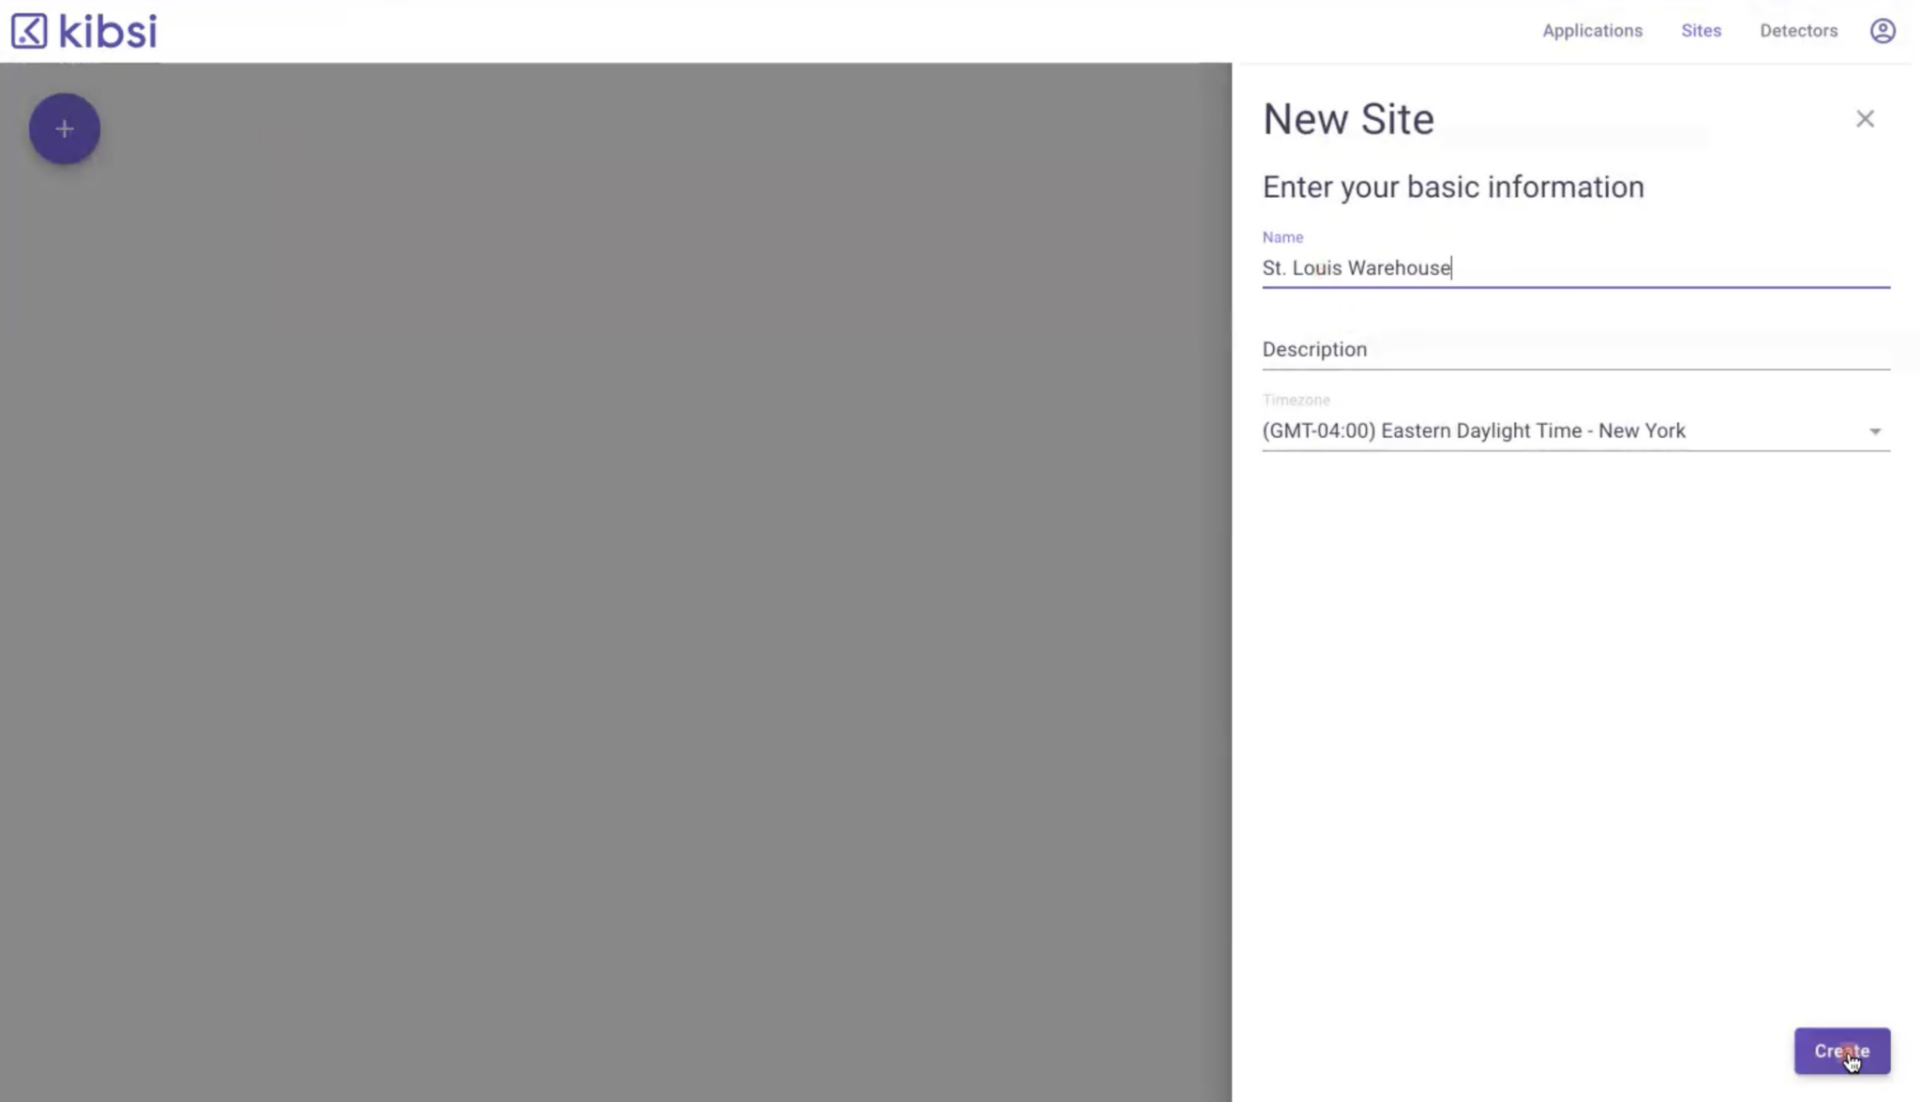
Let’s get started with today’s problem and build a Kibsi application to monitor the use of personal protective equipment. Now, if you don’t already have a Kibsi account, you can register for a free trial at www.kibsi.com just by clicking the ‘Get Started’ button, then go ahead and log in. First, let’s create a site. For this example, let’s say we want to monitor PPE usage on one of the loading docks of our St. Louis Warehouse. So, we’ll go ahead and name our site ‘St. Louis Warehouse’ and click ‘create.’
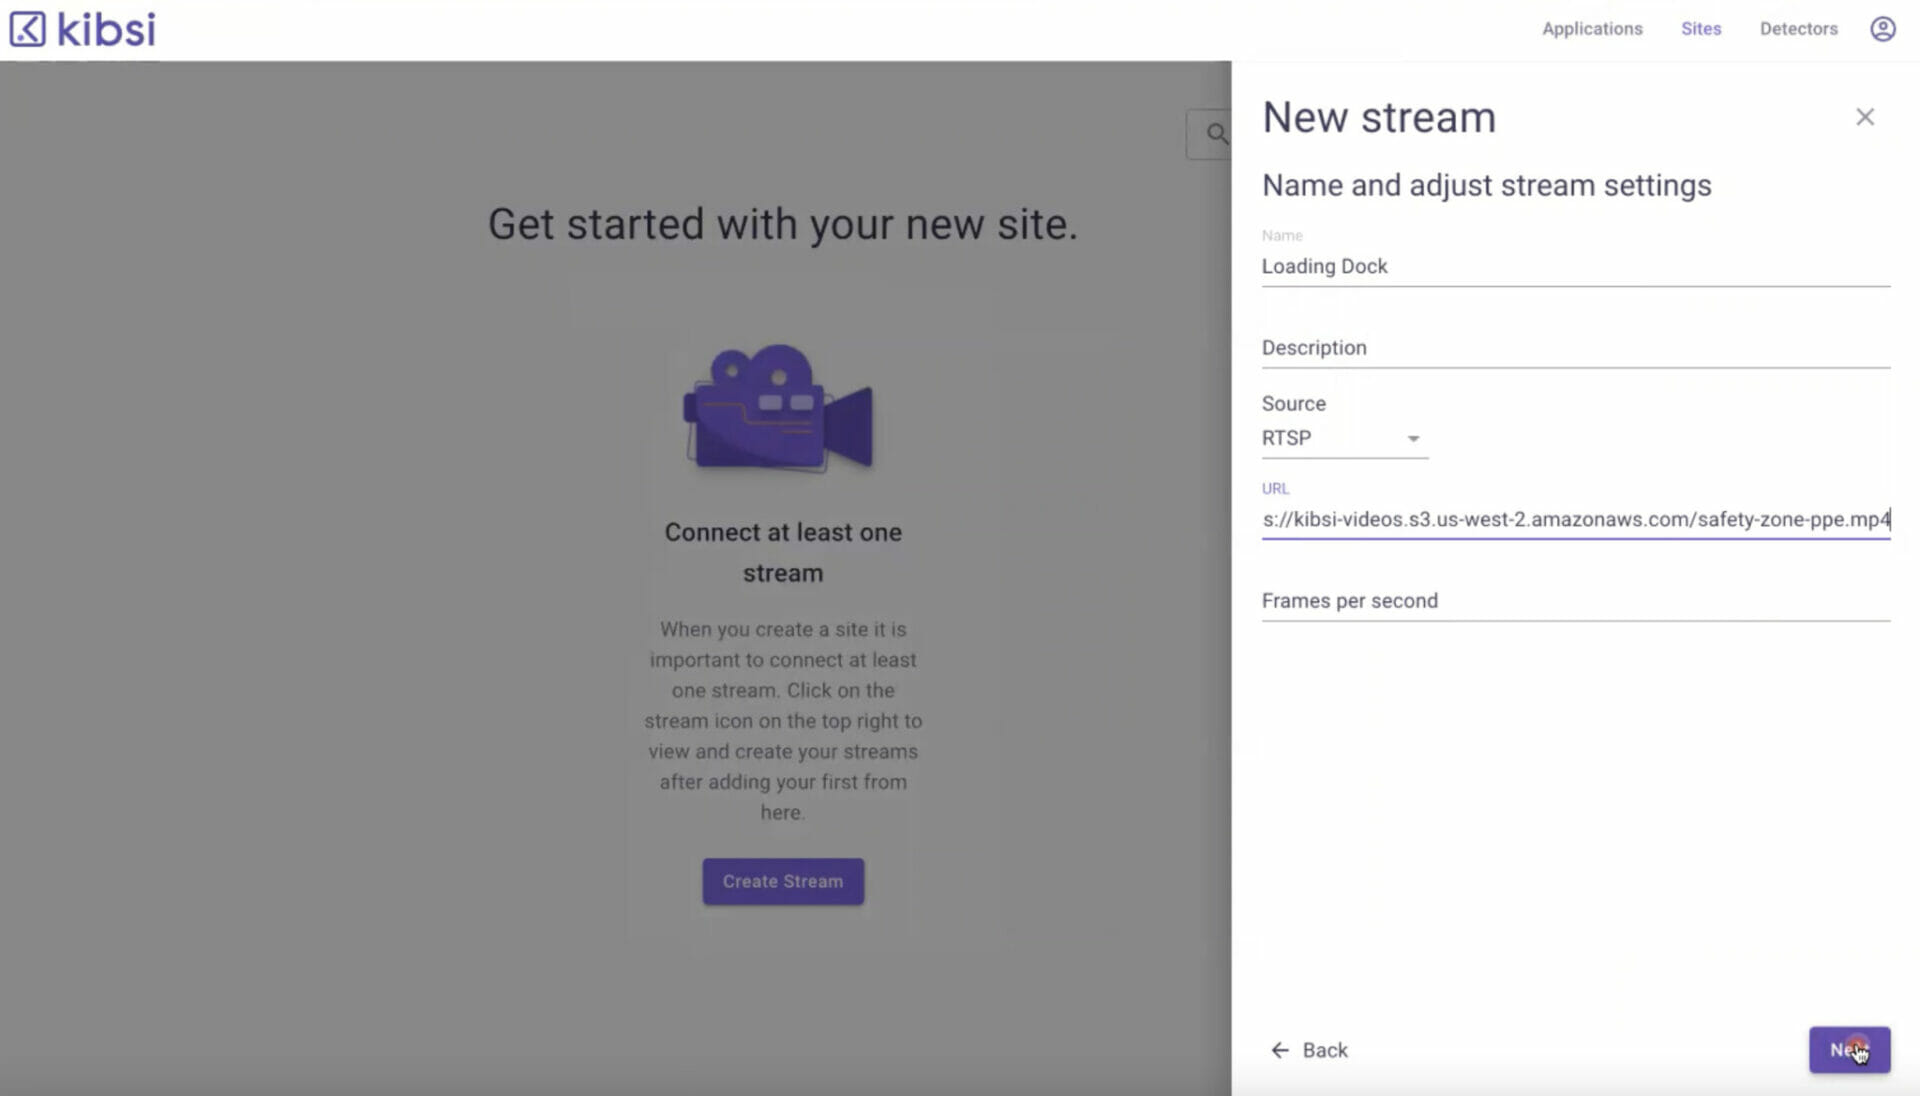
Now, a site in Kibsi can contain any number of camera streams, but we need at least one to test our application. So, let’s go ahead and create our camera stream, provide the URL of the IP security camera that we already have out on the loading dock, and click ‘next.
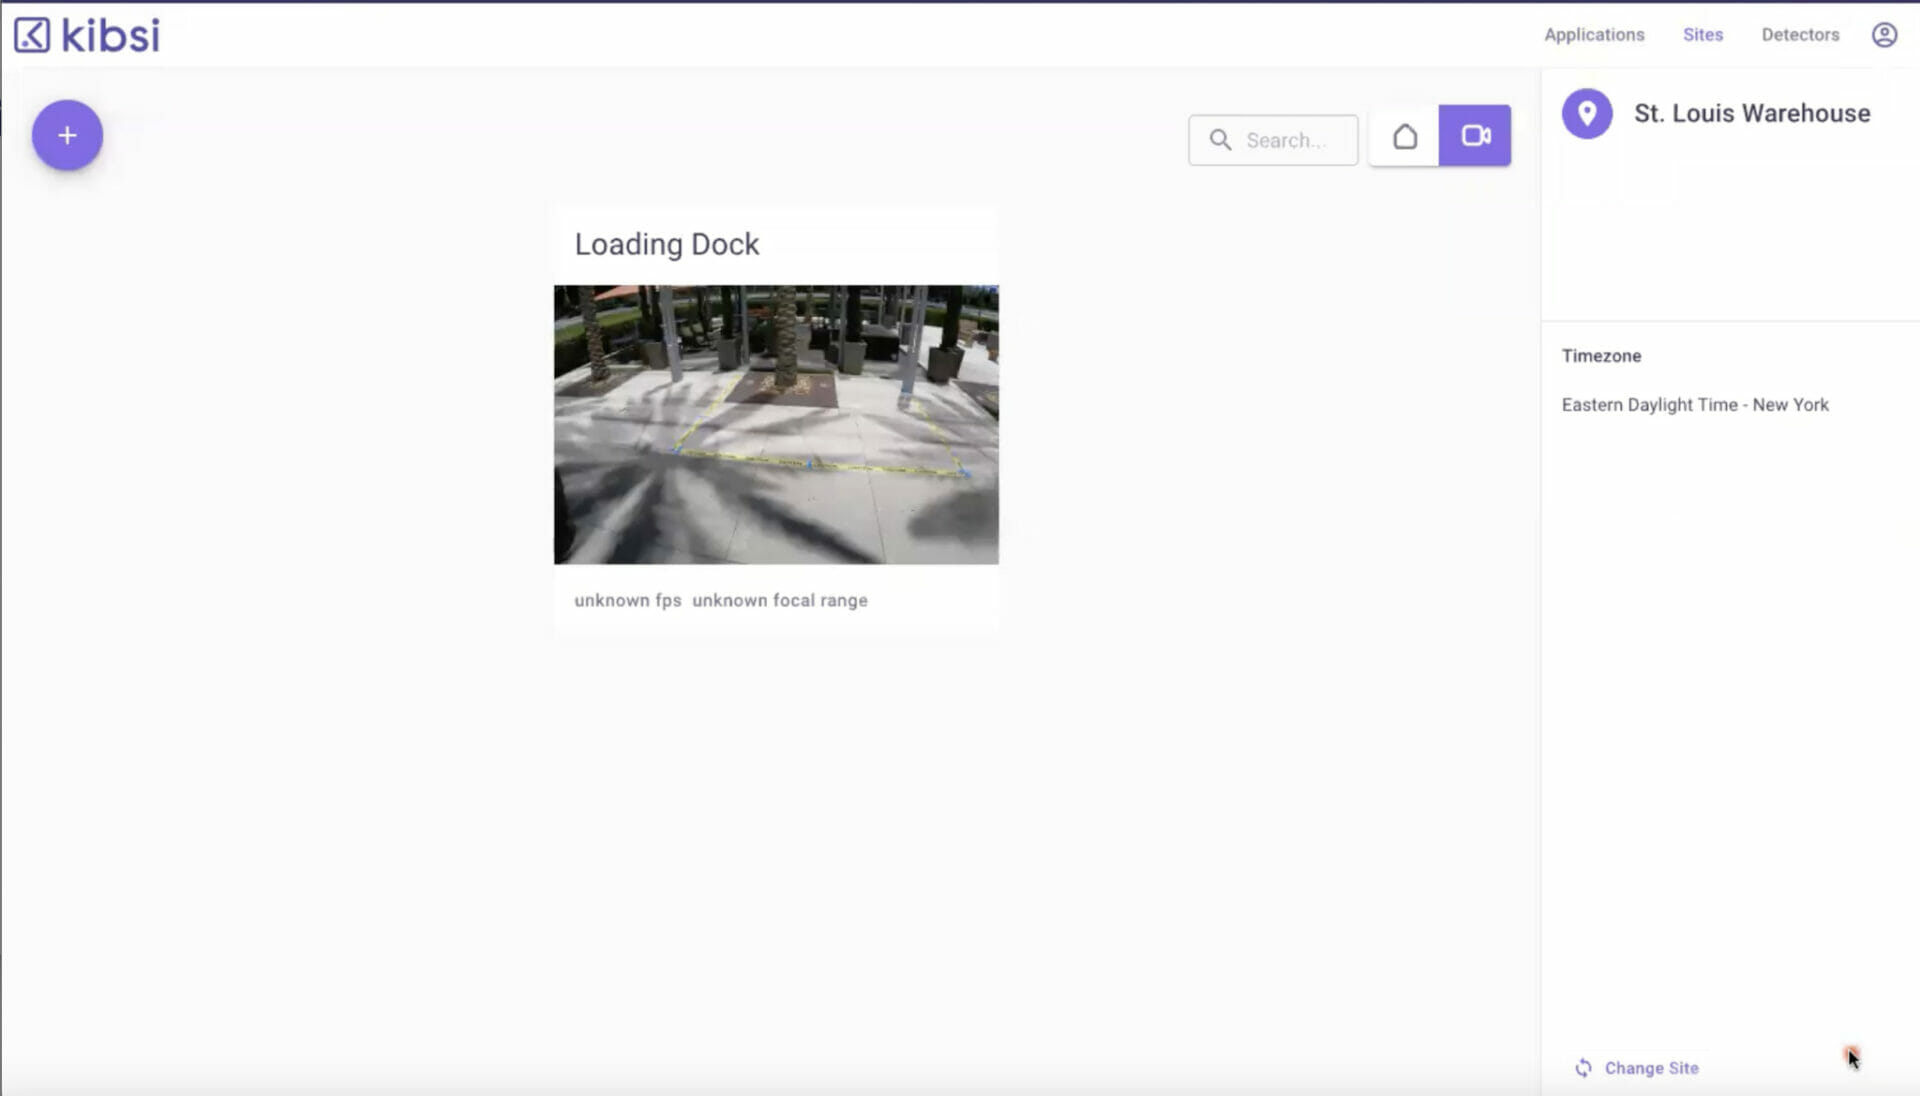
Kibsi can detect PPE in the entire frame of the camera stream. But just to make it more interesting, let’s also assume that there’s a specific region of our loading dock where we really want to ensure that PPE is being used properly in our demo loading dock. Here you can see that region is marked on the ground with caution tape.
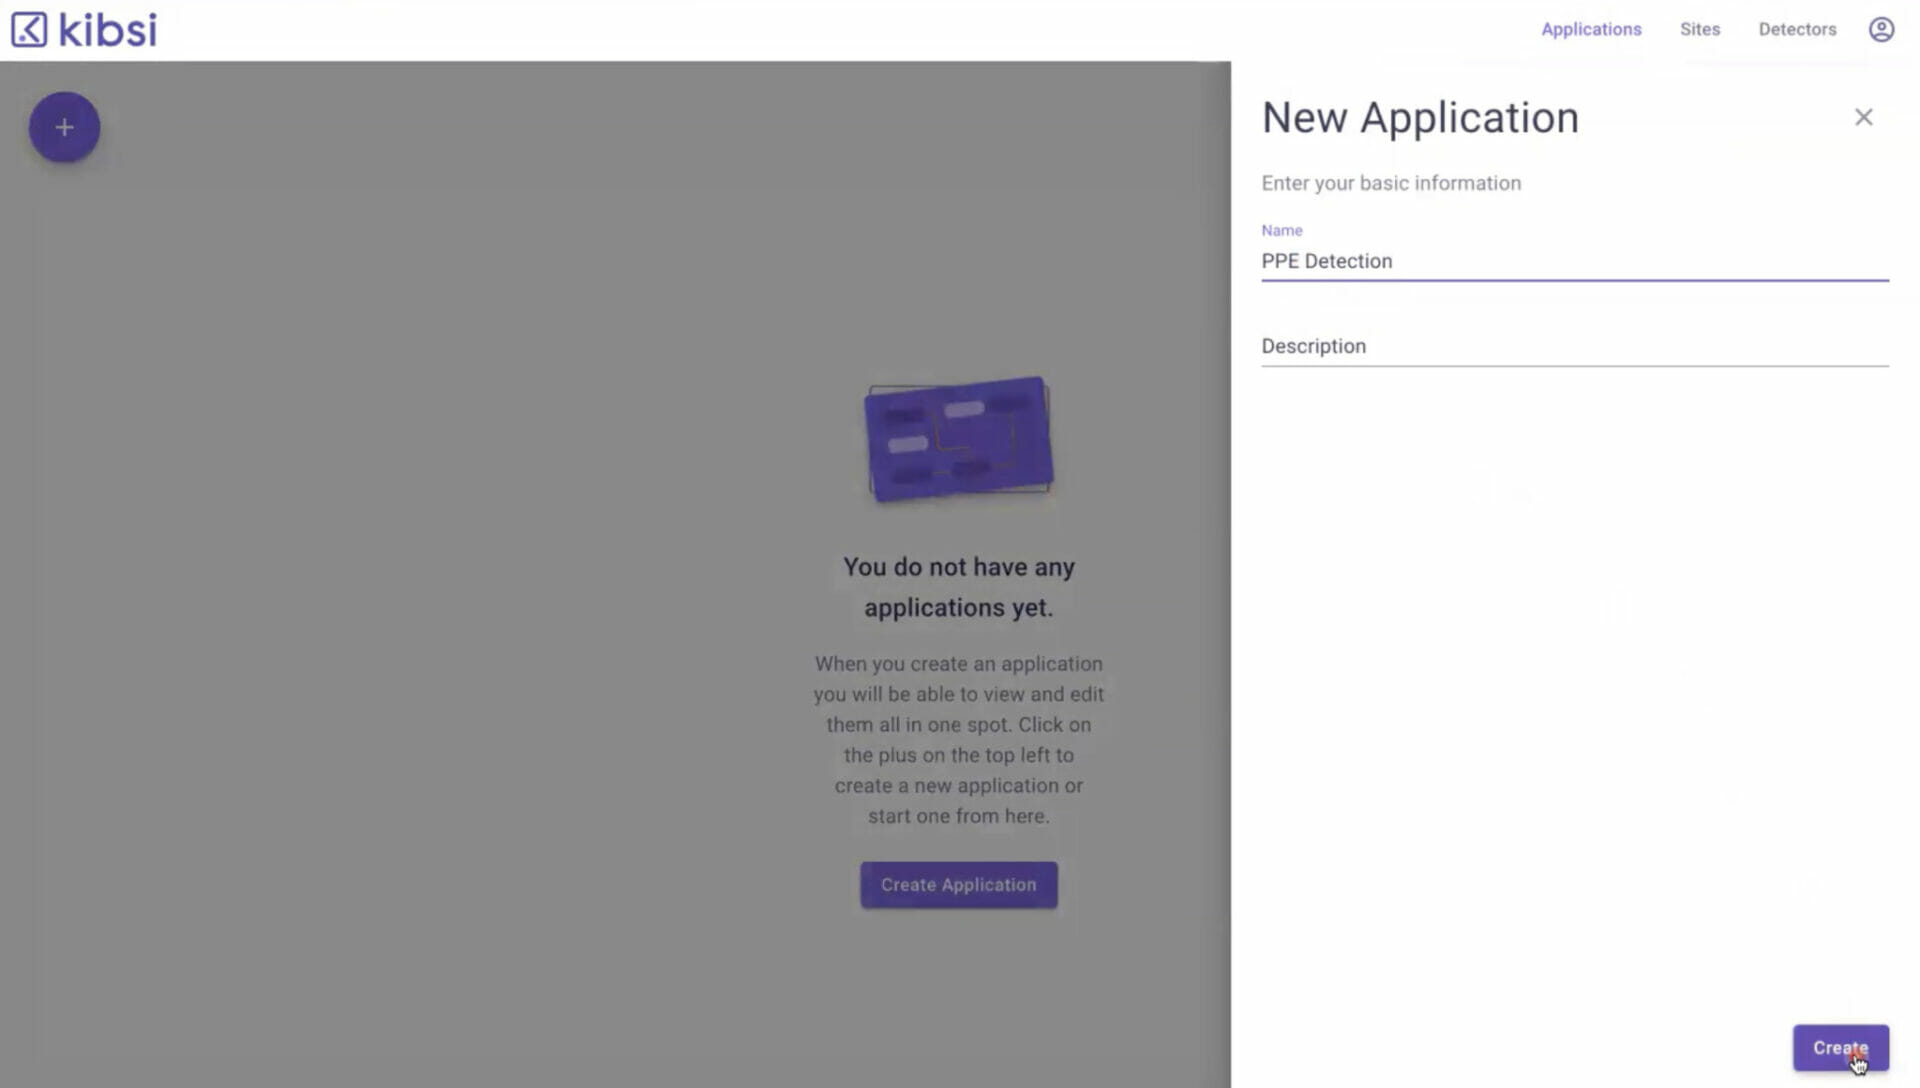
Now we’re ready to build our Kibsi application to detect PPE. To do this, click on ‘applications,’ ‘create application,’ name our application PPE detection, and click ‘create’ to open the low-code application designer.
Kibsi applications are built from three foundational building blocks: static items, detected items, and events. Static items are like the caution tape region. In our example, the loading dock is a detected item that uses pre-trained computer vision models to detect the items we care about. And events define conditions that we can action on, such as sending an email, SMS message, or even a web hook. First, let’s go ahead and create a detected item for our workers wearing PPE. Click the ‘add item’ icon, choose ‘detected item,’ and name it Worker. Then search the library of pre-trained detectors for the person detector.

Add the PPE enhancer and click ‘save.’ Great. Now our application will detect workers anywhere in the frame and tell us if they are wearing their PPE. But what if our loading dock only exists in part of the frame of the camera feed? Or what if we only care about PPE being used in a specific region like our caution tape example?
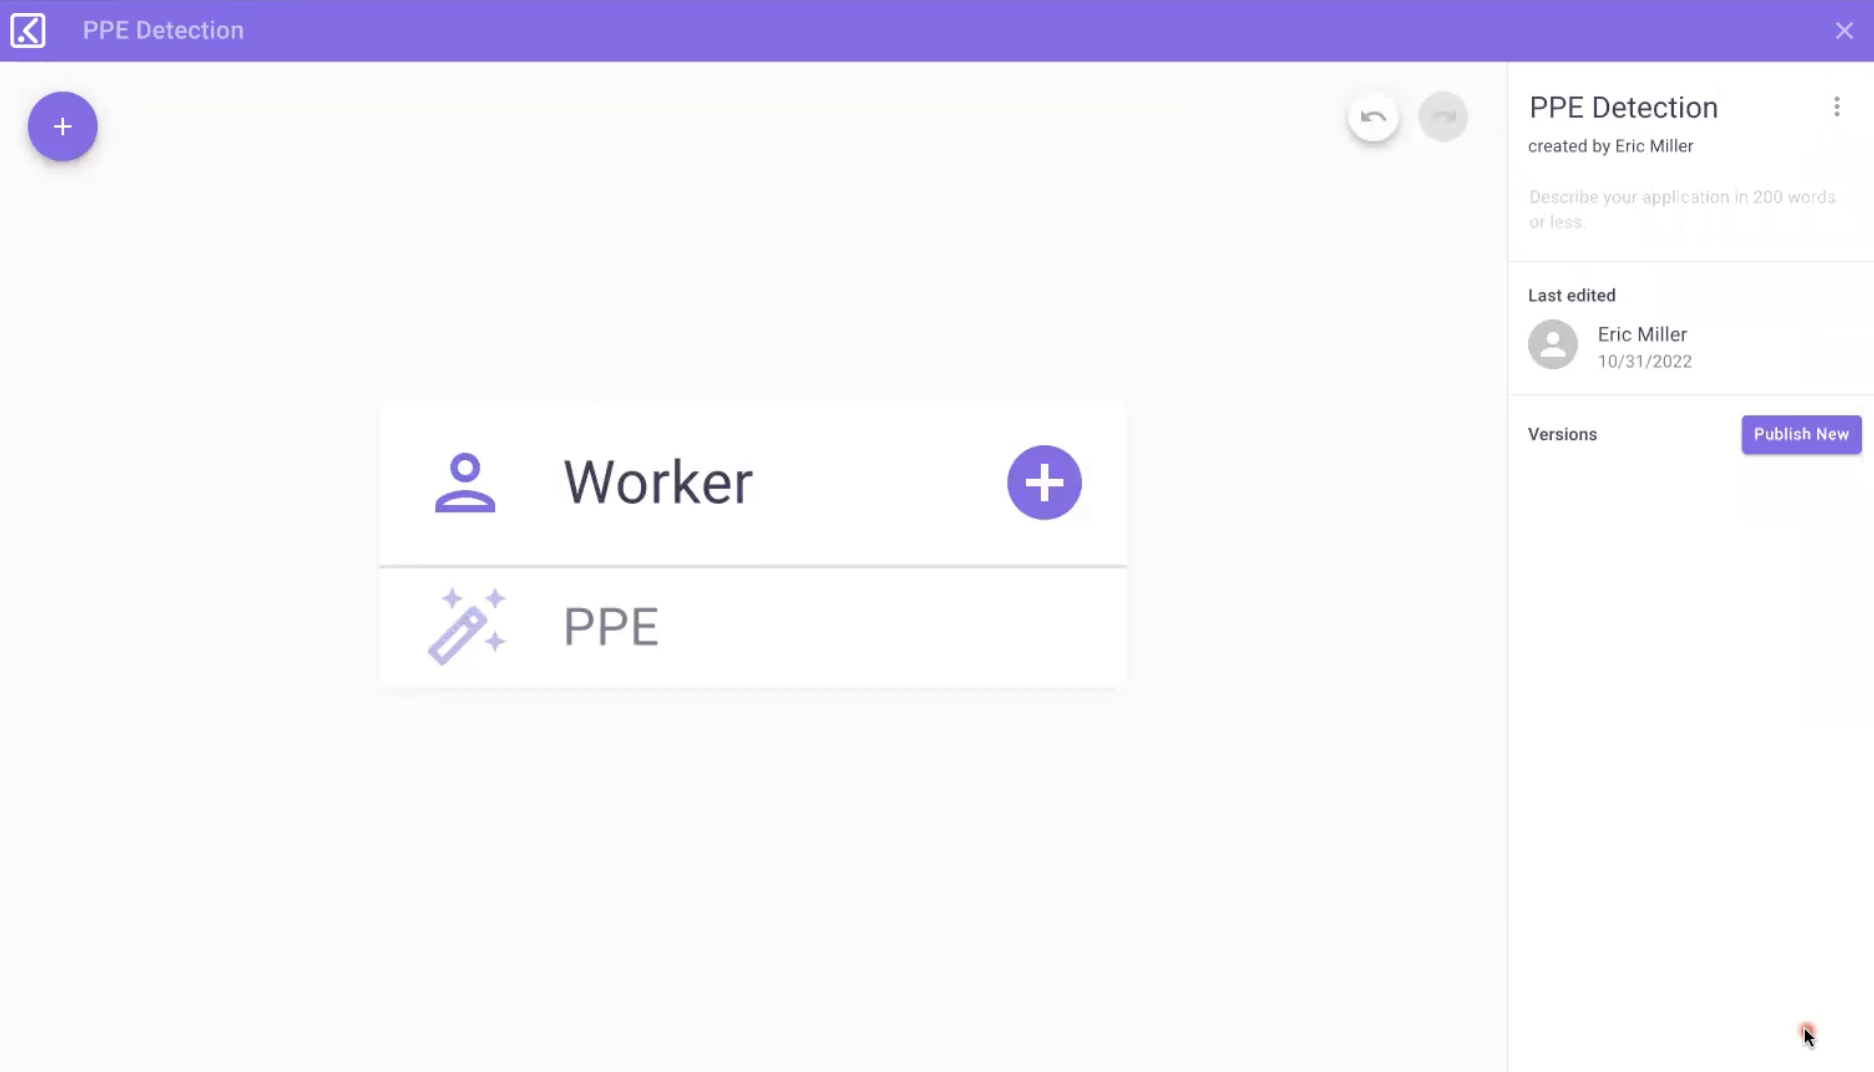
Let’s go ahead and create a static item. To address that, click on ‘add item,’ choose ‘static item,’ name it Safety Region and hit ‘save.’ Awesome. Now we have a region we can use to determine when workers are inside or outside the safety zone. To do that, let’s create a relationship between the safety region and the workers.
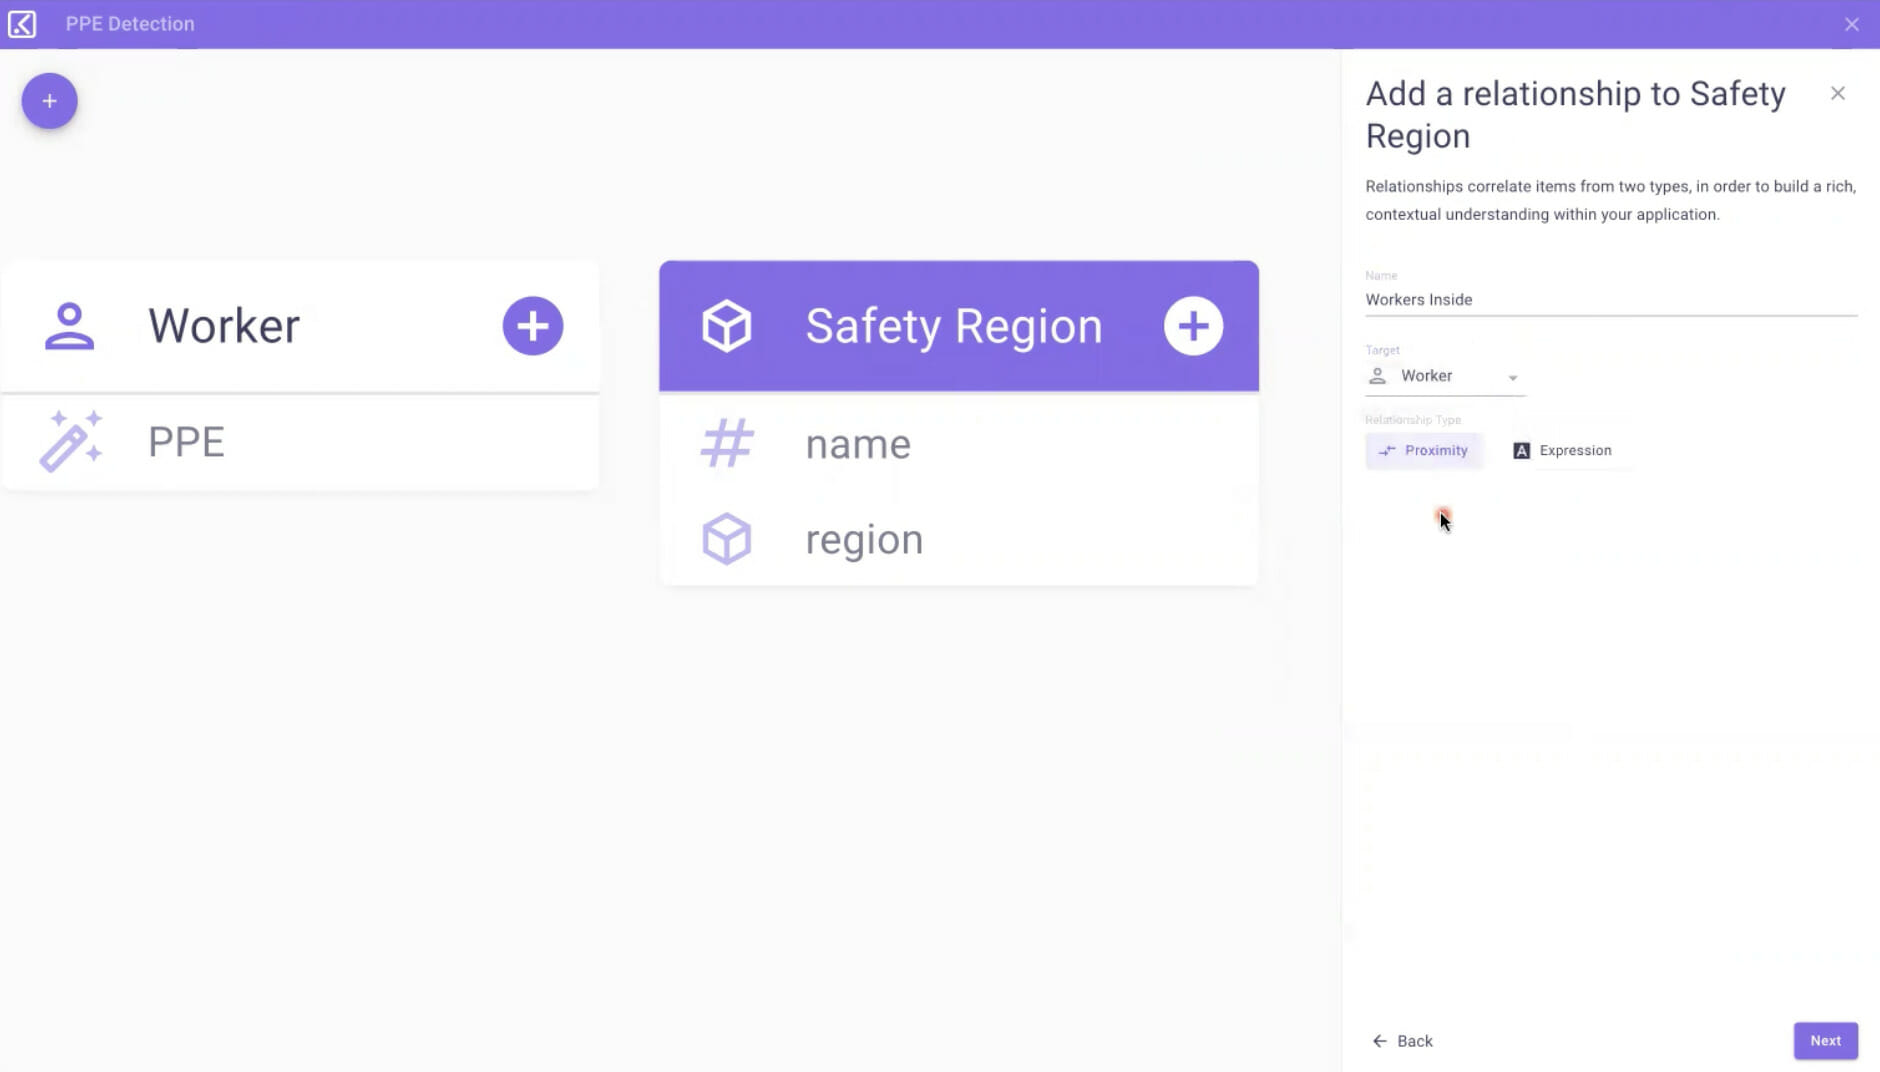
On the safety region, click the ‘plus’ icon to add a new attribute. As you can see here, Kibsi has a rich set of attributes that can be used to build very complex applications. But for our purposes, we want to know when workers are inside the safety zone. So, we’ll give our relationship a name and target the worker item with the proximity type relationship. Click ‘next,’ ensure the default of inside is selected, and then click ‘save.’ That’s it. Our application is finished. Let’s go ahead and publish the first version of the app, and we’re ready to deploy our app to the loading camera at our St. Louis Warehouse.
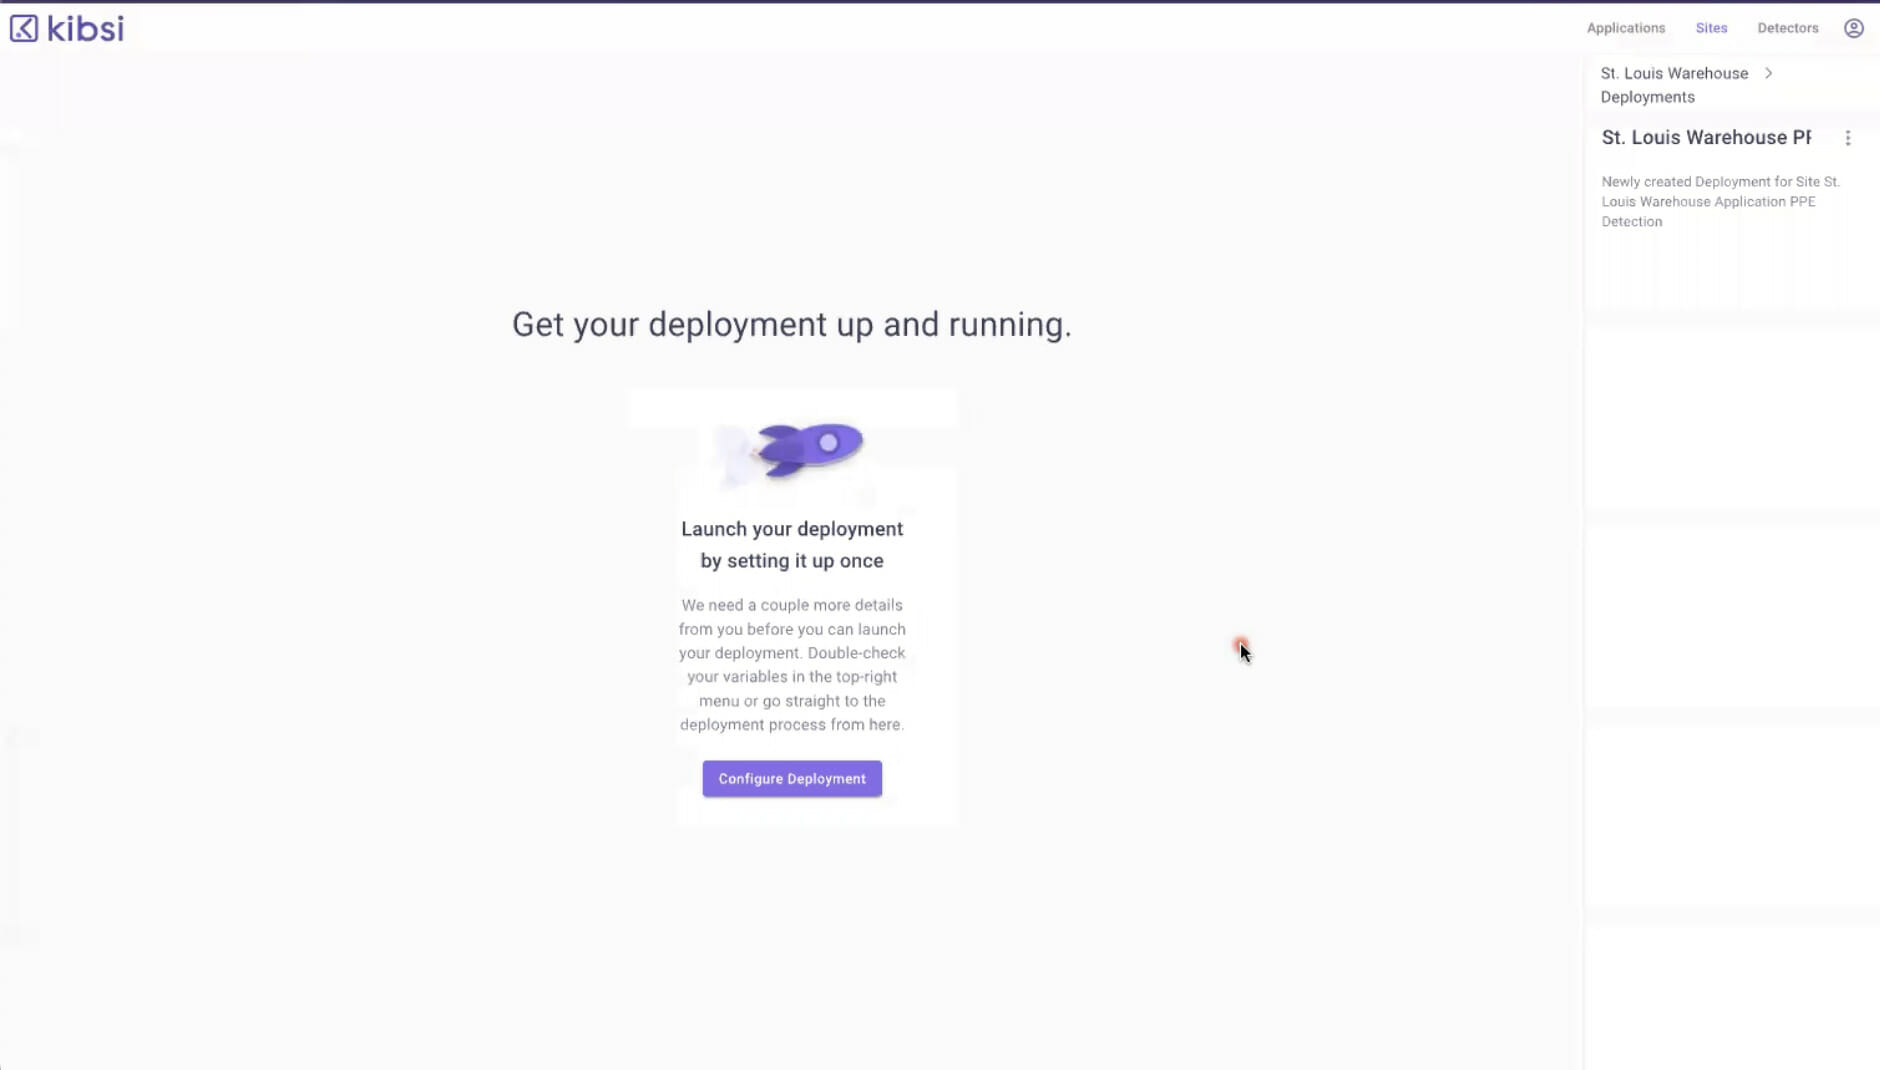
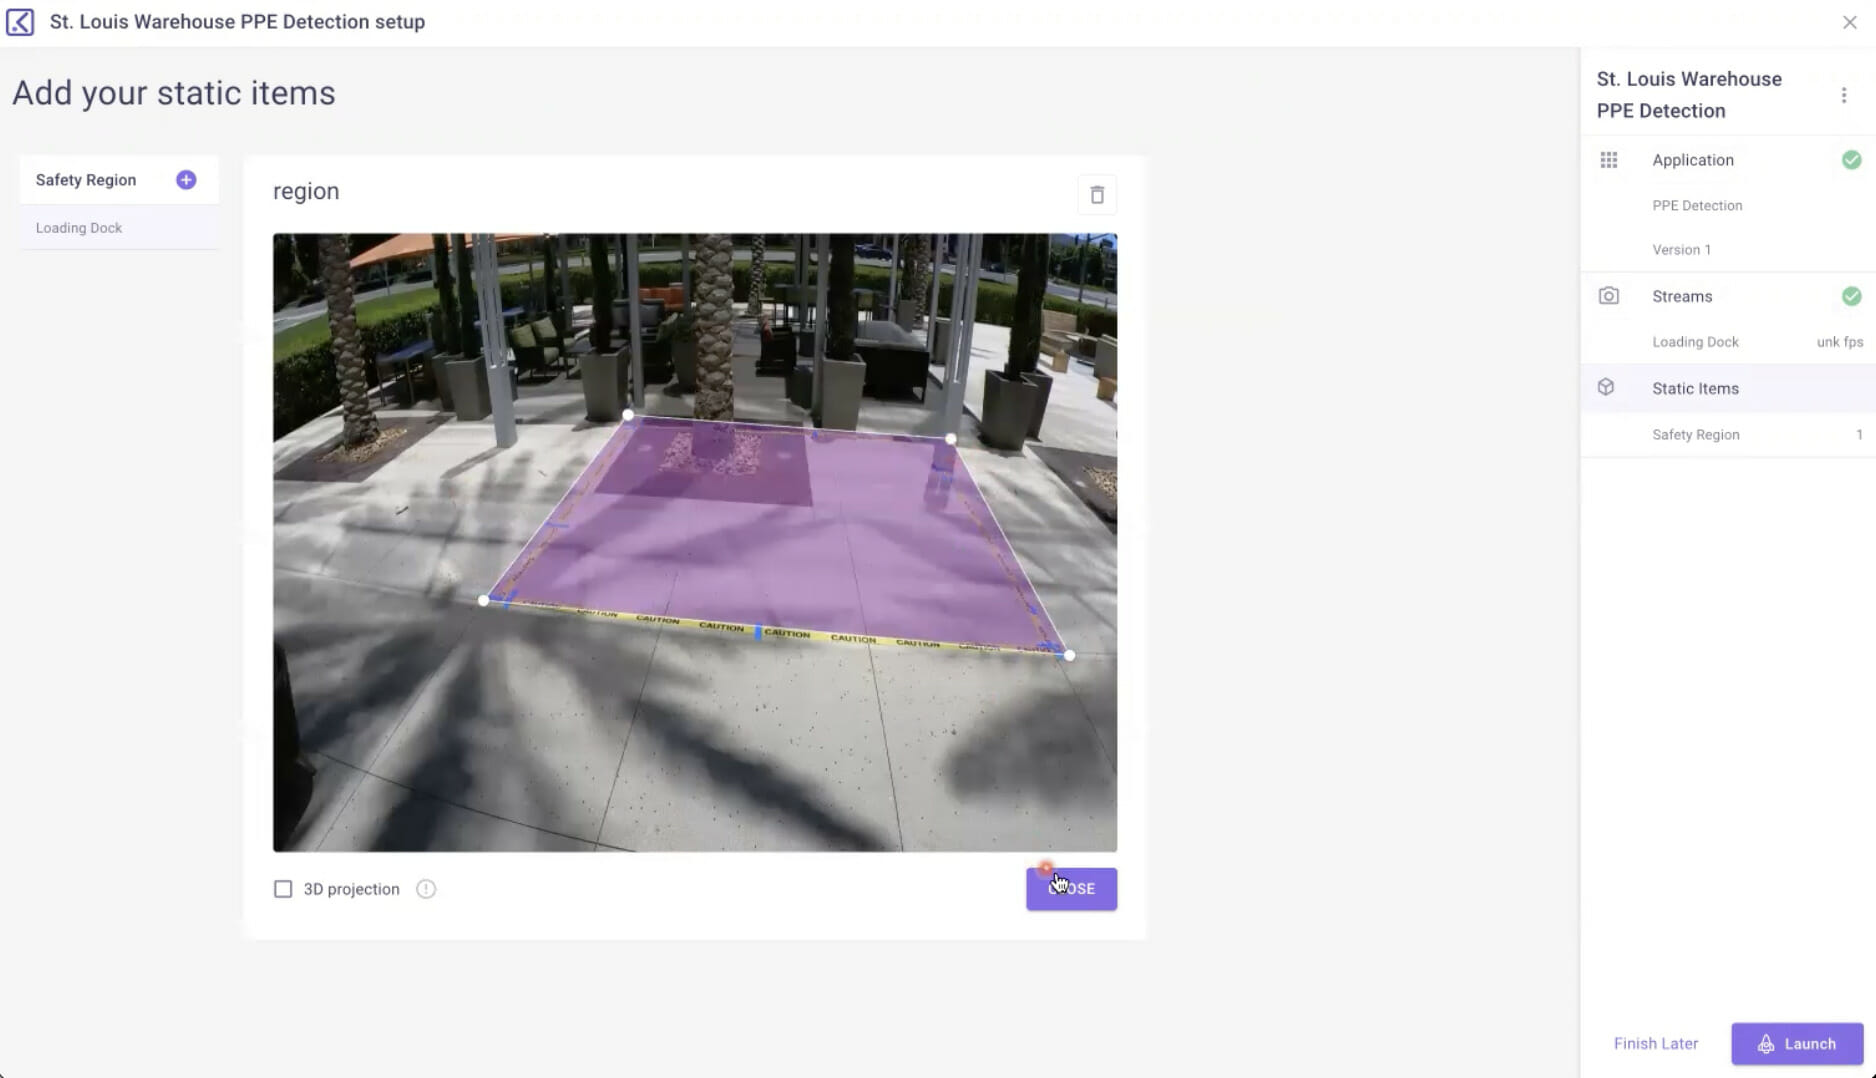
Let’s navigate back to our St. Louis Warehouse site. Click the ‘deployments’ icon, and then click the ‘plus sign.’ To add a new deployment, choose the PPE detection app we just built, and click ‘create.’ The deployment features in Kibsi make it really easy to deploy the same application to multiple cameras without having to build a separate application for each camera feed. So, let’s click configure deployment. To configure our PPE app for our loading dock camera, first choose the app version we want. Choose the camera stream for the loading dock, specify one for the number of safety regions in the feed, and give our region a name. Next, let’s tell Kibsi where our static region is in this particular feed, then click ‘close’ and we’re ready to launch our deployment. To launch the deployment, just click ‘launch’ and confirm. That’s it. You’re done!
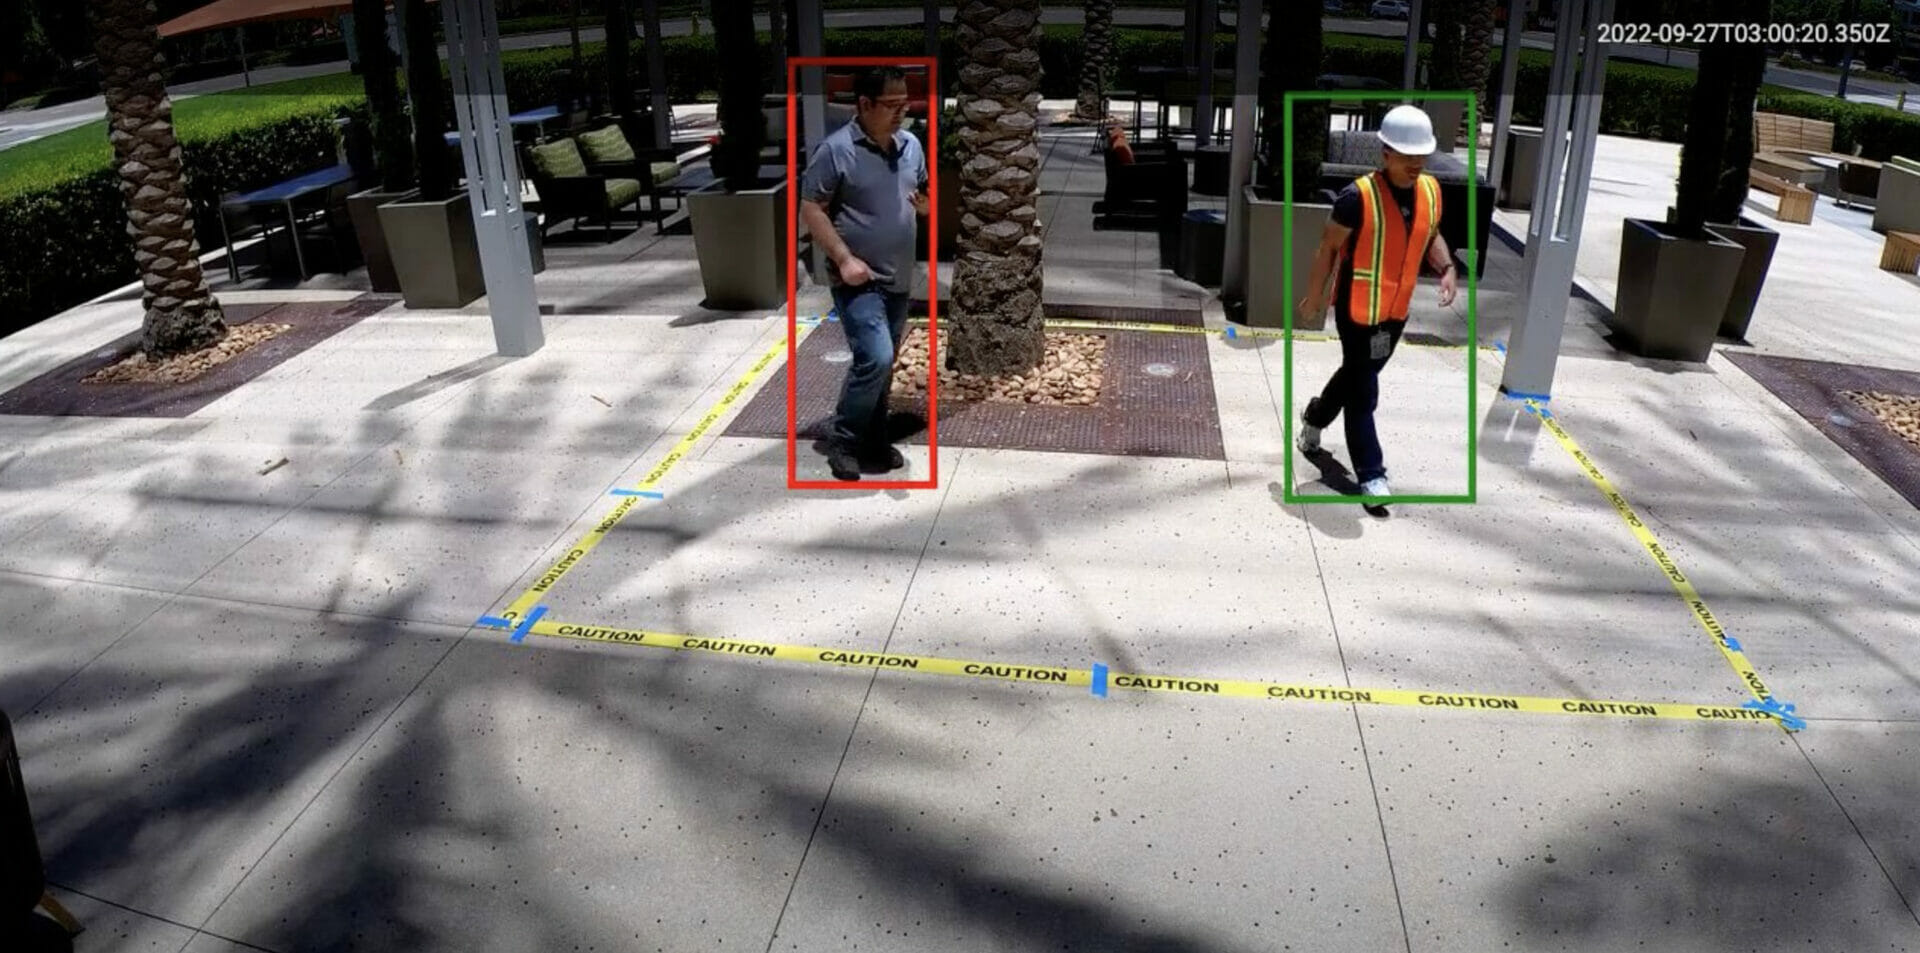
Your Kibsi application is now running. You can see the live view showing the data stream of workers being detected, as well as each worker’s PPE state: null for no PPE, one for one piece of PPE, and two for two pieces of PPE, etc. Let’s open the visual debugger to take a look at the live video. Here we can see three workers in our safety zone. One of them is wearing the vest and helmet, so he’s fully protected with two required pieces of PPE.
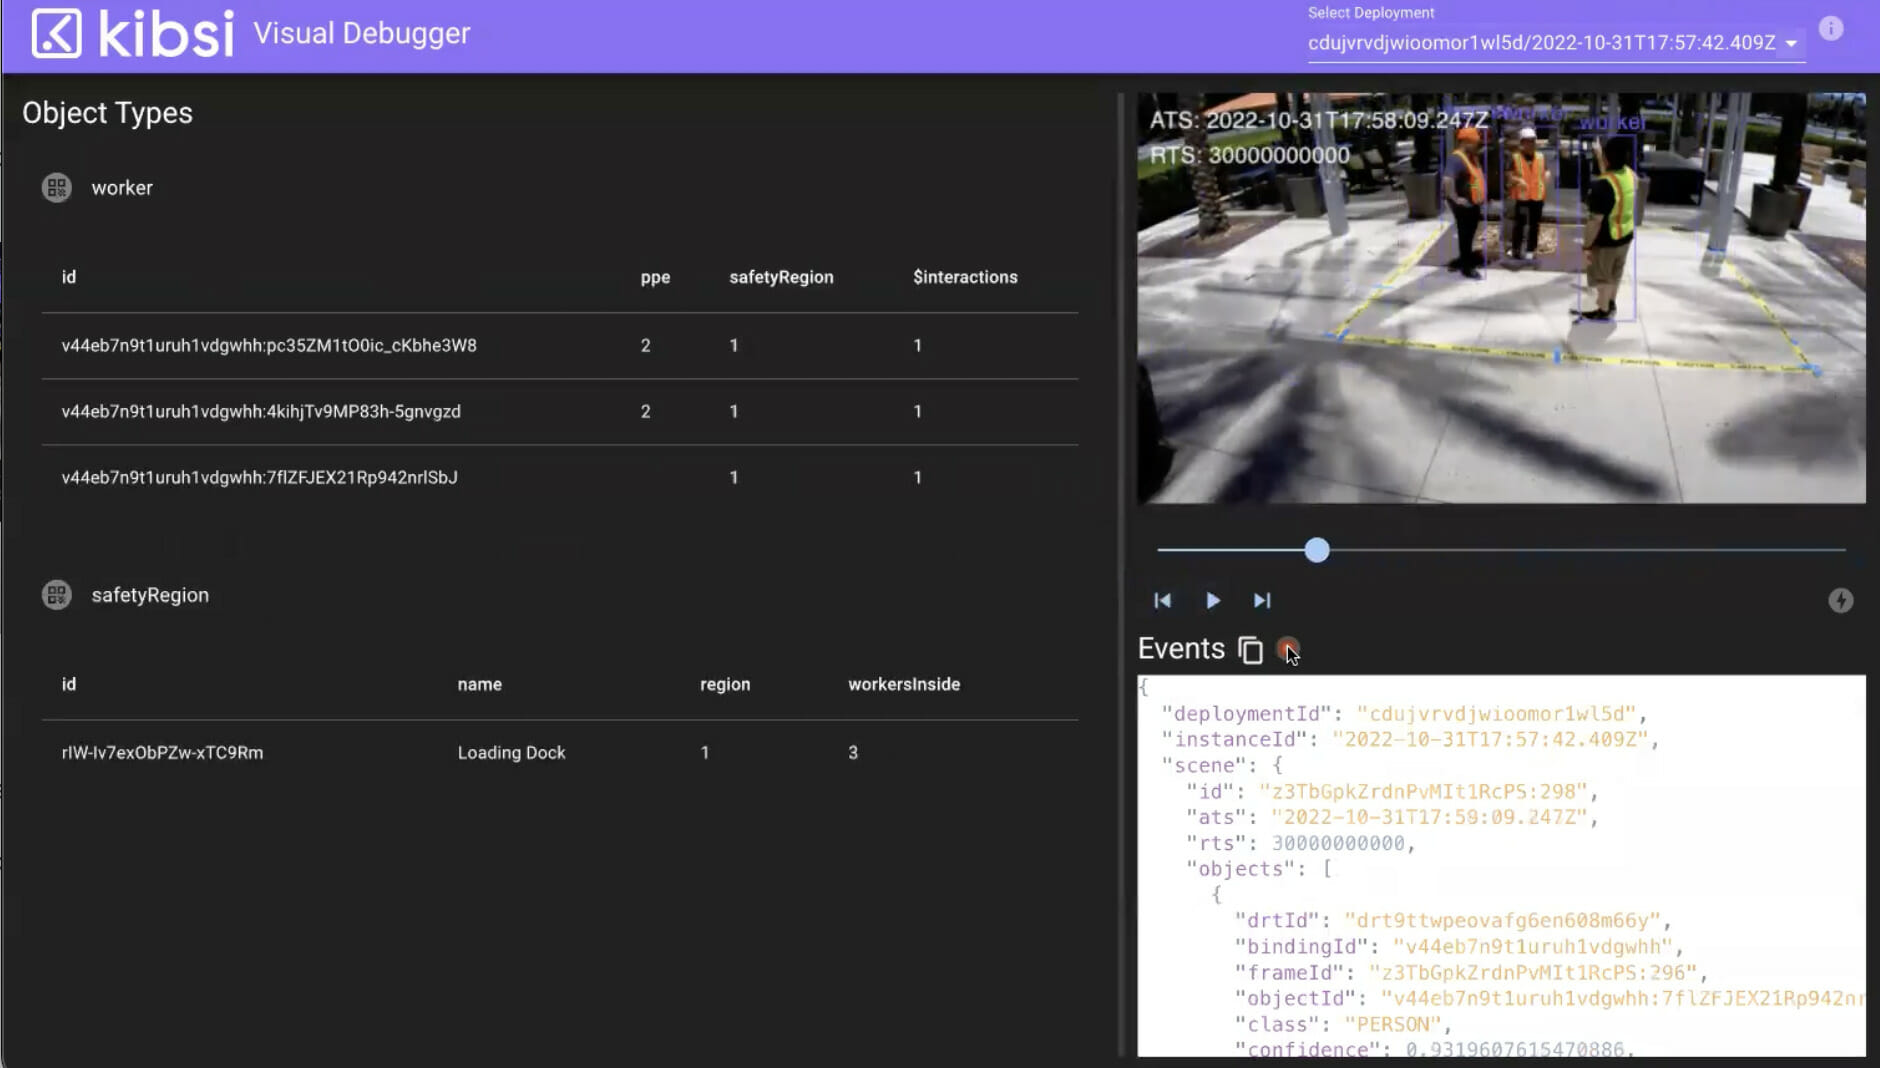
But the other two are only wearing vests, so they only show up as wearing one piece of PPE, and they need to put their helmets on. As soon as the worker in the middle puts on his helmet, he switches to a two and he’s good to go! Now, all this data you can see being captured in a time series database for historical reporting and integrations with other systems, as well as real-time monitoring, alerting, and visualizations. Here’s an example of a simple visualization on top of that data stream:
- Blue indicates a worker outside the safety zone
- Red indicates inside the zone, but not protected
- Yellow indicates inside the zone, but only partially protected
- Green indicates inside the safety zone and wearing the full set of required PPE
And that’s it! A PPE detection app using computer vision that you can build yourself in just a few minutes.
So, if you have a problem you would like to see featured in Kibsi’s “Built in 5 minutes” video series, please let us know by visiting www.kibsi.com and using the ‘Let’s Chat’ button or the Live Chat feature. We’d love to hear from you and look forward to hearing your ideas. Until next time, thanks for watching!