Hi, I’m Eric Miller from Kibsi, and I’ve just launched a new video series called: “Getting Started with Kibsi.” In each episode, I’ll walk you through the Kibsi platform, help you build computer vision applications, and turn you into a Kibsi superuser! In our first episode, Hello World, I’ll walk you through building a simple application to get you familiar with the Kibsi computer vision platform.
Step-by-step tutorial:
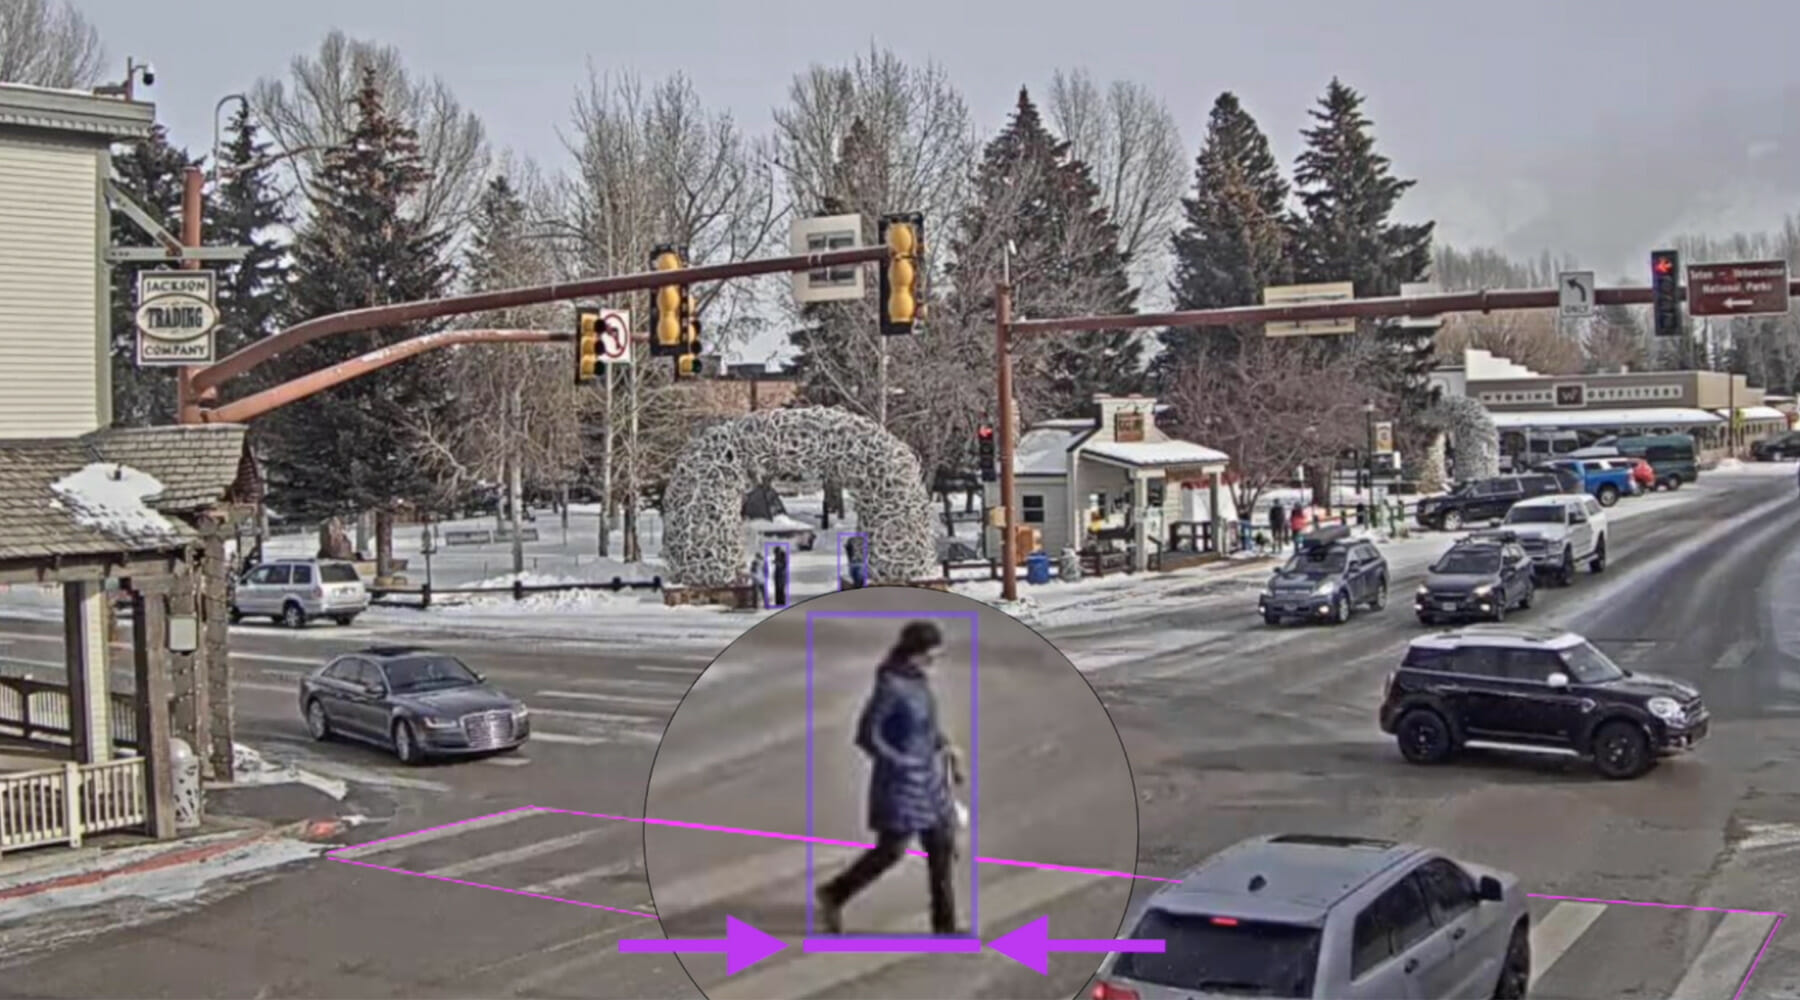
In this episode of Getting Started with Kibsi, we will build a Hello World application leveraging public video of a crosswalk at a busy intersection in Jackson Hole, Wyoming. Our Kibsi application will turn the video stream into structured data so that we can gain valuable insights about activities happening at the crosswalk and the pedestrians using it.
Building an application in Kibsi:
Before we get started, you will need a Kibsi account. You can register for a trial account at www.kibsi.com. Once logged into the platform, we are ready to start building our first application.
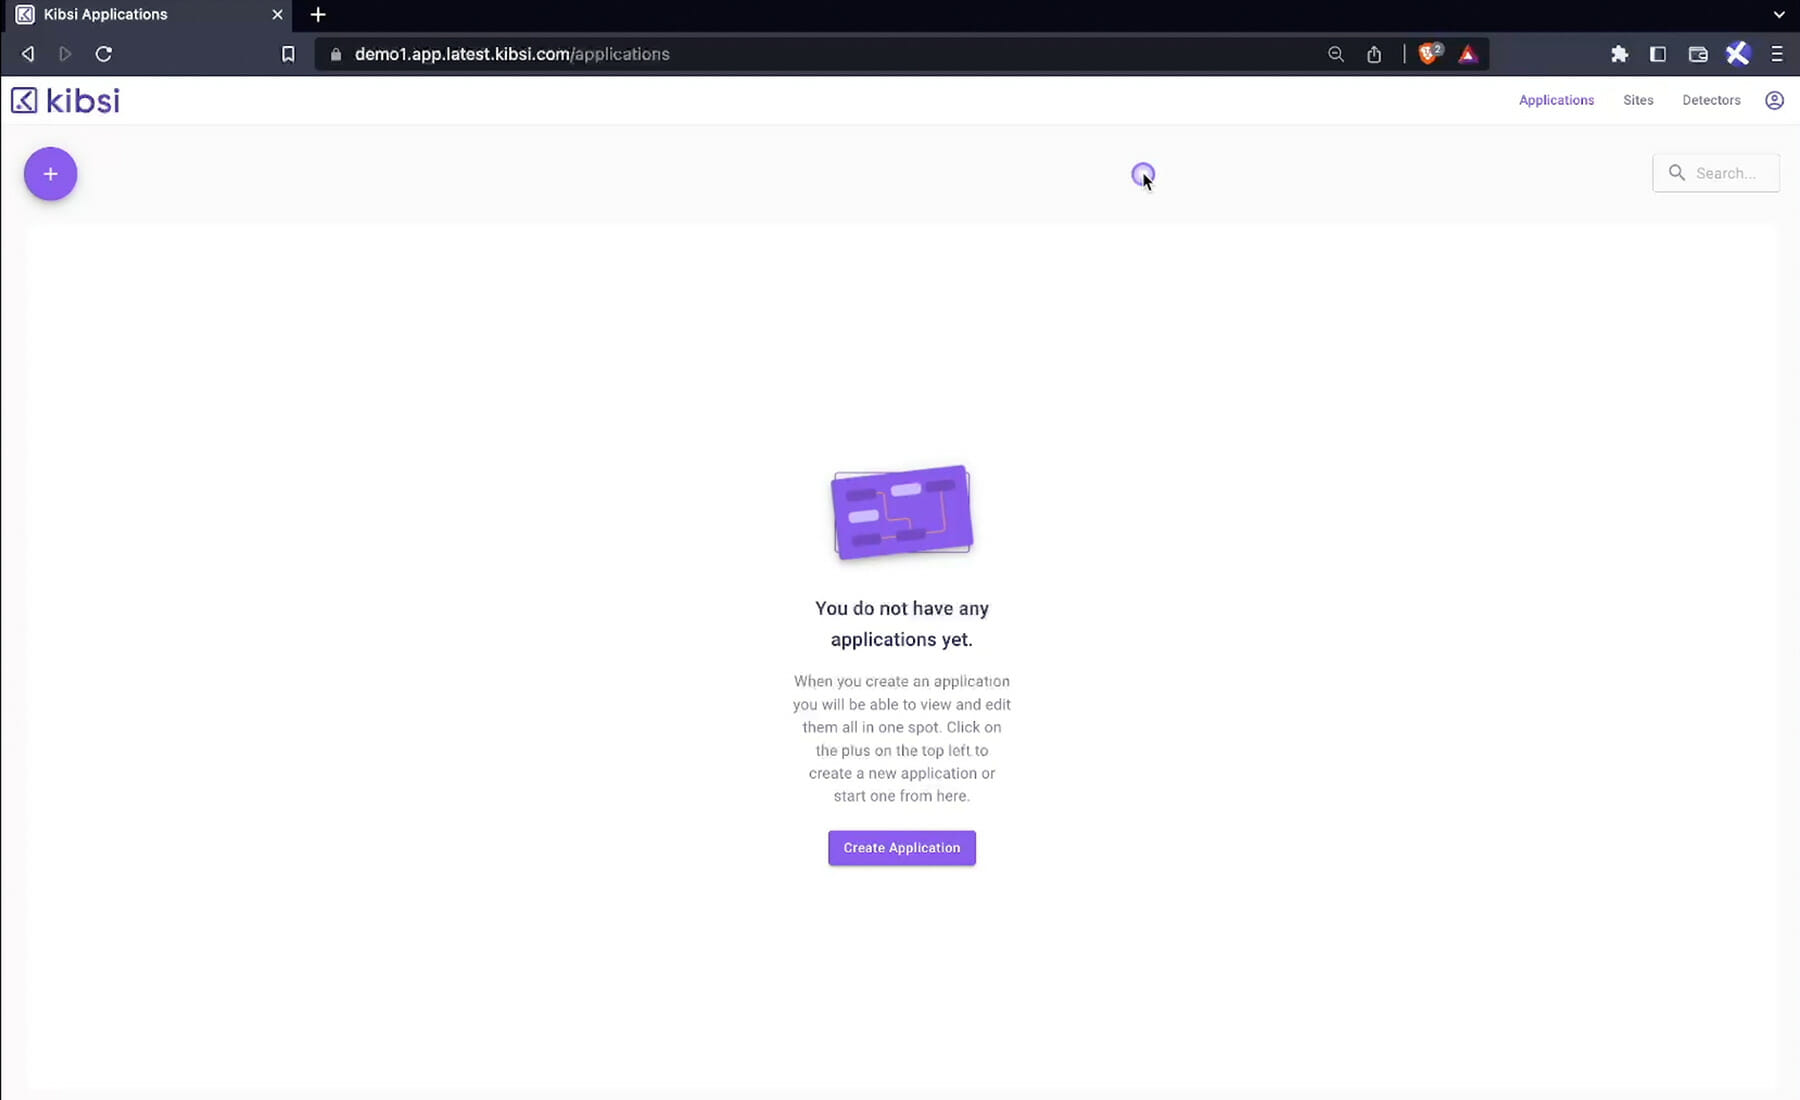
Click “create application”
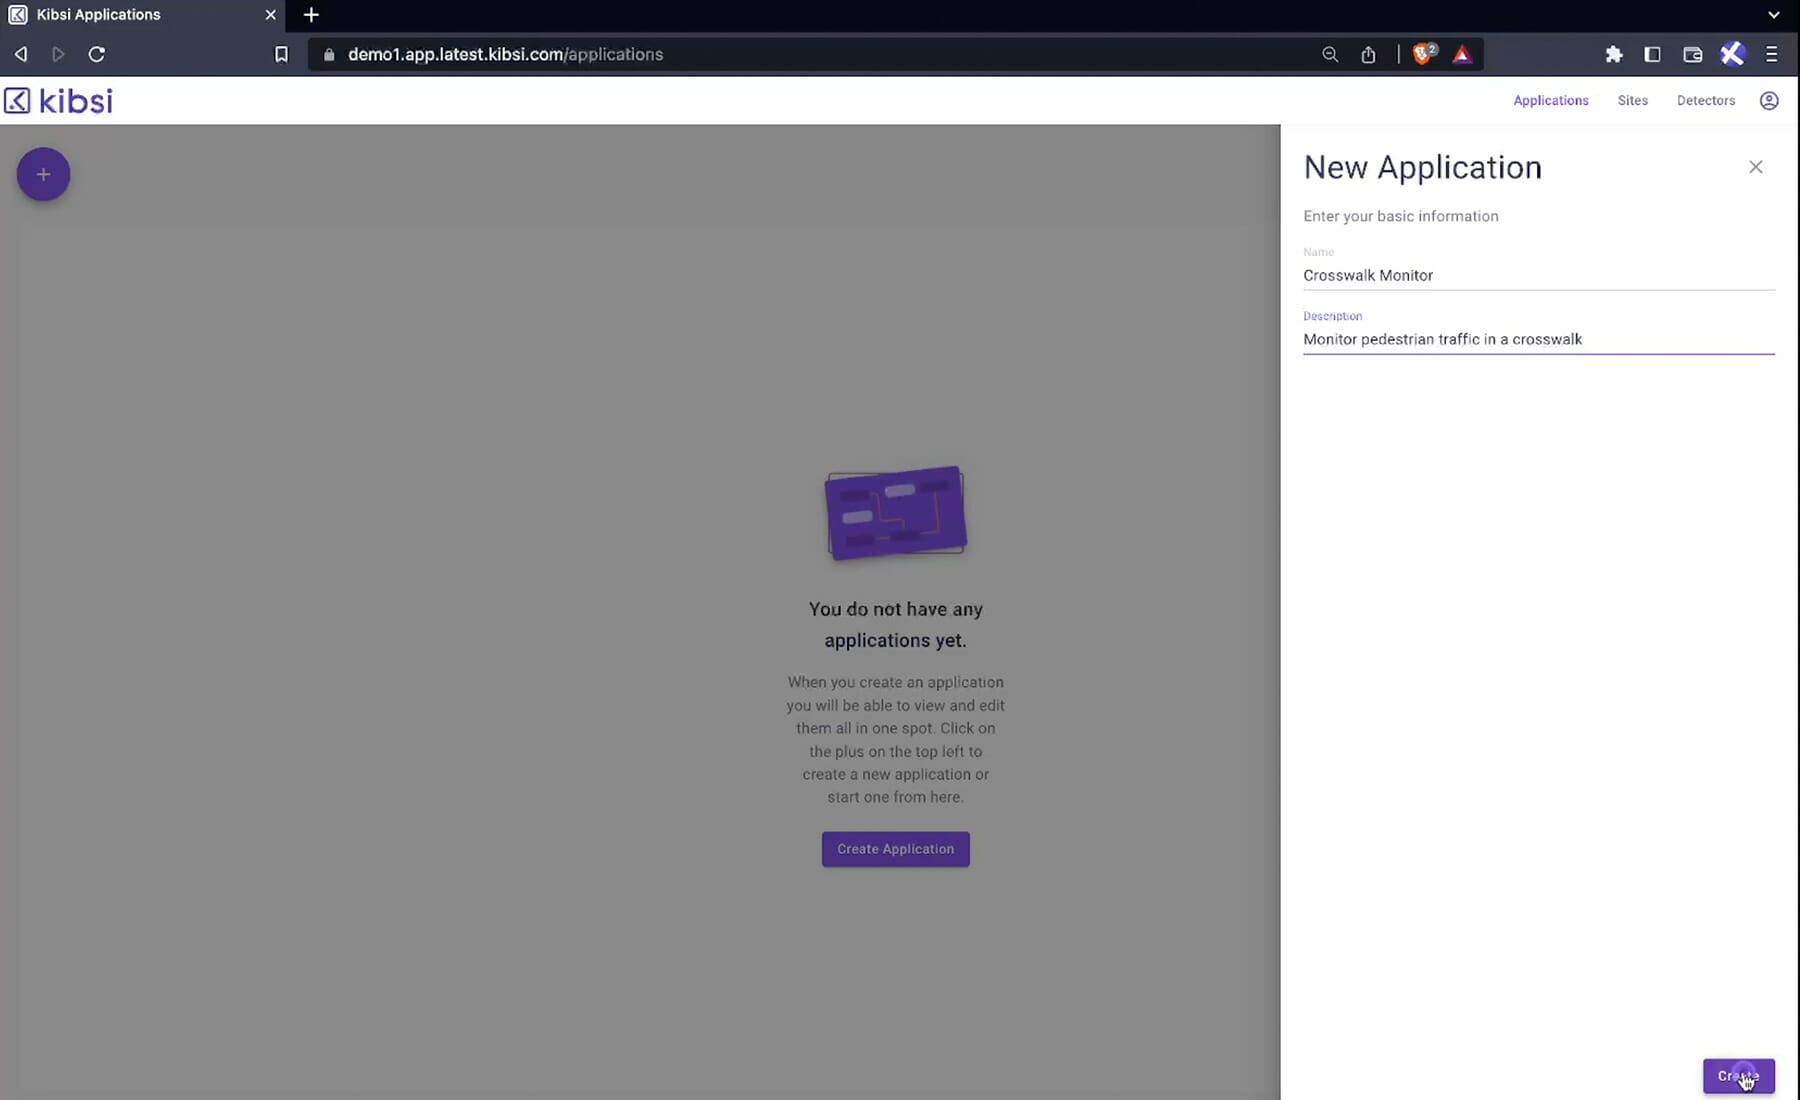
Name the application “Crosswalk Monitor” and give it a brief description. Then click “create” to open up the application designer.
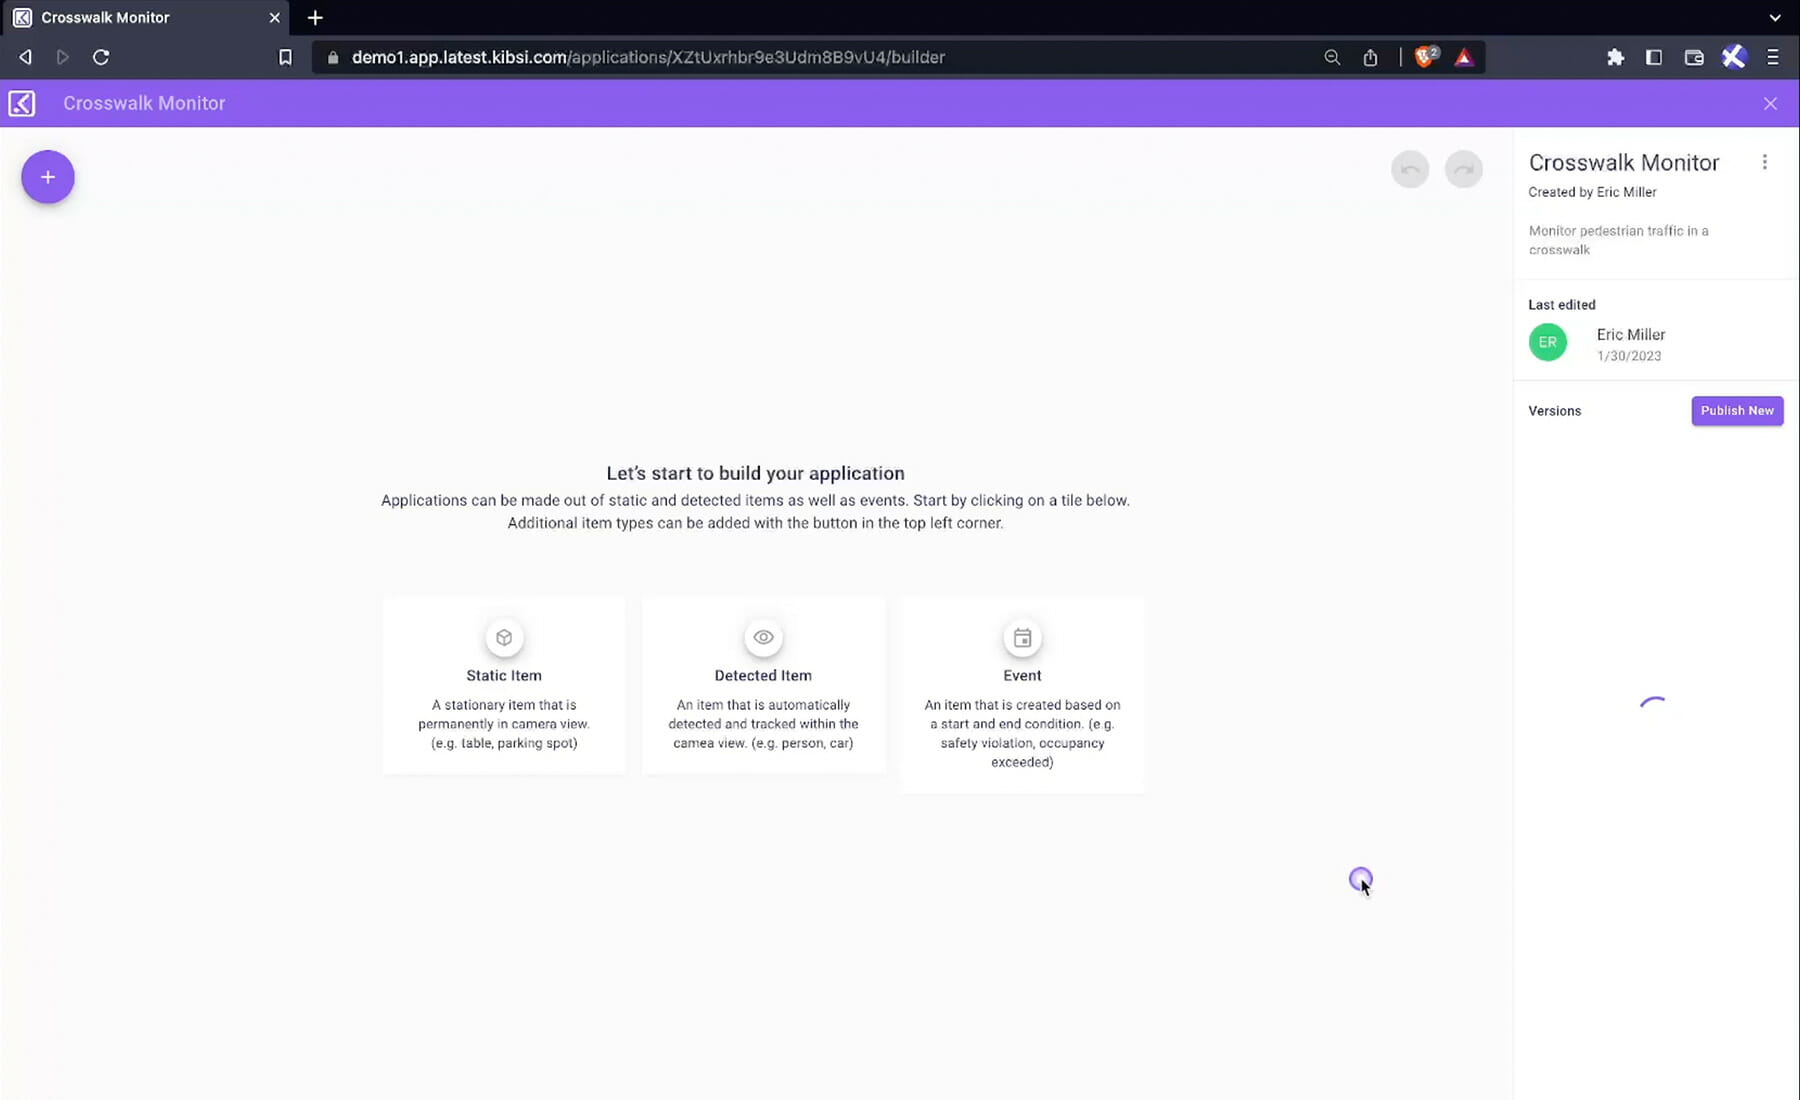
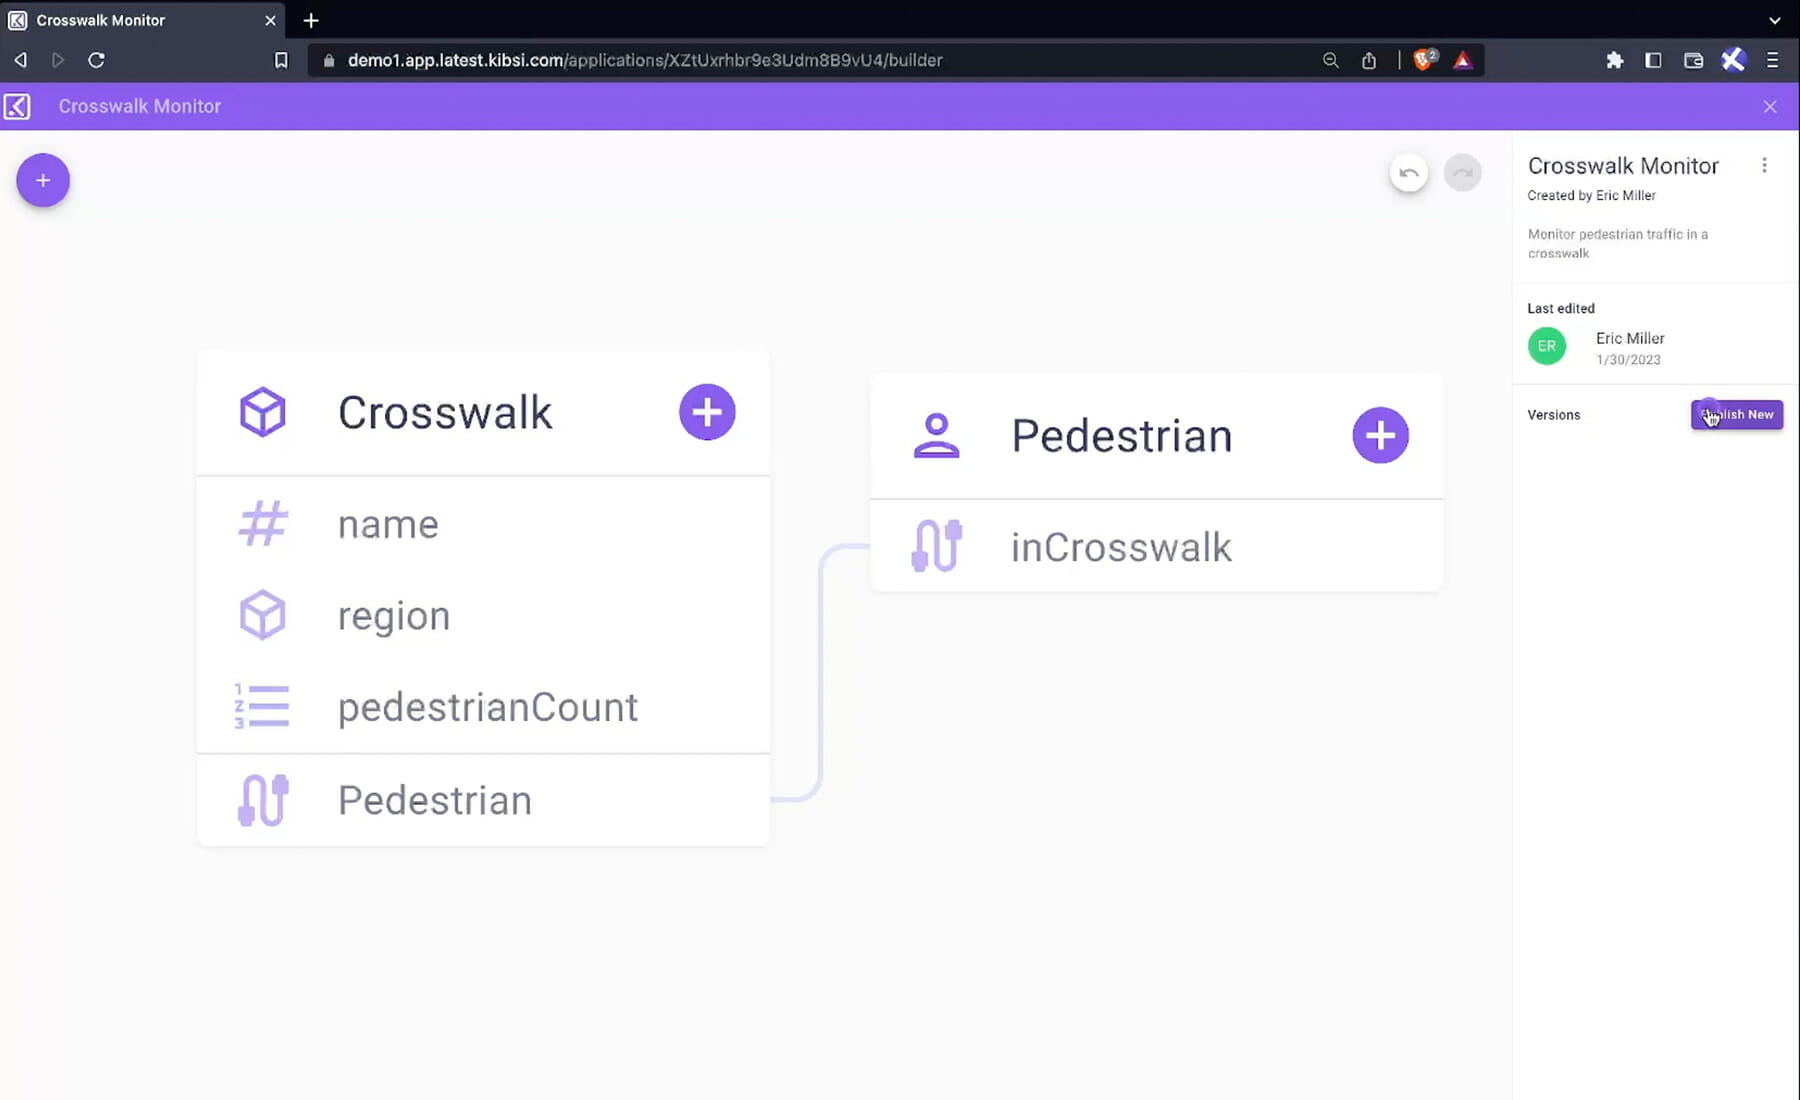
For our crosswalk application, the data we care about are pedestrians and crosswalks, so we need to create items for each. We can use a “static item” for our crosswalk since we will always know where a crosswalk is positioned in a video stream.
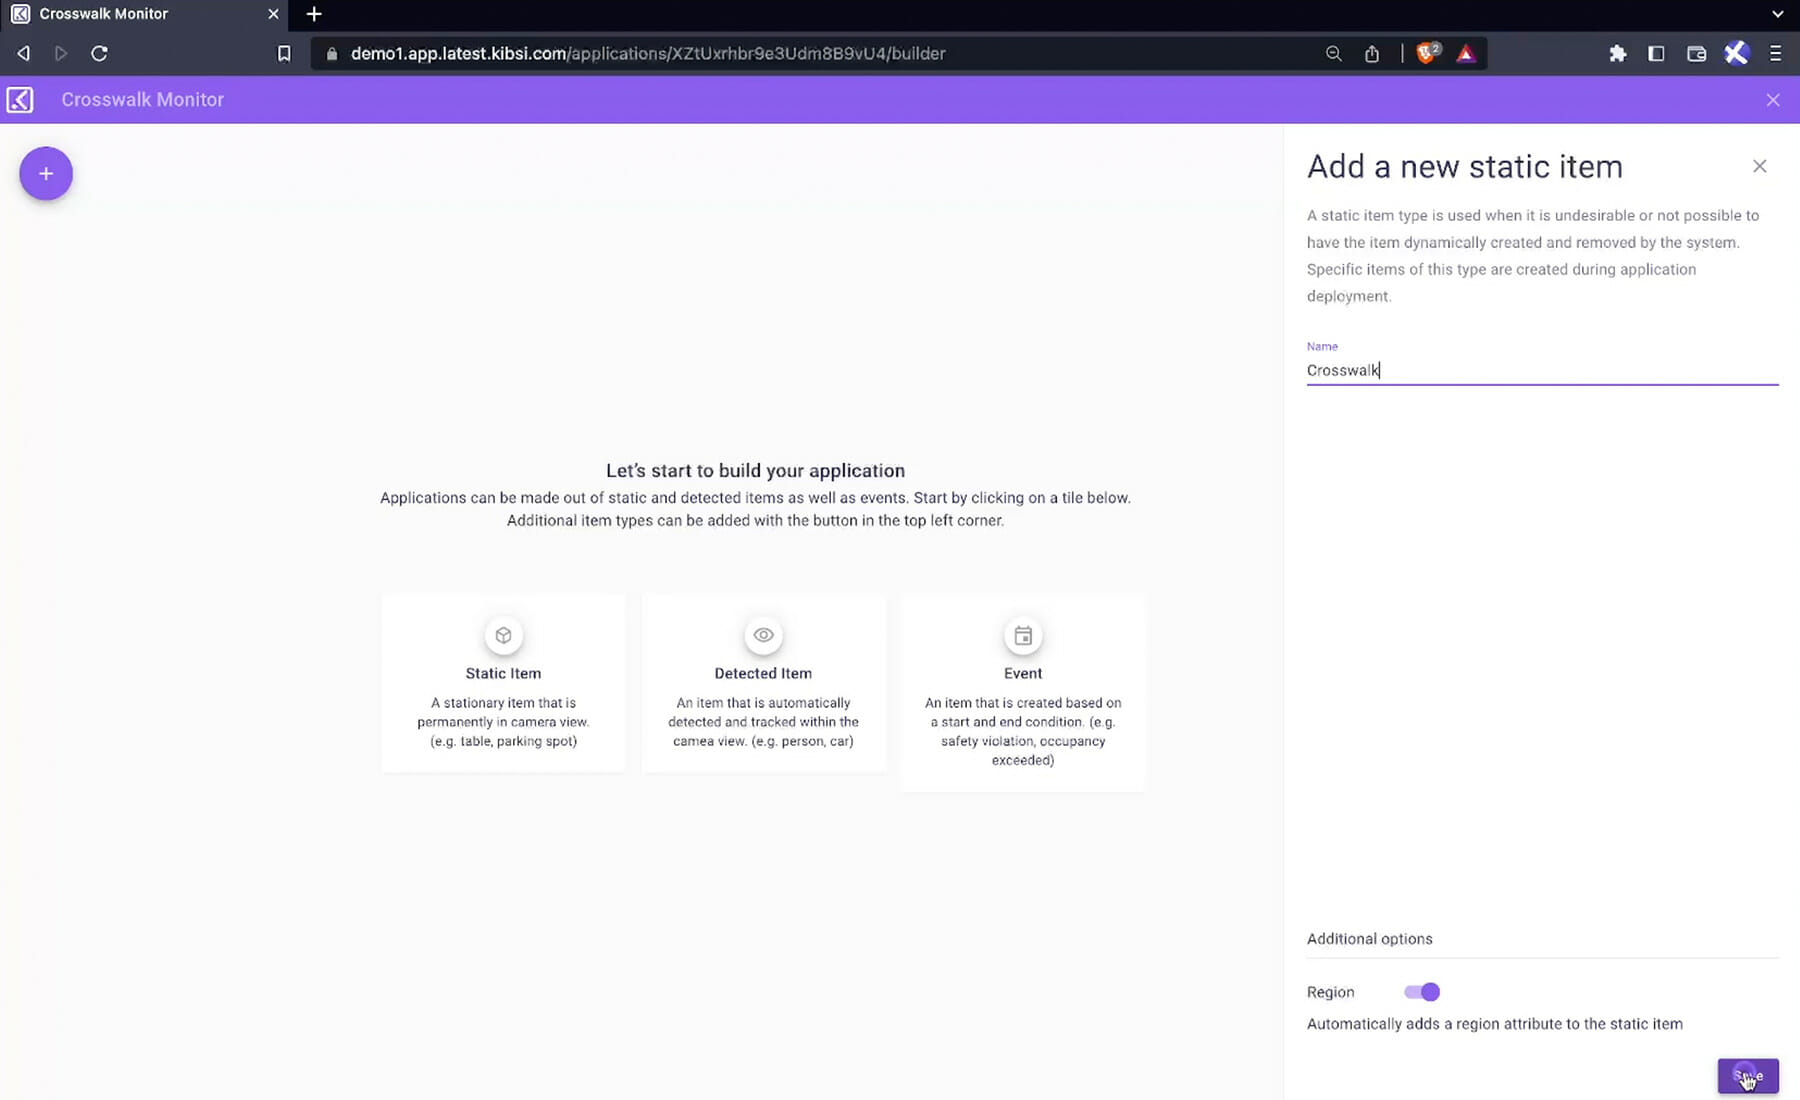
Click on “static item,” name it “crosswalk,” and hit “save.”
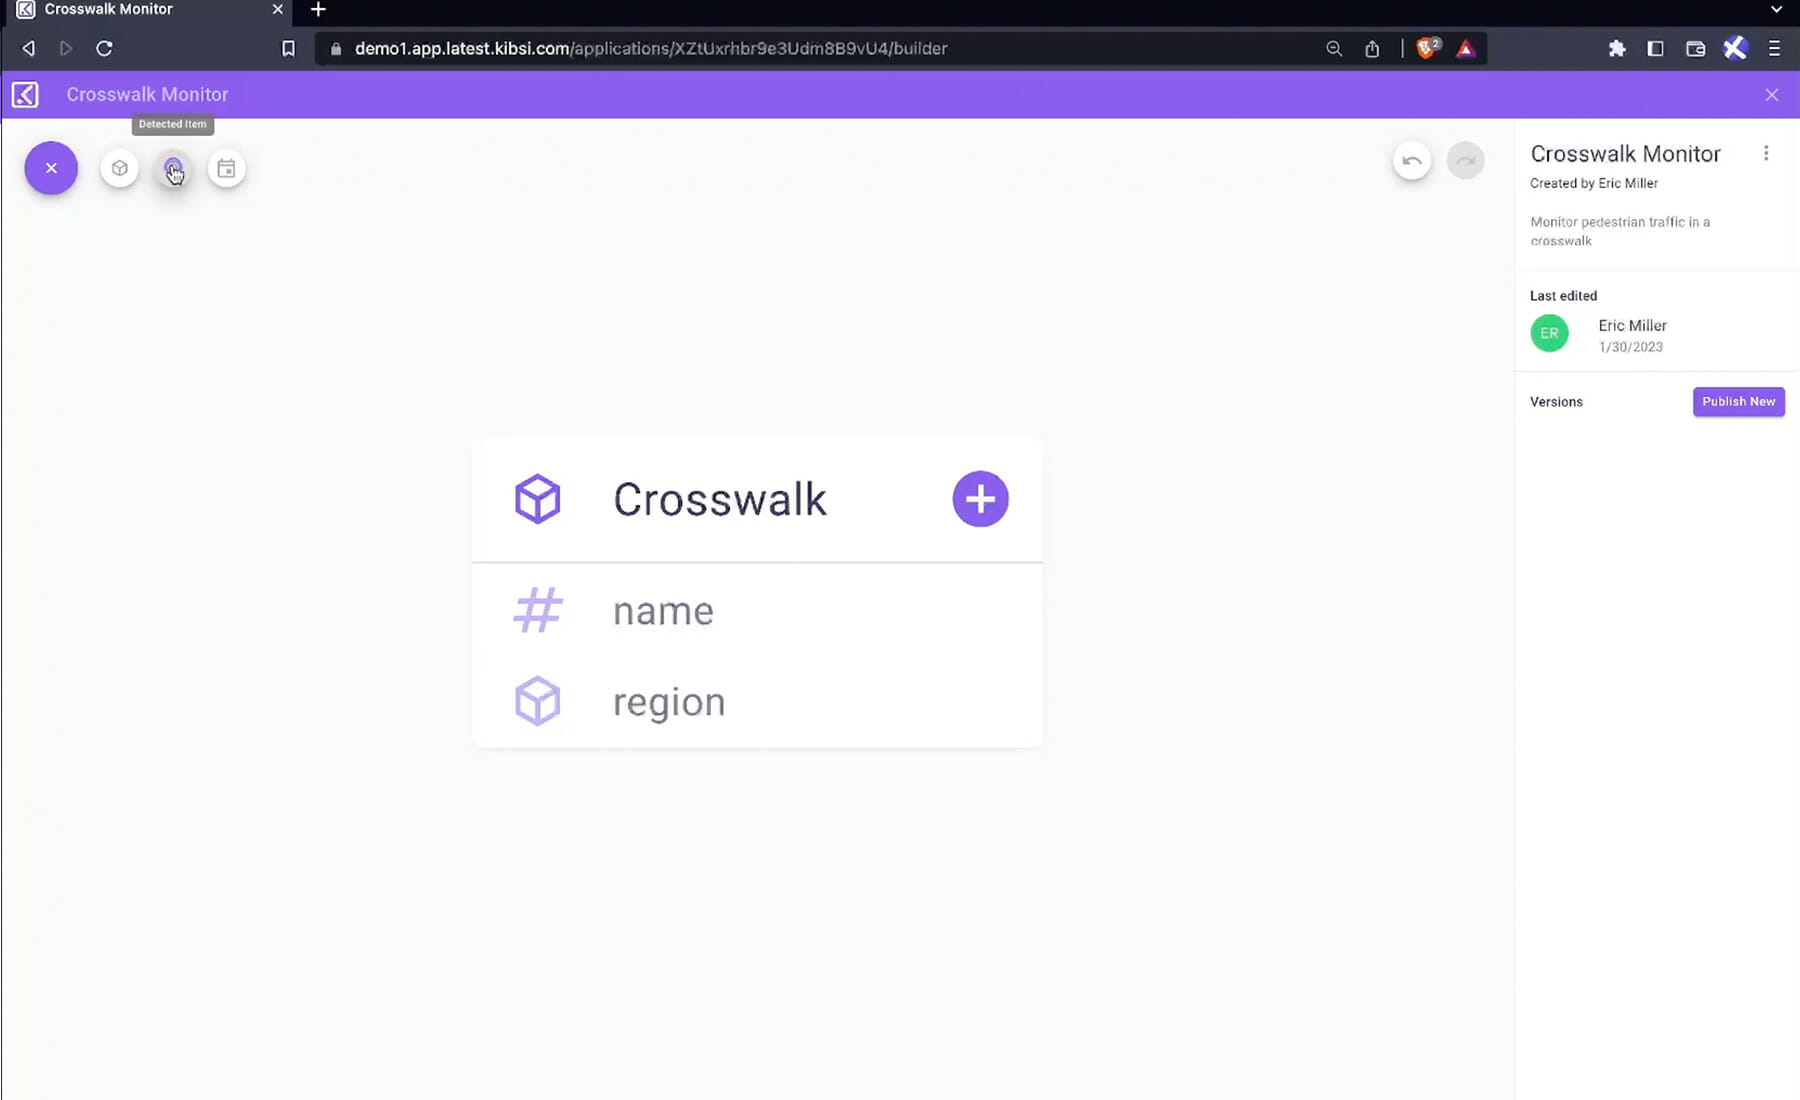
Unlike the crosswalk, we won’t know when or where our pedestrians will show up in our video stream, so we will use a “detected item” to identify our pedestrians.
Click on the “add item” icon and choose “detected item.”
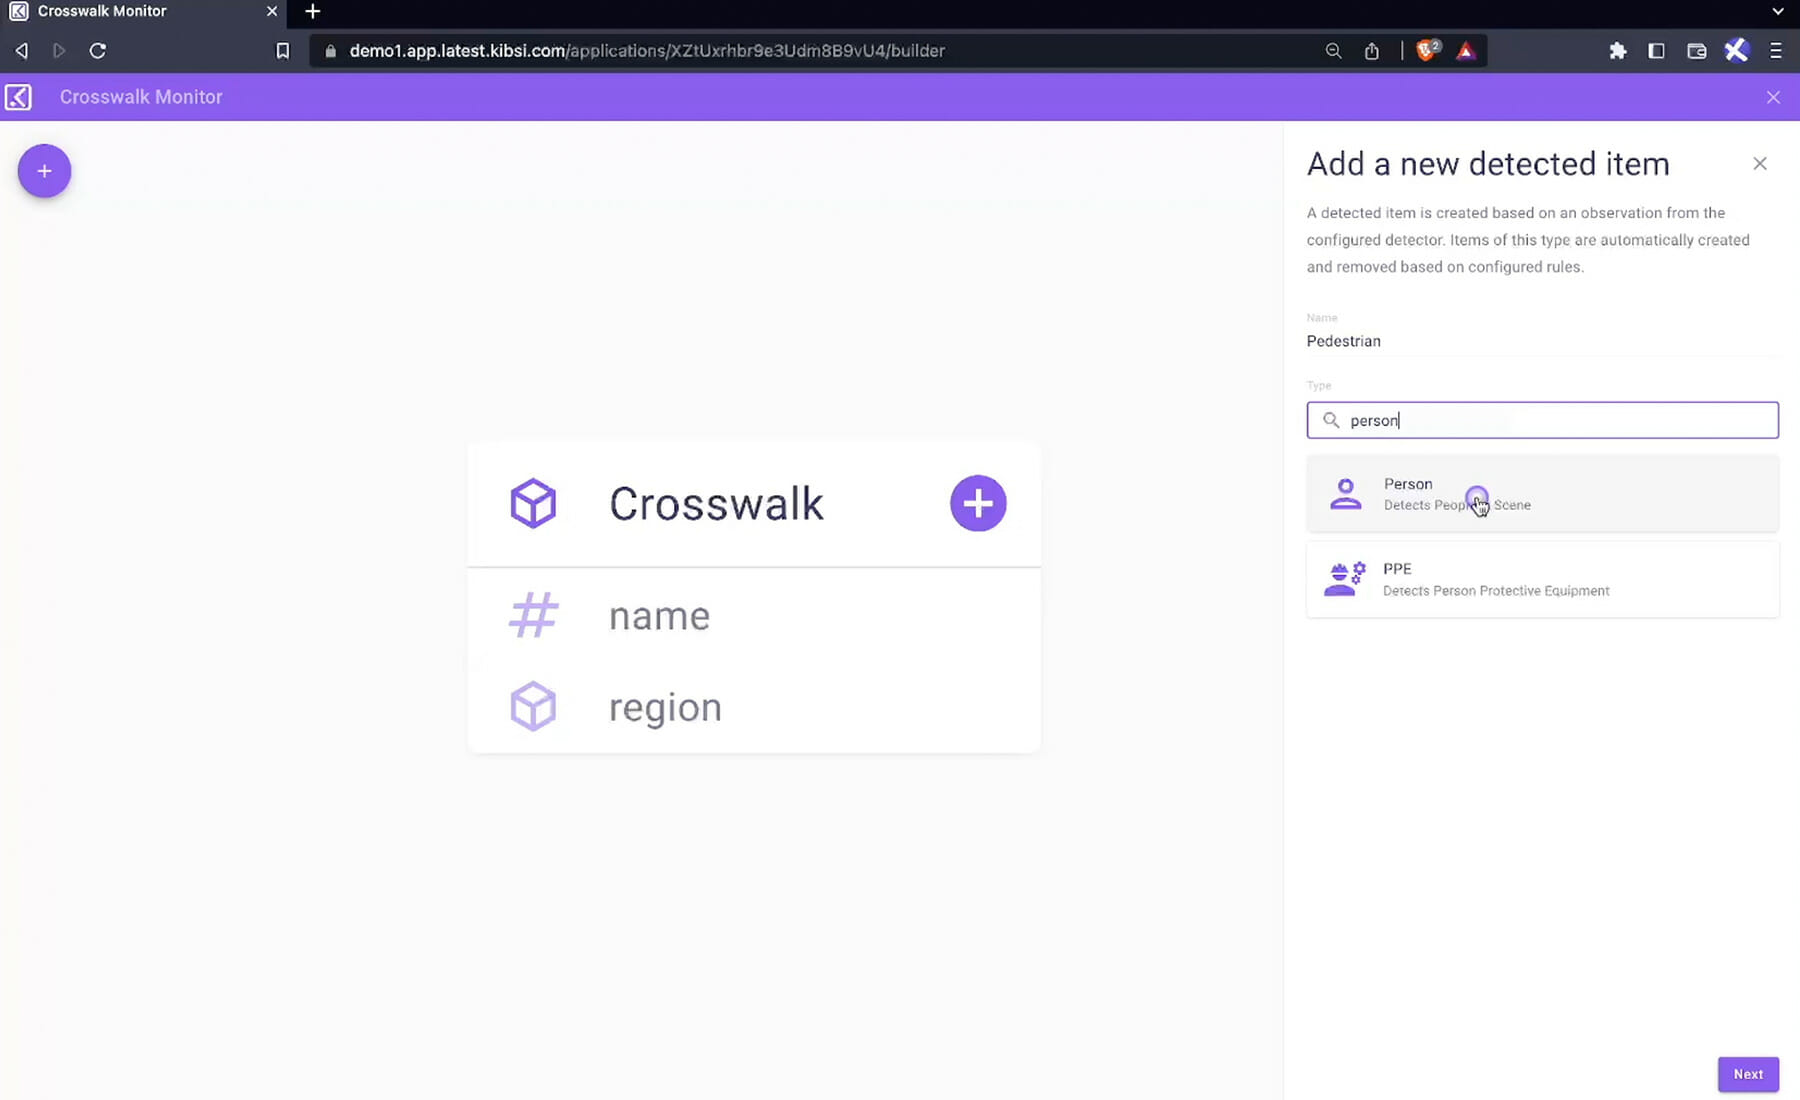
Name the item “pedestrian,” and then search Kibsi’s library of pre-trained detectors for the “person” detector. Select it, and click “next.”
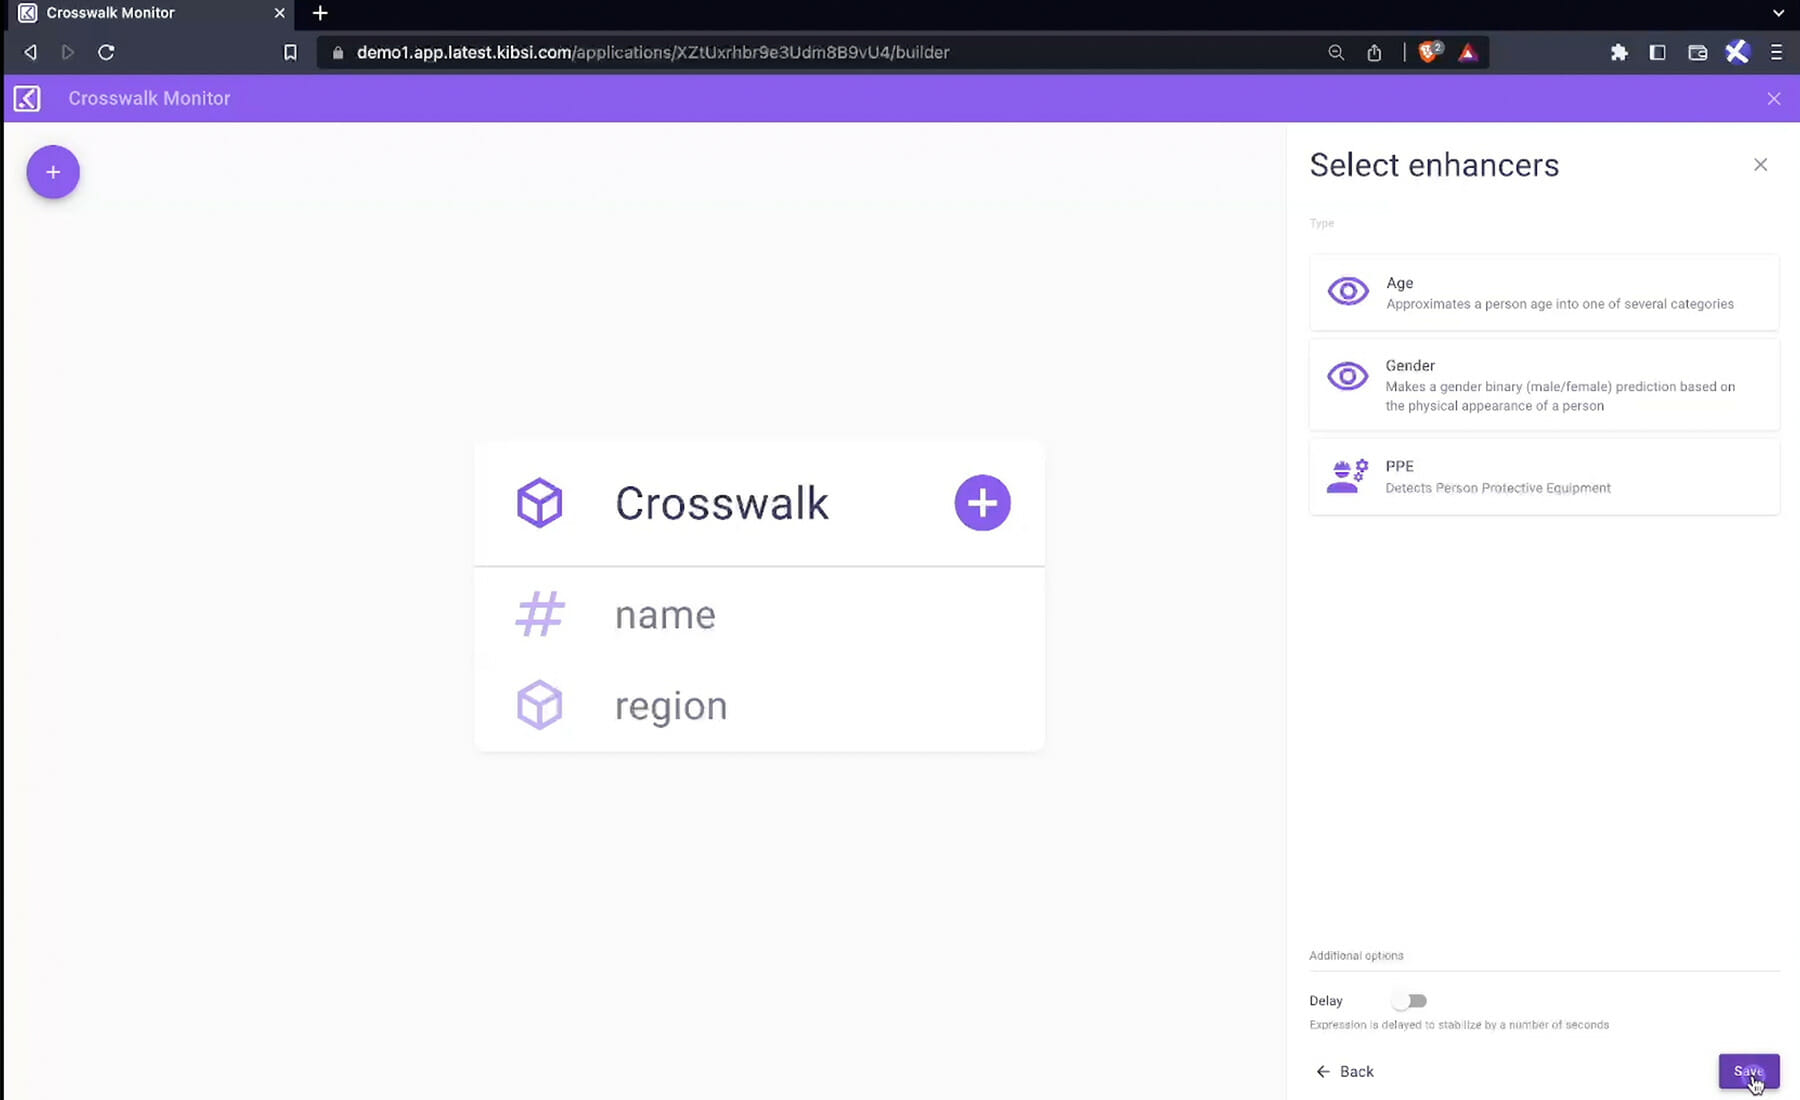
The Kibsi “person detector” has enhancers to capture data like age, gender, and even if the person is wearing personal protective equipment. But for our crosswalk application, we can accept the defaults.
Click “save.”
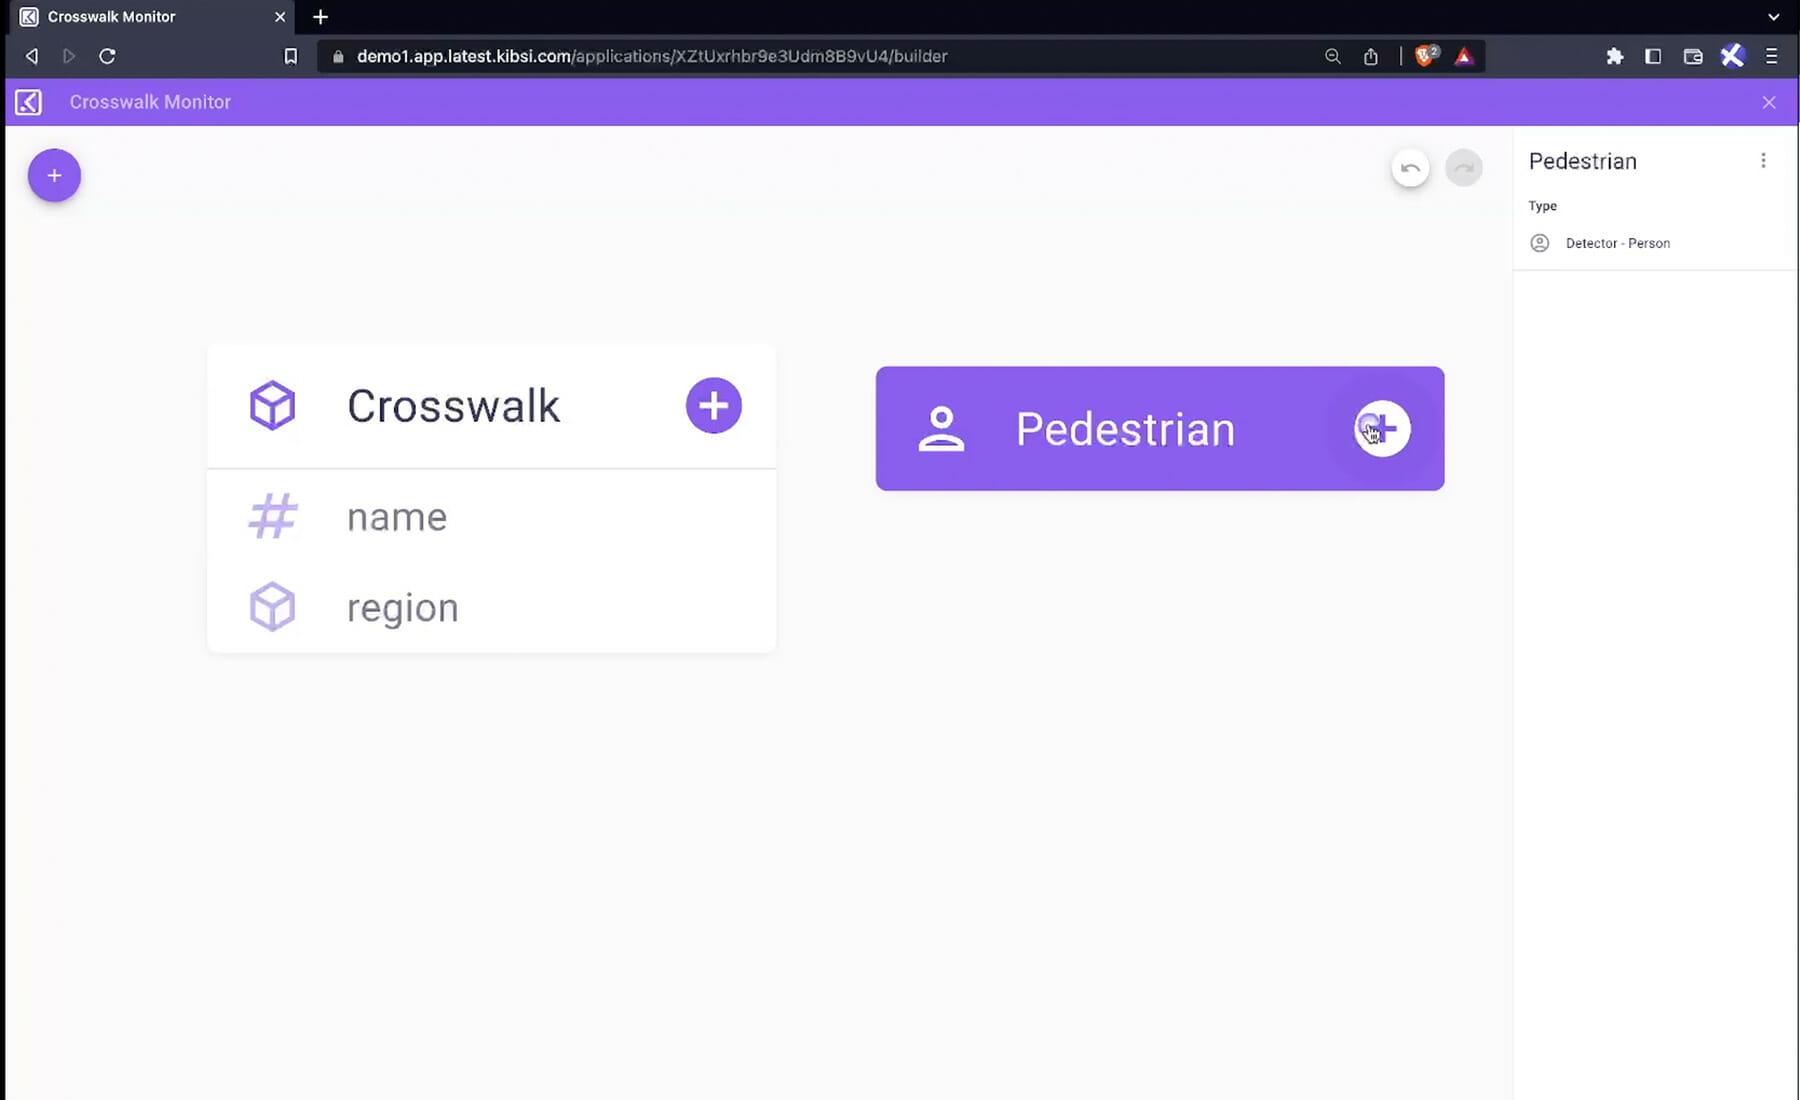
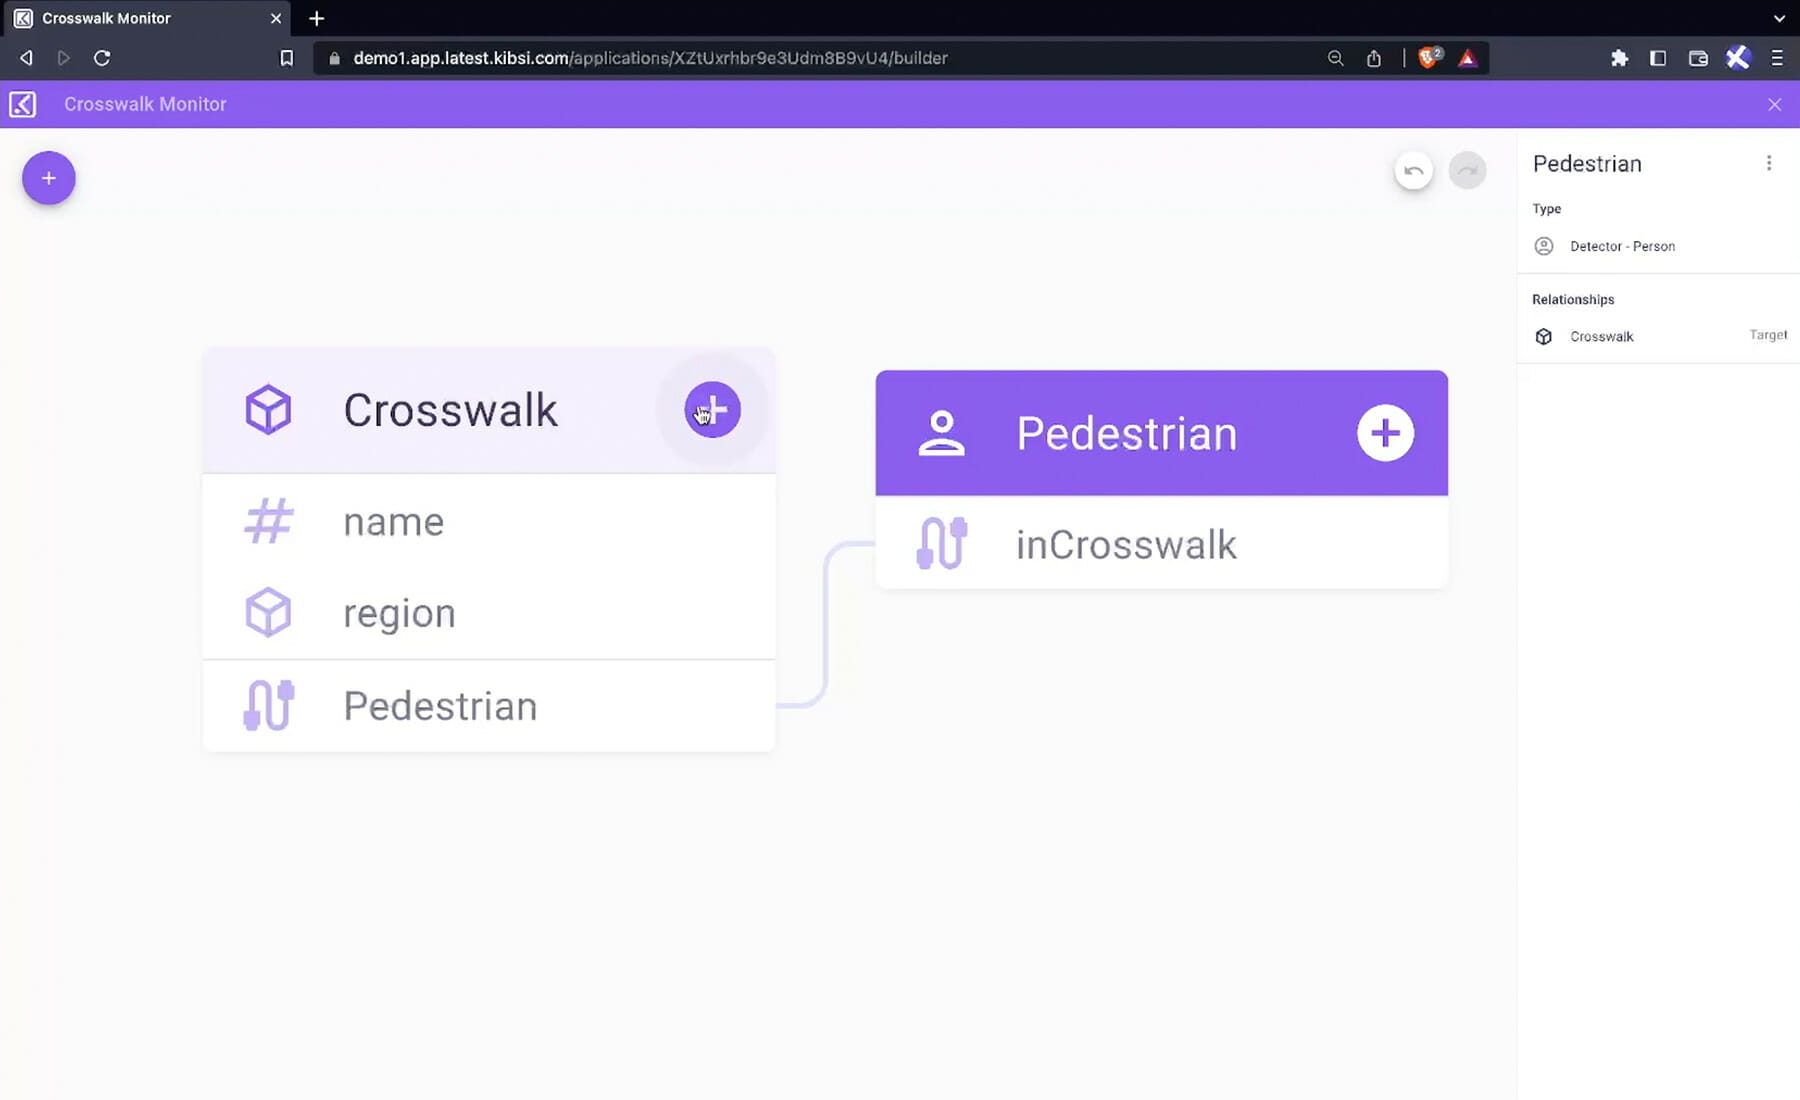
We now have items for the two types of data that we care about: pedestrians and crosswalks. But we will also want to know ‘when is a pedestrian actually using the crosswalk‘? To do this, we will need to create a relationship between the person and the crosswalk items.
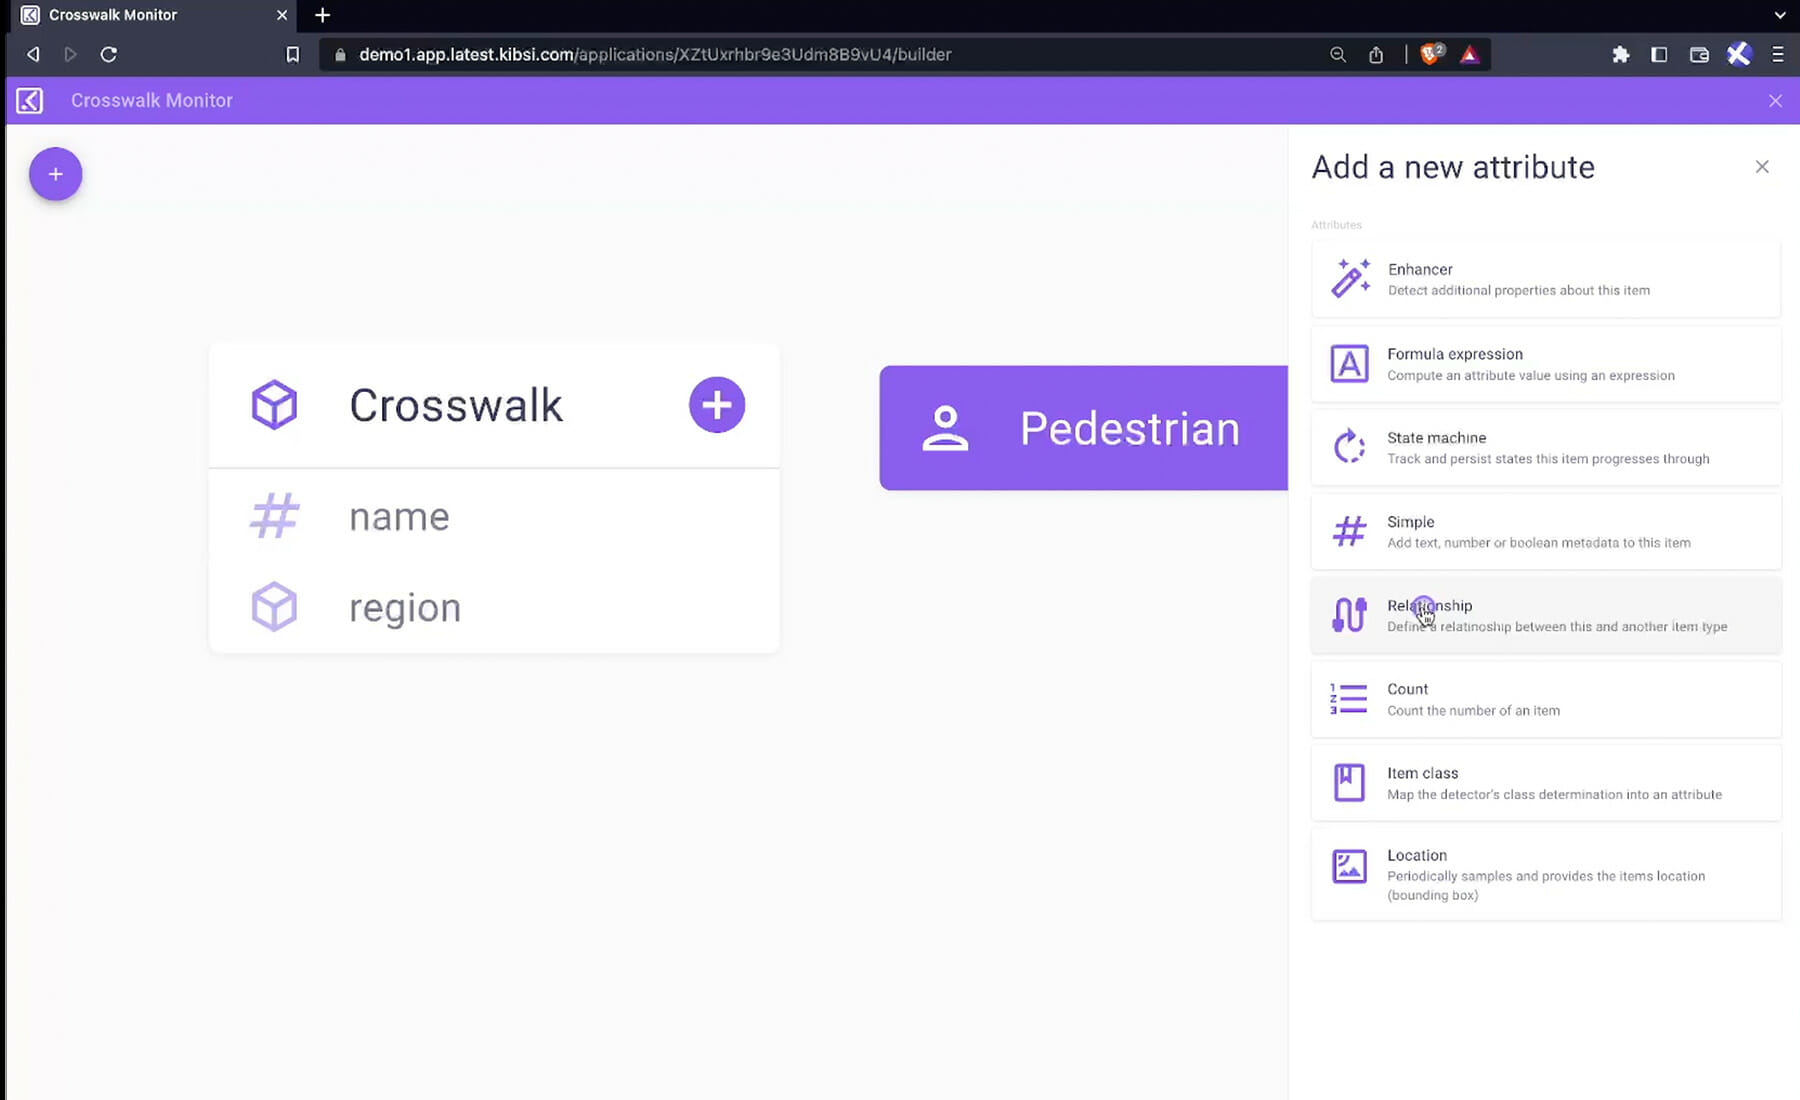
On the “pedestrian item,” click the “plus icon” to add a new attribute.
Choose “relationship.”
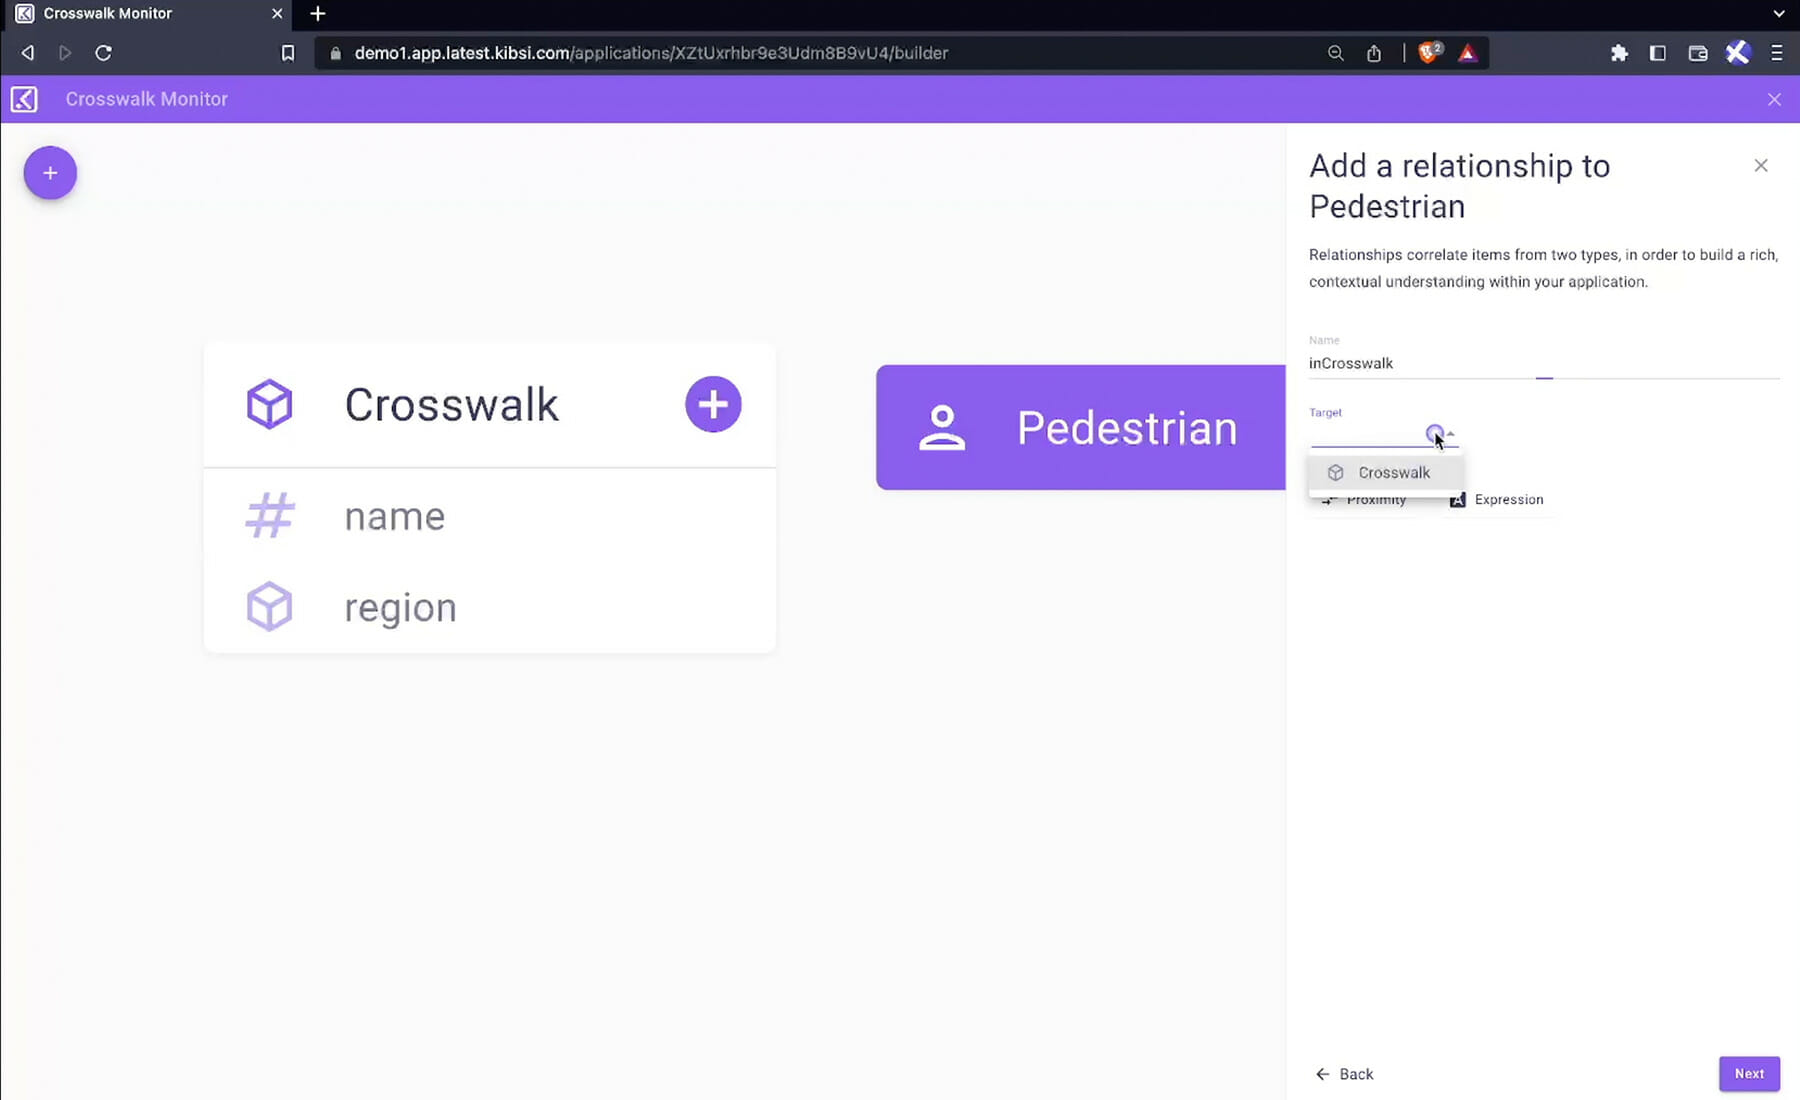
Name it “inCrosswalk” and choose the “crosswalk” as the target of the relationship.
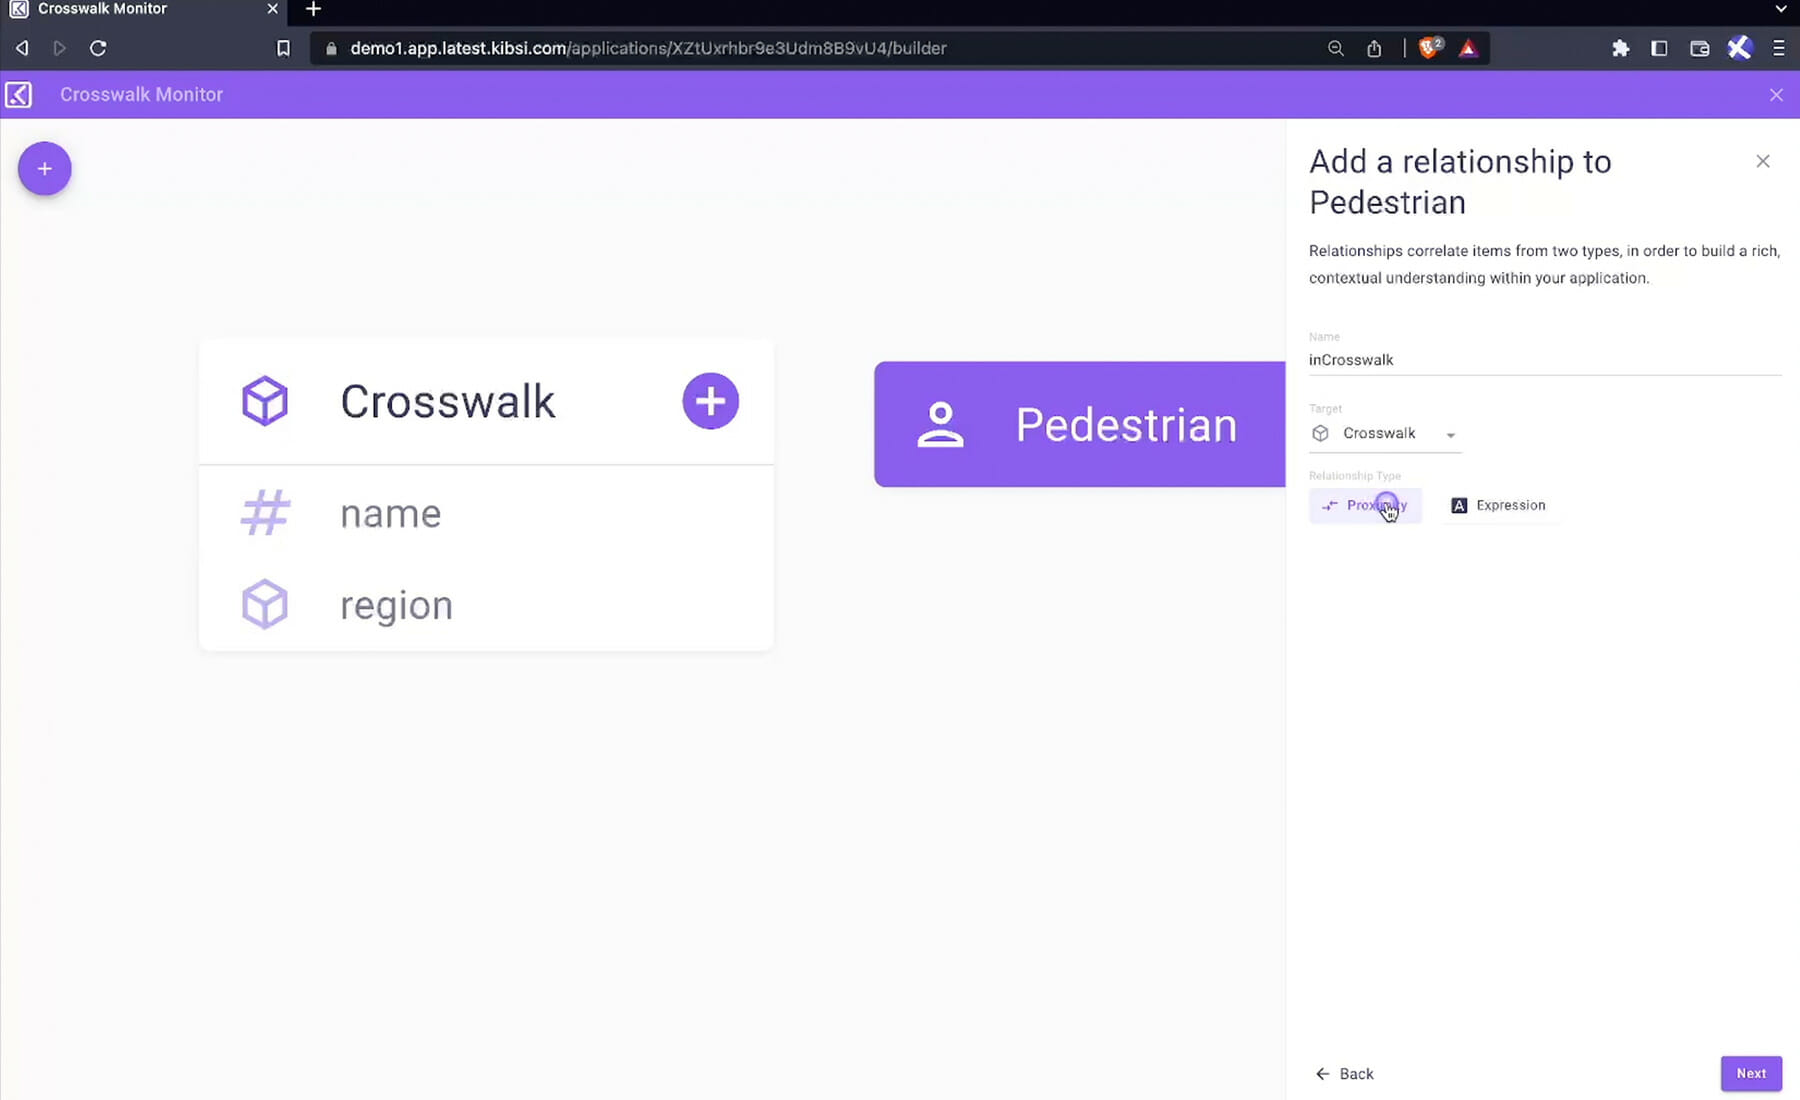
Choose “proximity” and click “next.”
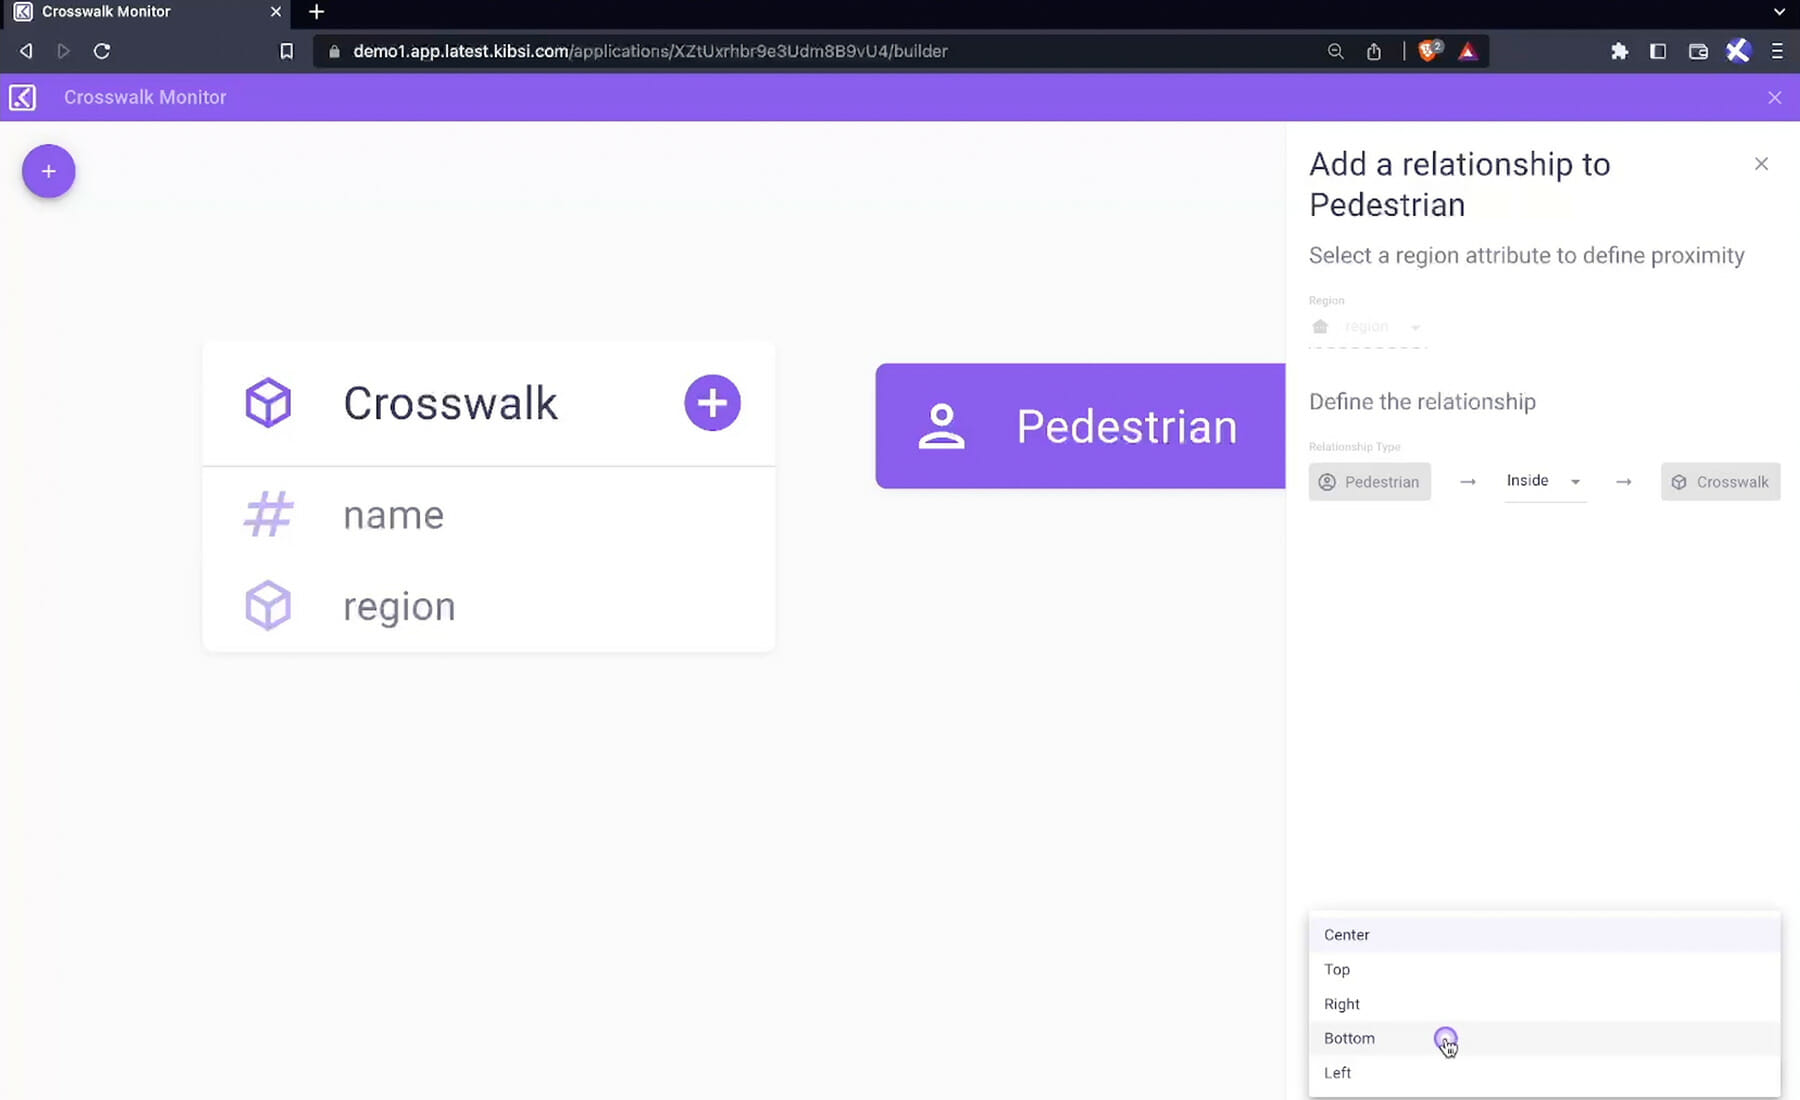
For “evaluation position,” choose “bottom,” and then click “save.”
Even though our Kibsi application will detect the entire person, we specified bottom, in this case, to tell our app that the edge beneath the person’s feet should be used to determine if they are actually inside the crosswalk.
Now, there’s only one data point still missing from our application, and that is ‘what is the count of pedestrians using the crosswalk?‘
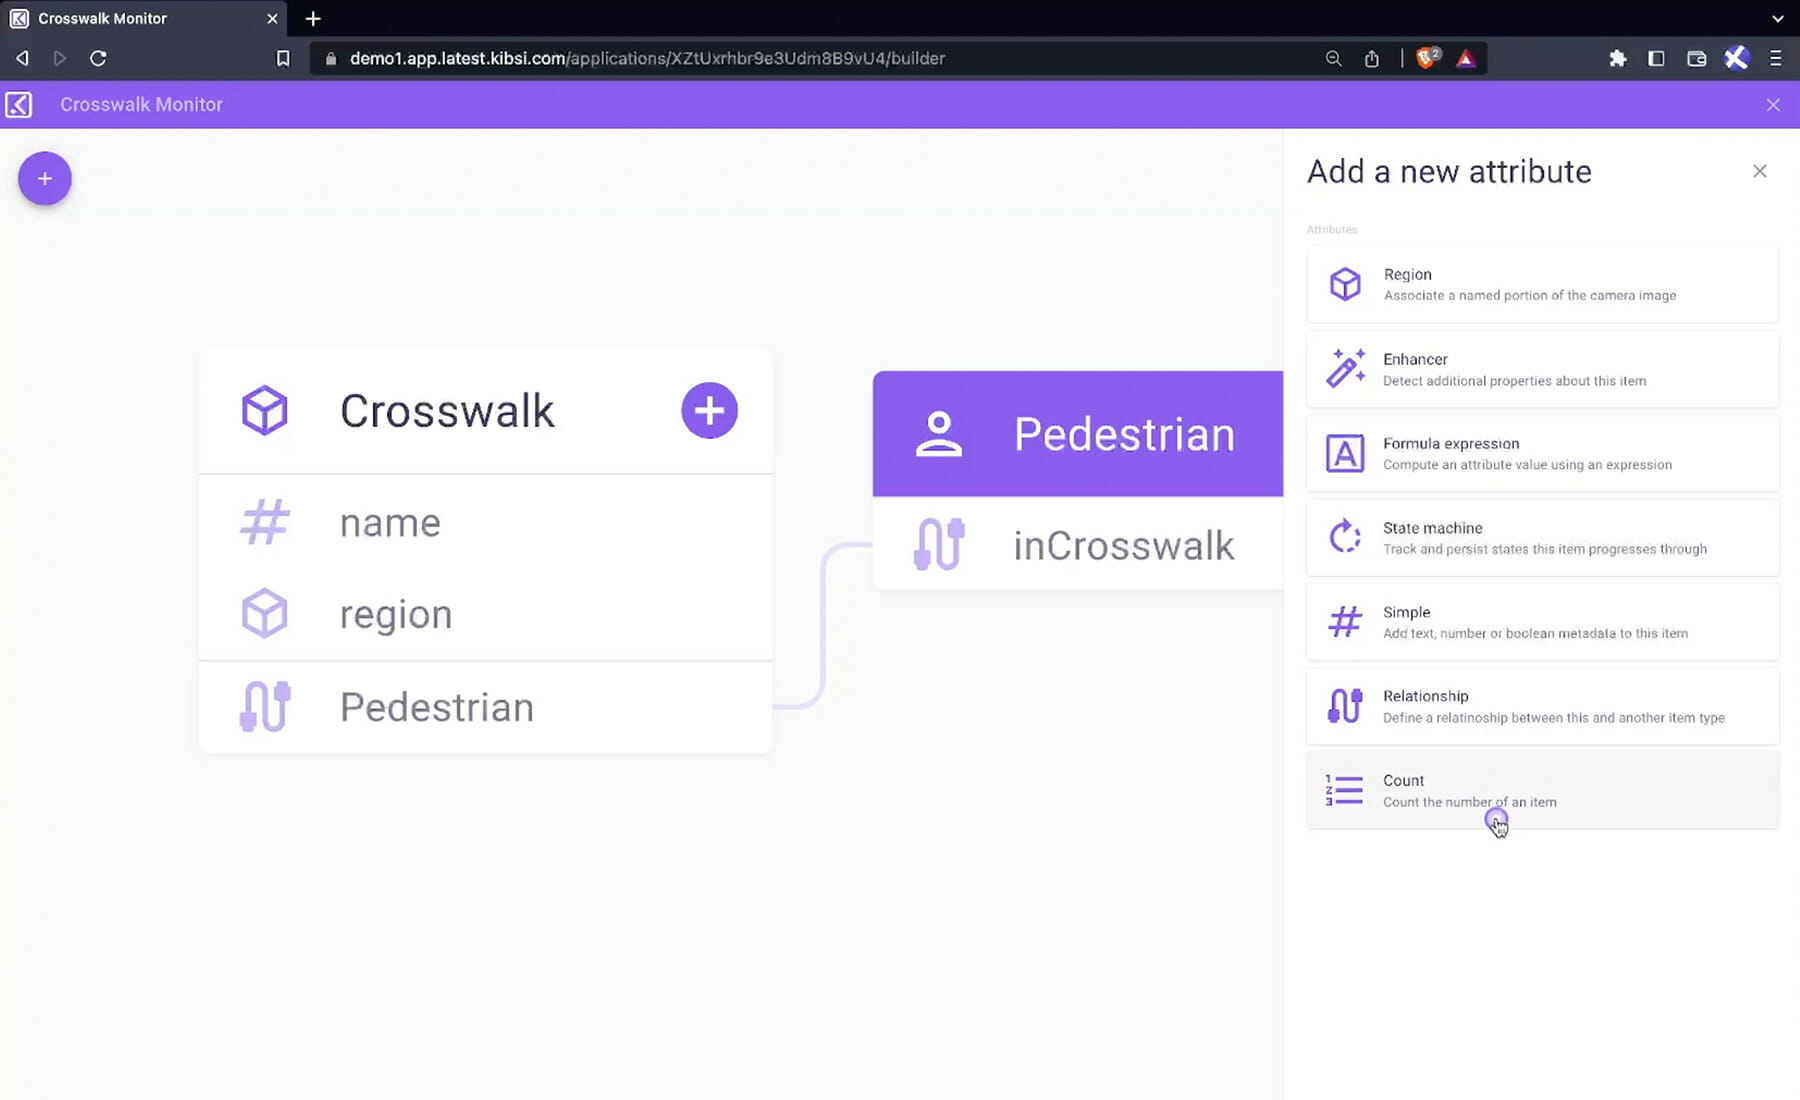
To capture this data, click the “plus icon” on the “crosswalk object” to add a new attribute.
Choose “count.”
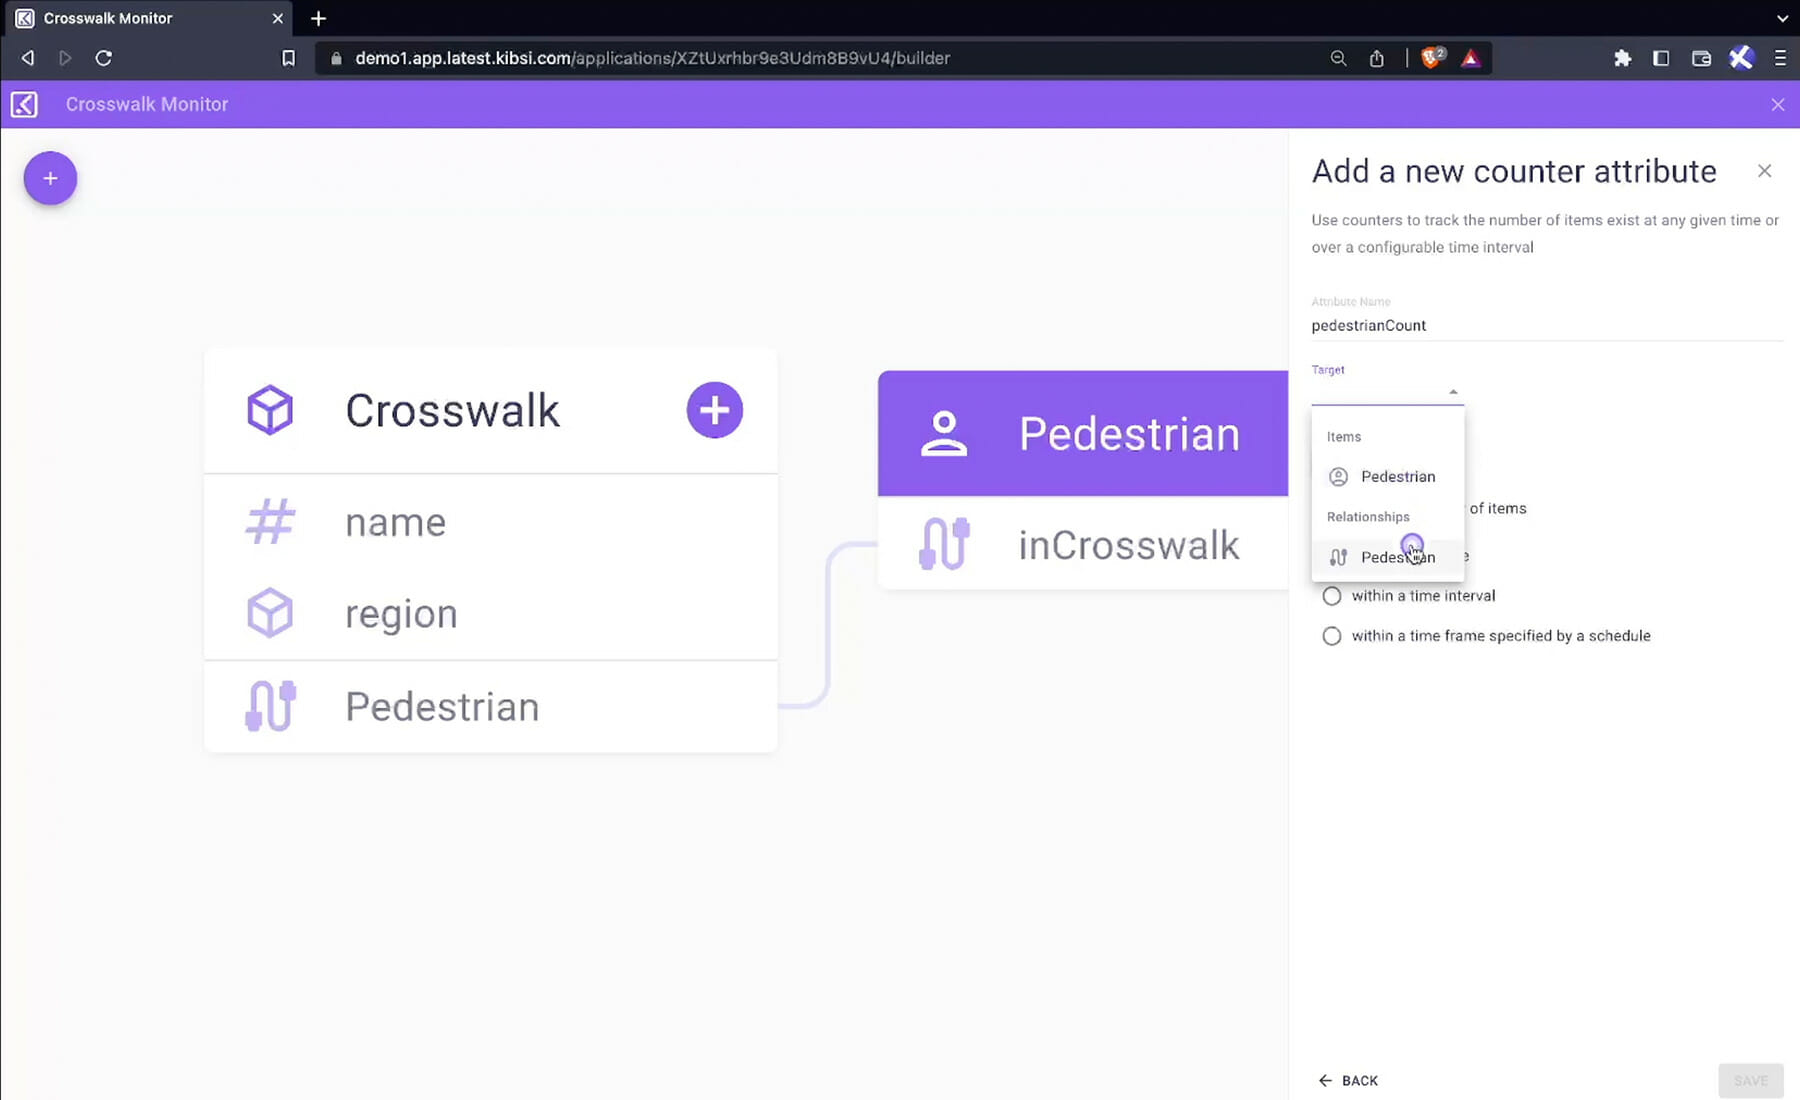
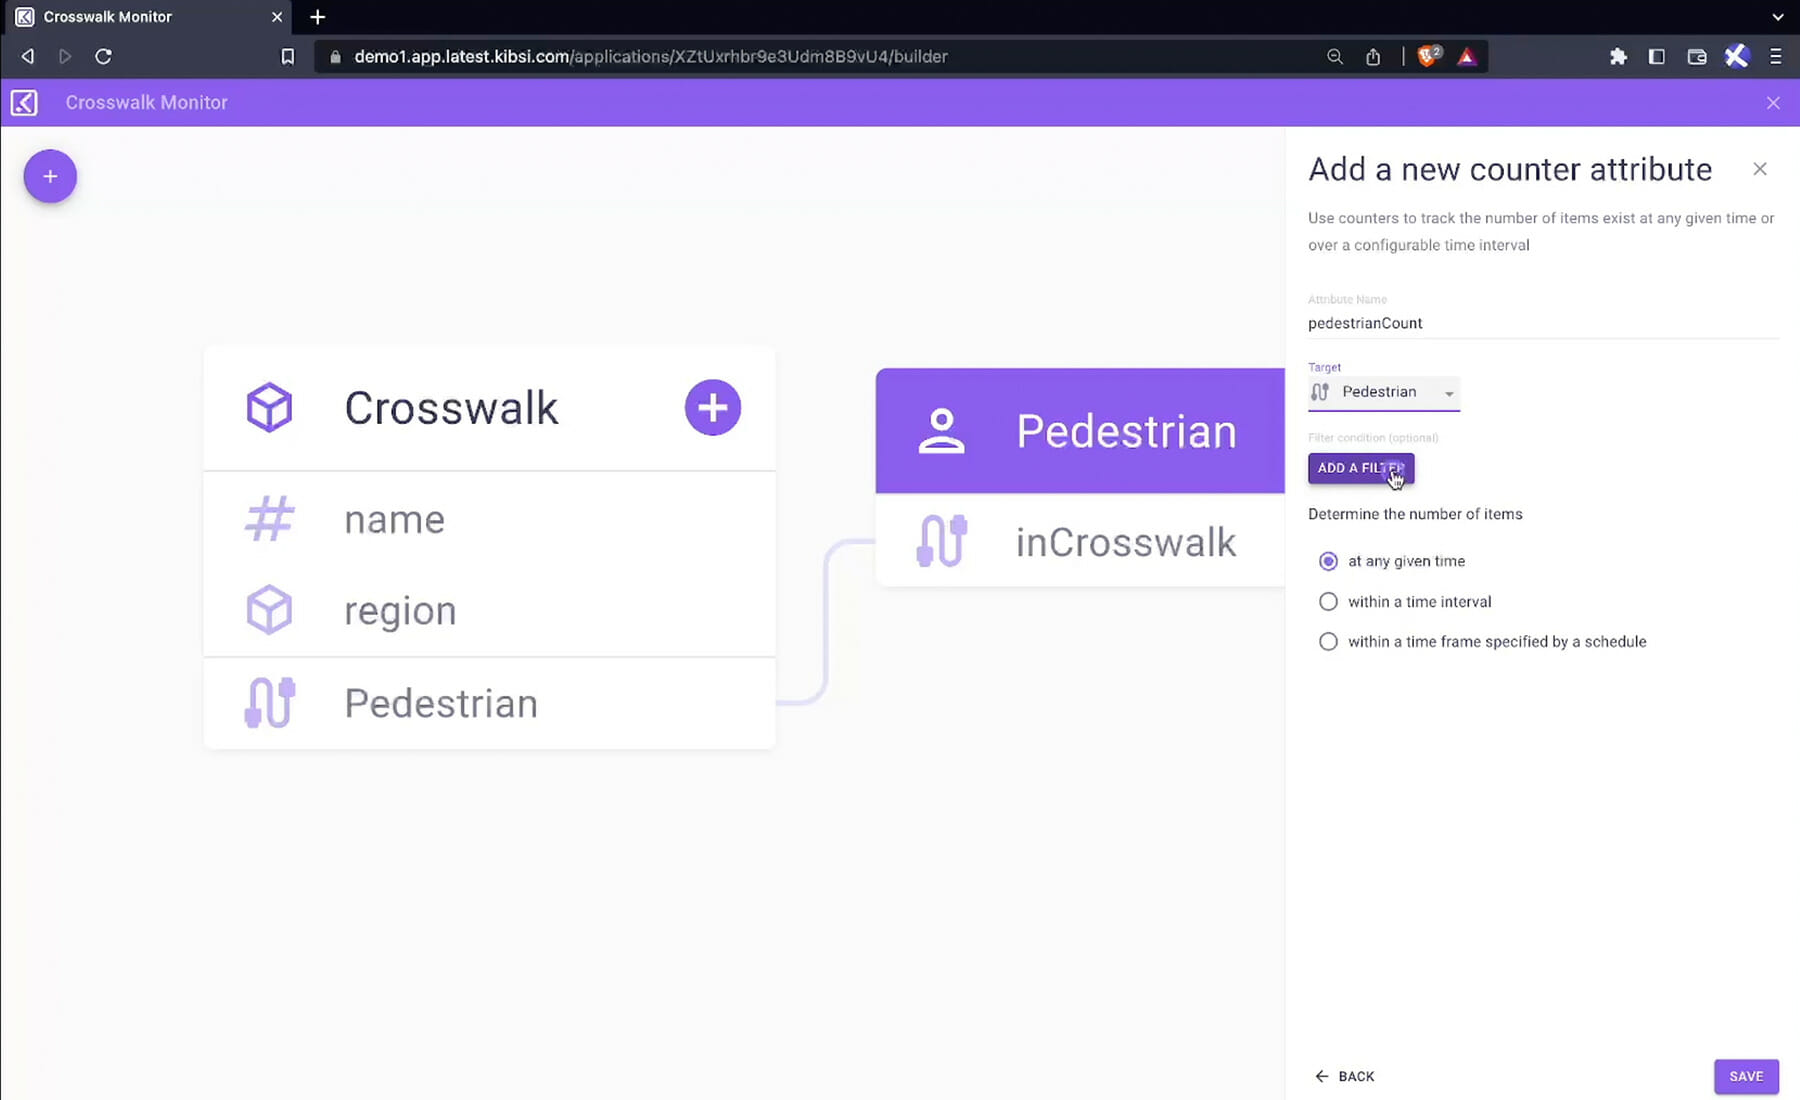
Name the attribute “pedestrian Count,” and then under the “target” dropdown, select “pedestrian.”
Next, click on “add a filter.”
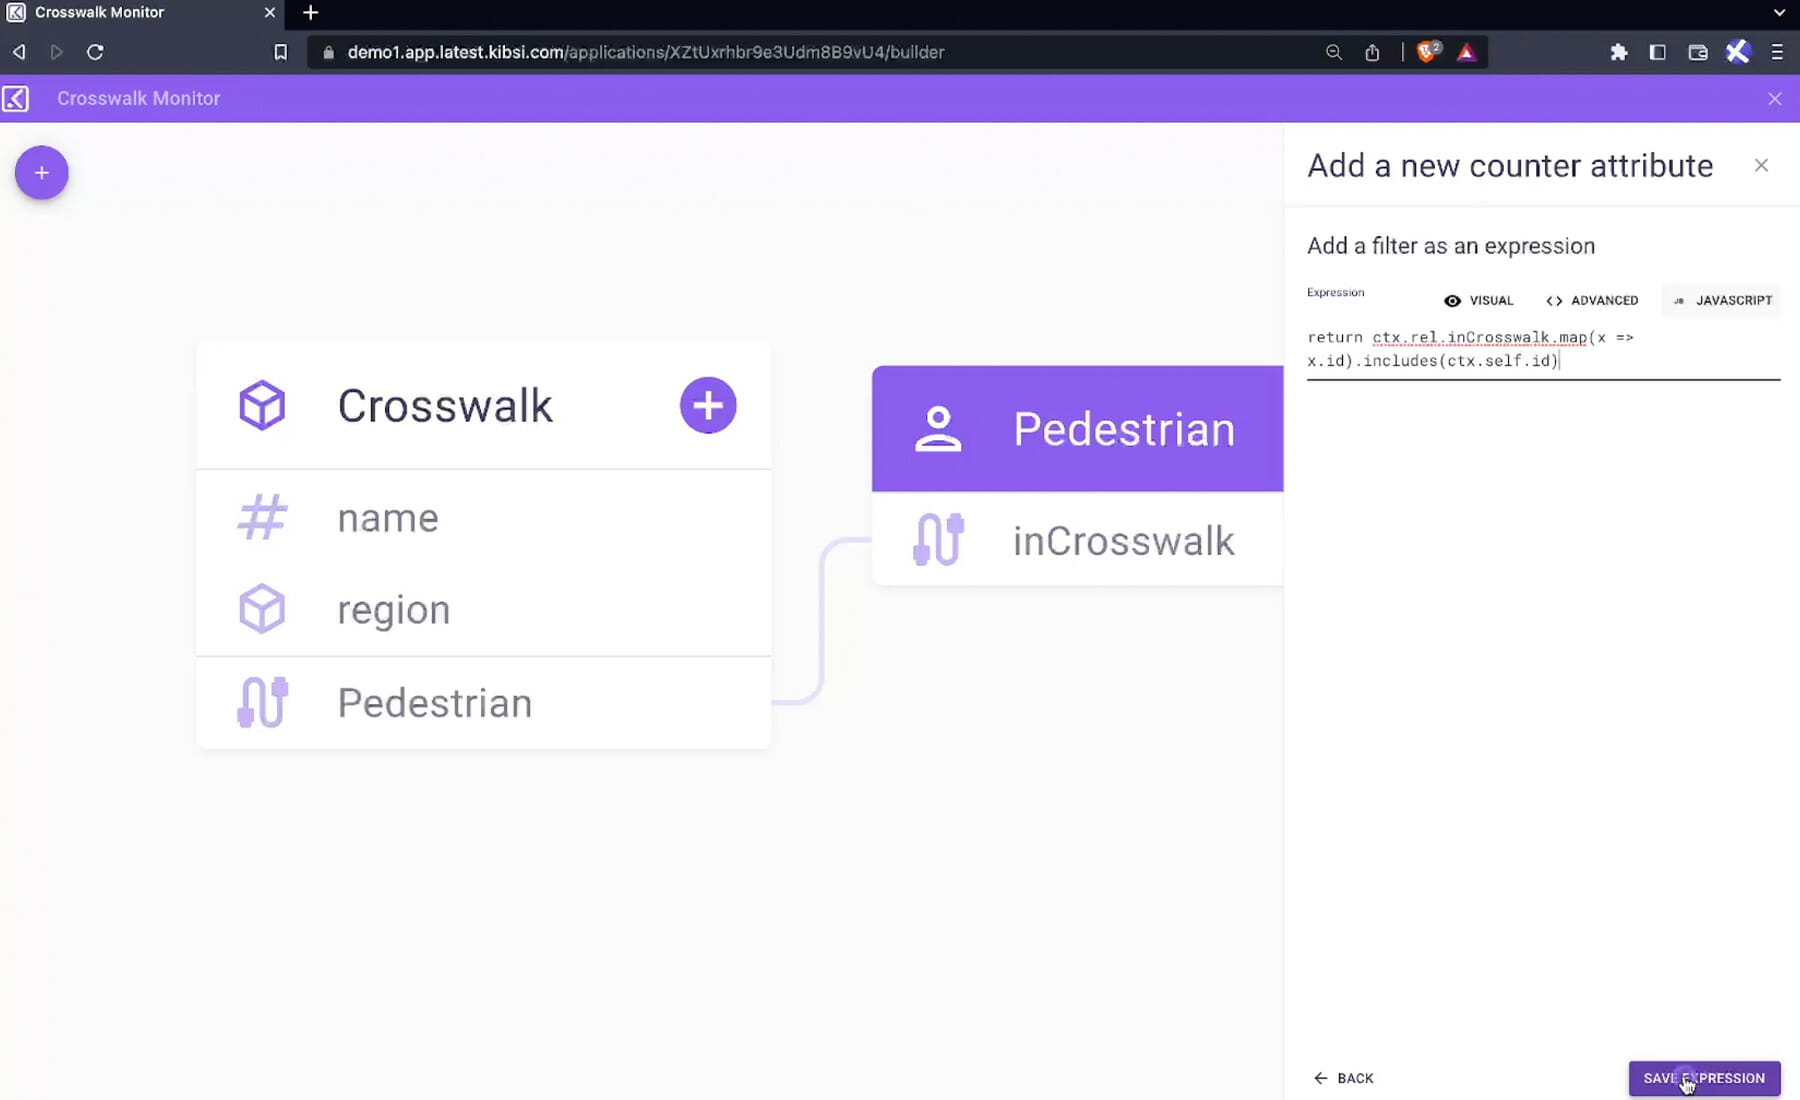
In the ” javascript” tab, add the filter expression:
return ctx.rel.insideCrosswalk.map(x => x.id).includes(ctx.self.id)
Please note that we will cover expressions in more detail in future Getting Started videos.
Next, click “save expression.”
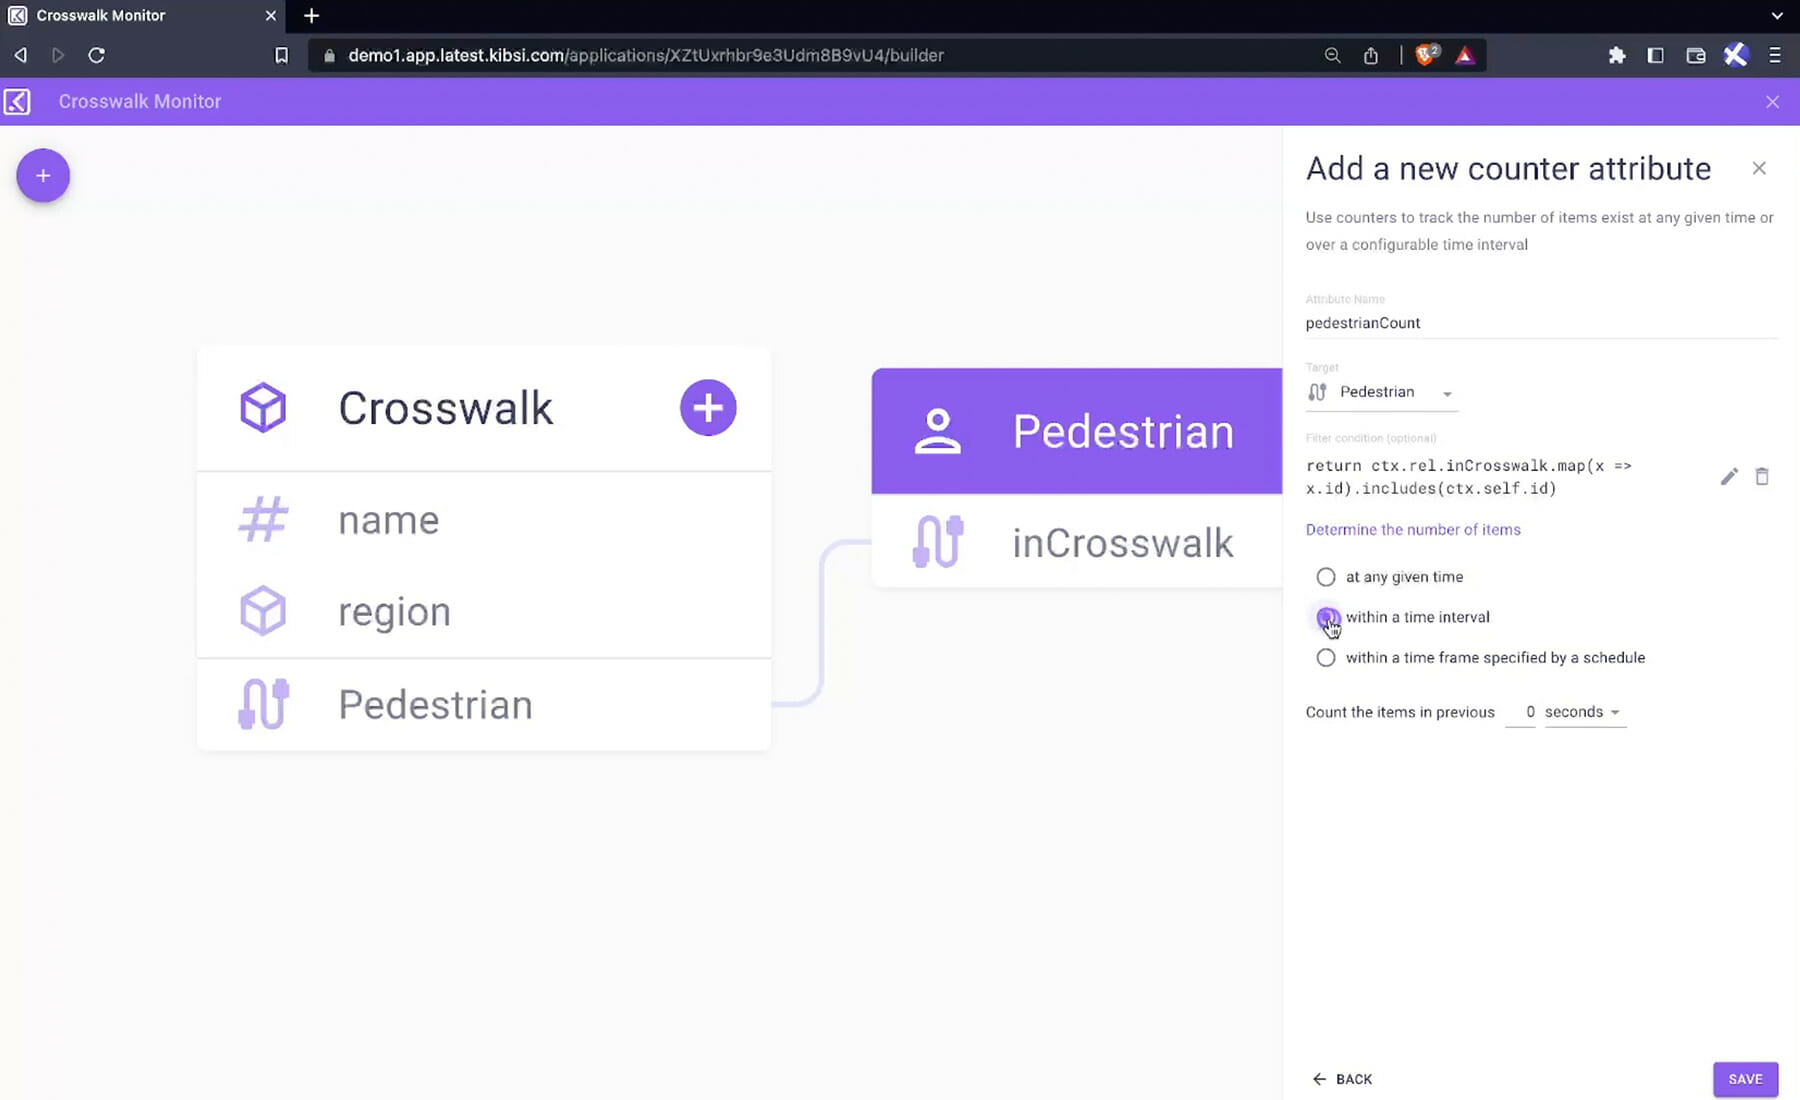
Next, configure our counter to determine the number of items “within a time interval.”
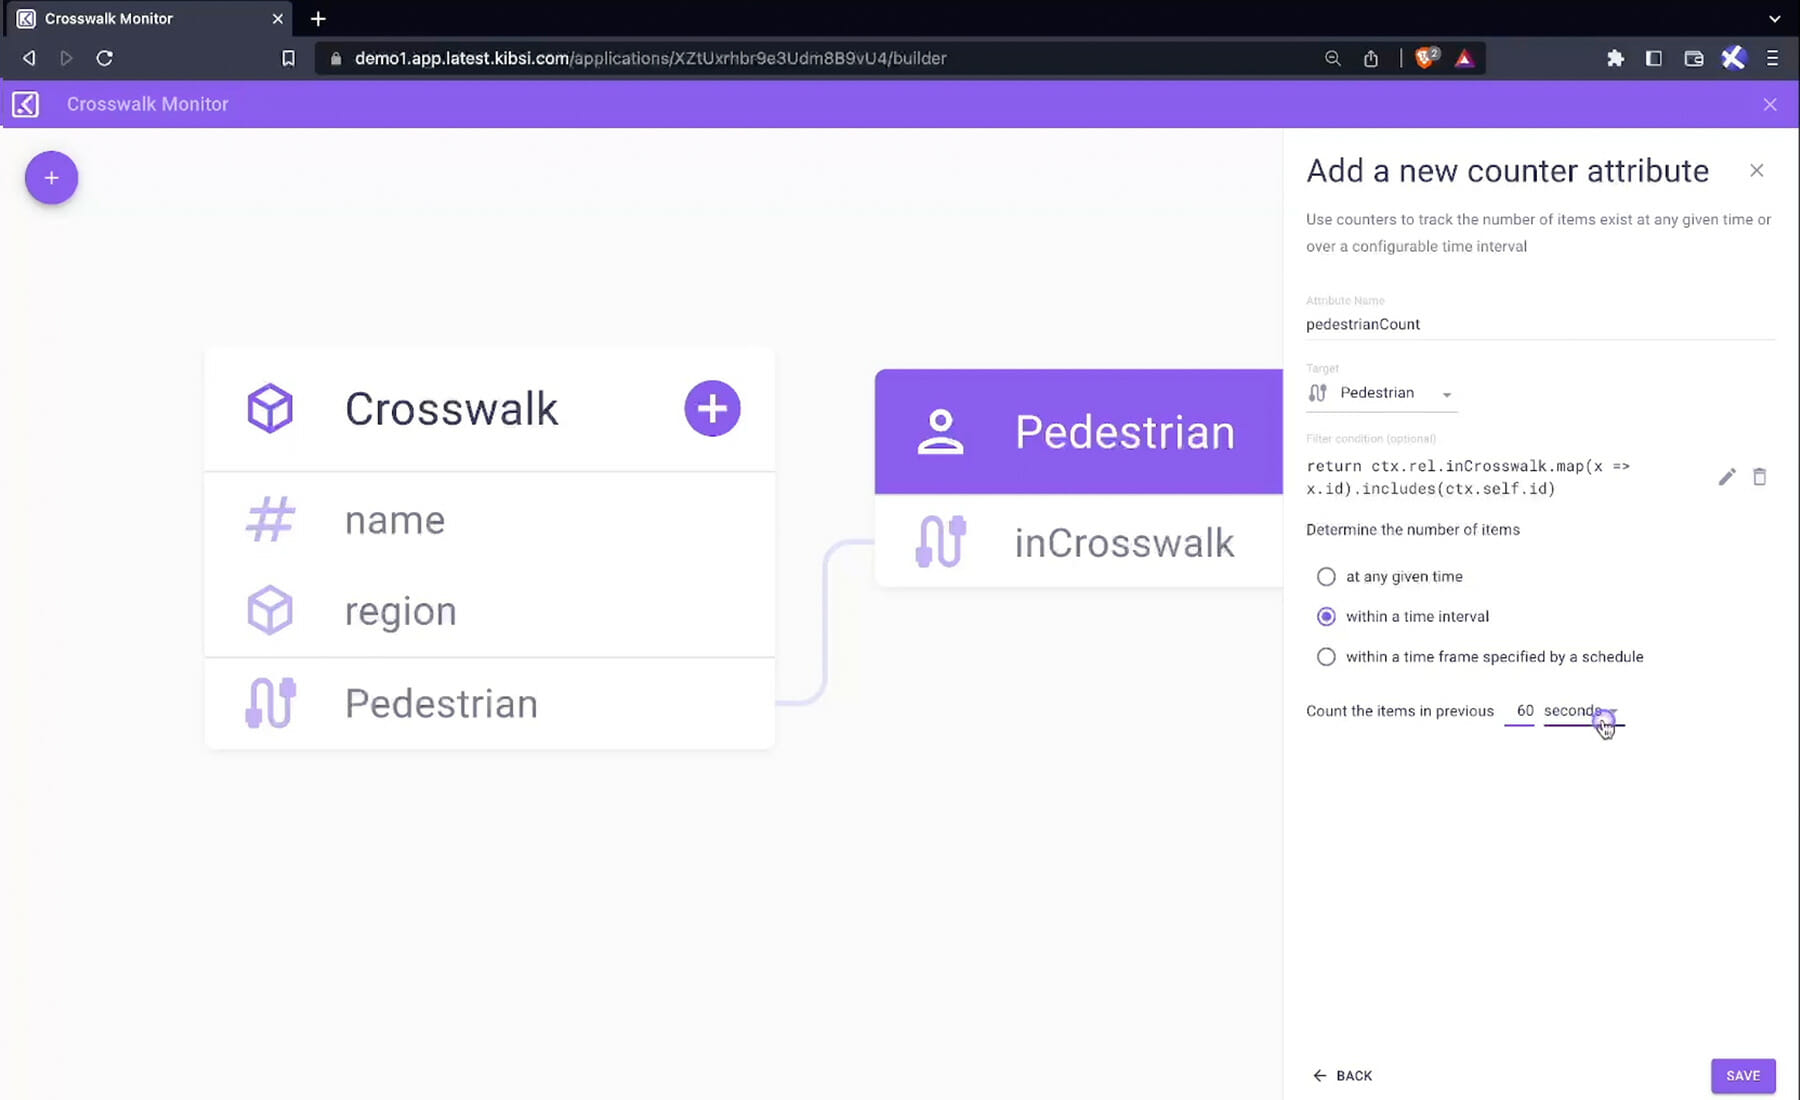
Type in “60 seconds” under “count the items in the previous _ seconds” and click “save.”
That’s it! The Kibsi application has everything it needs to transform our video stream into the data we want to see.
Next, select “publish new” to publish the application. You can provide quick notes about this version and click “save.”
Creating a site in Kibsi to deploy our application:
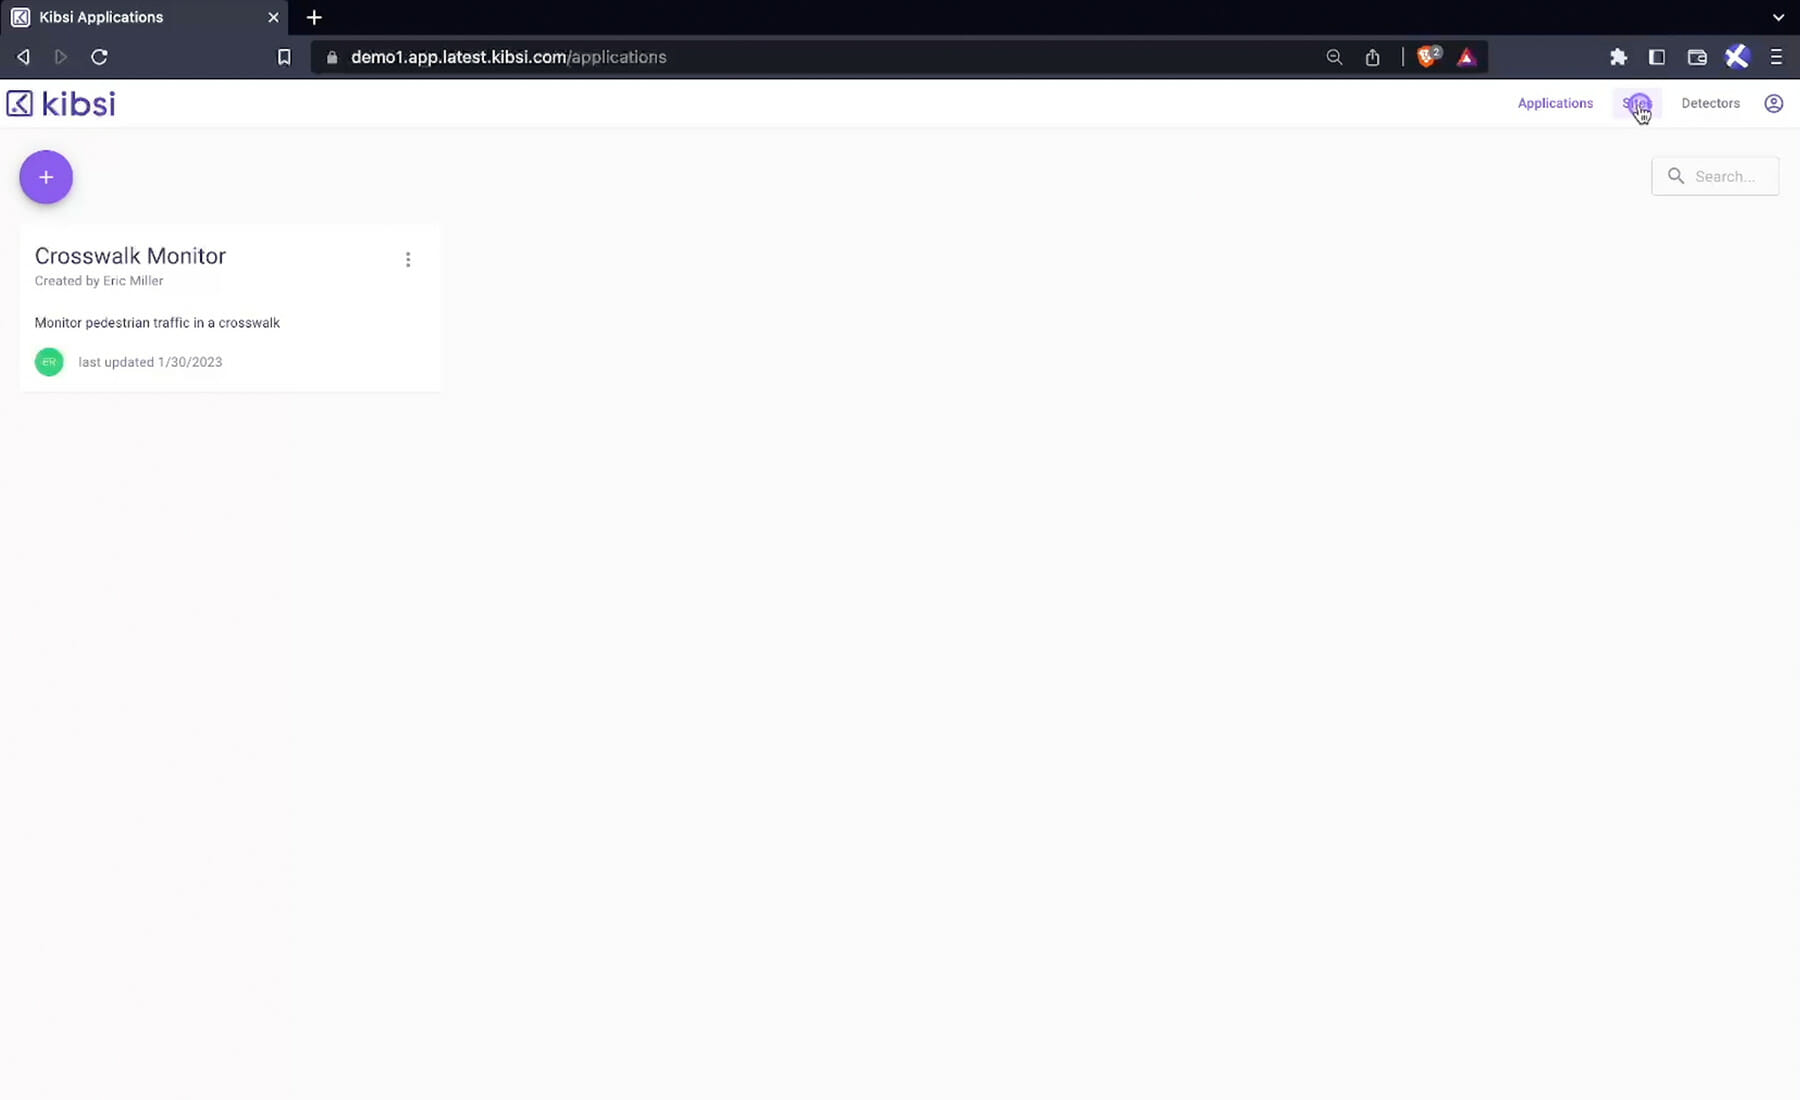
In the upper right, click on “sites”
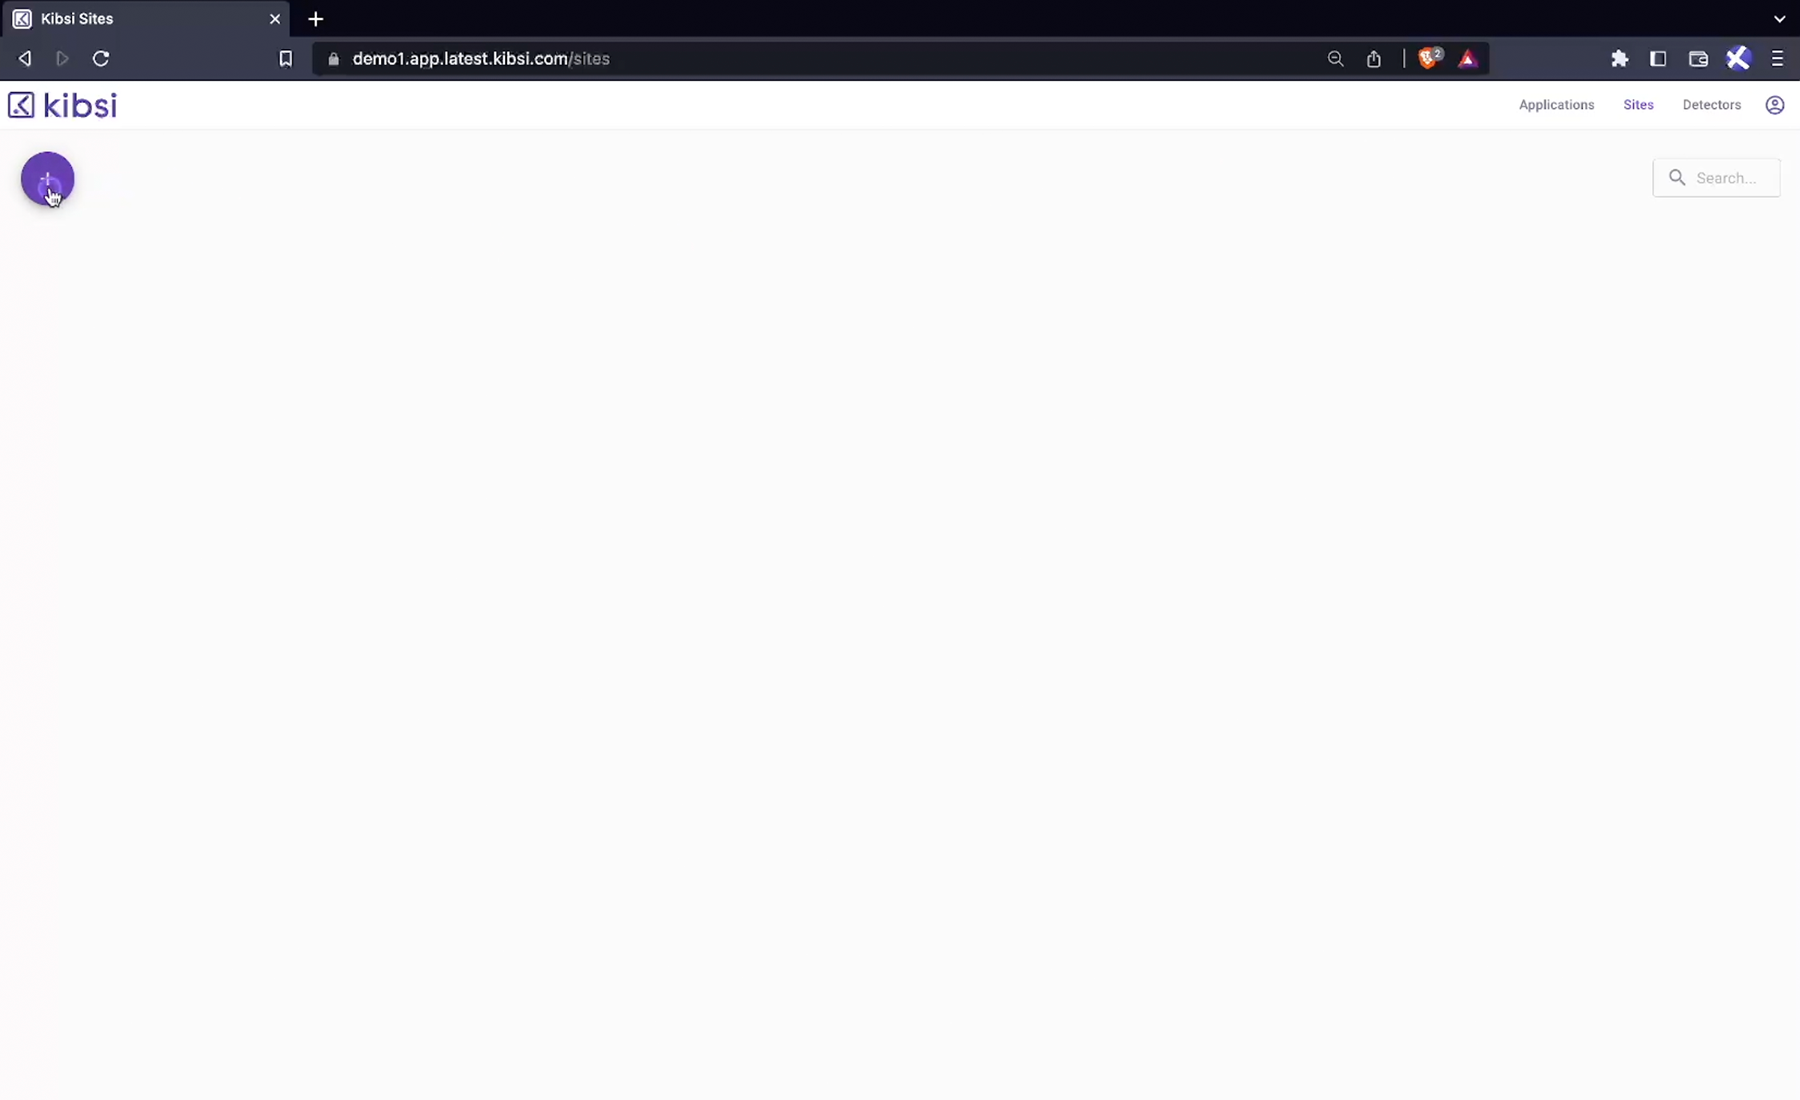
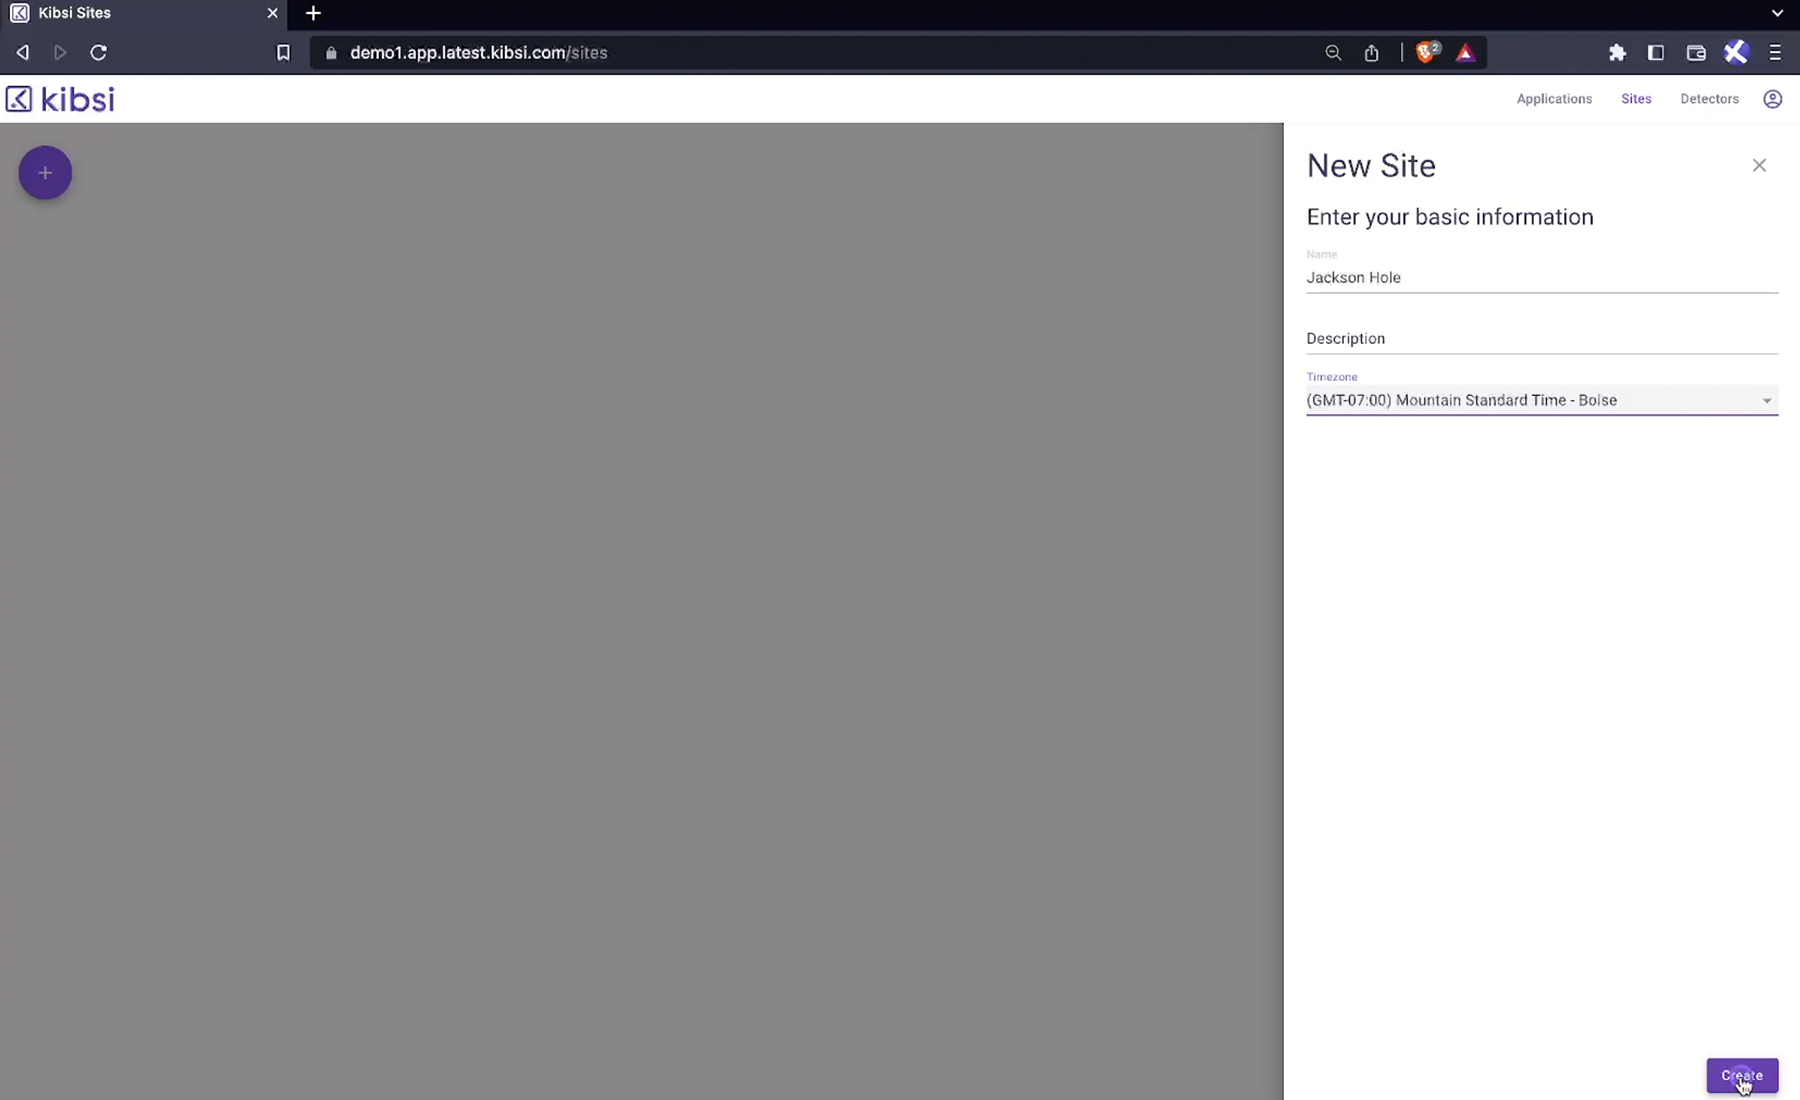
Click on the “plus icon” to create a new site for our Hello World application.
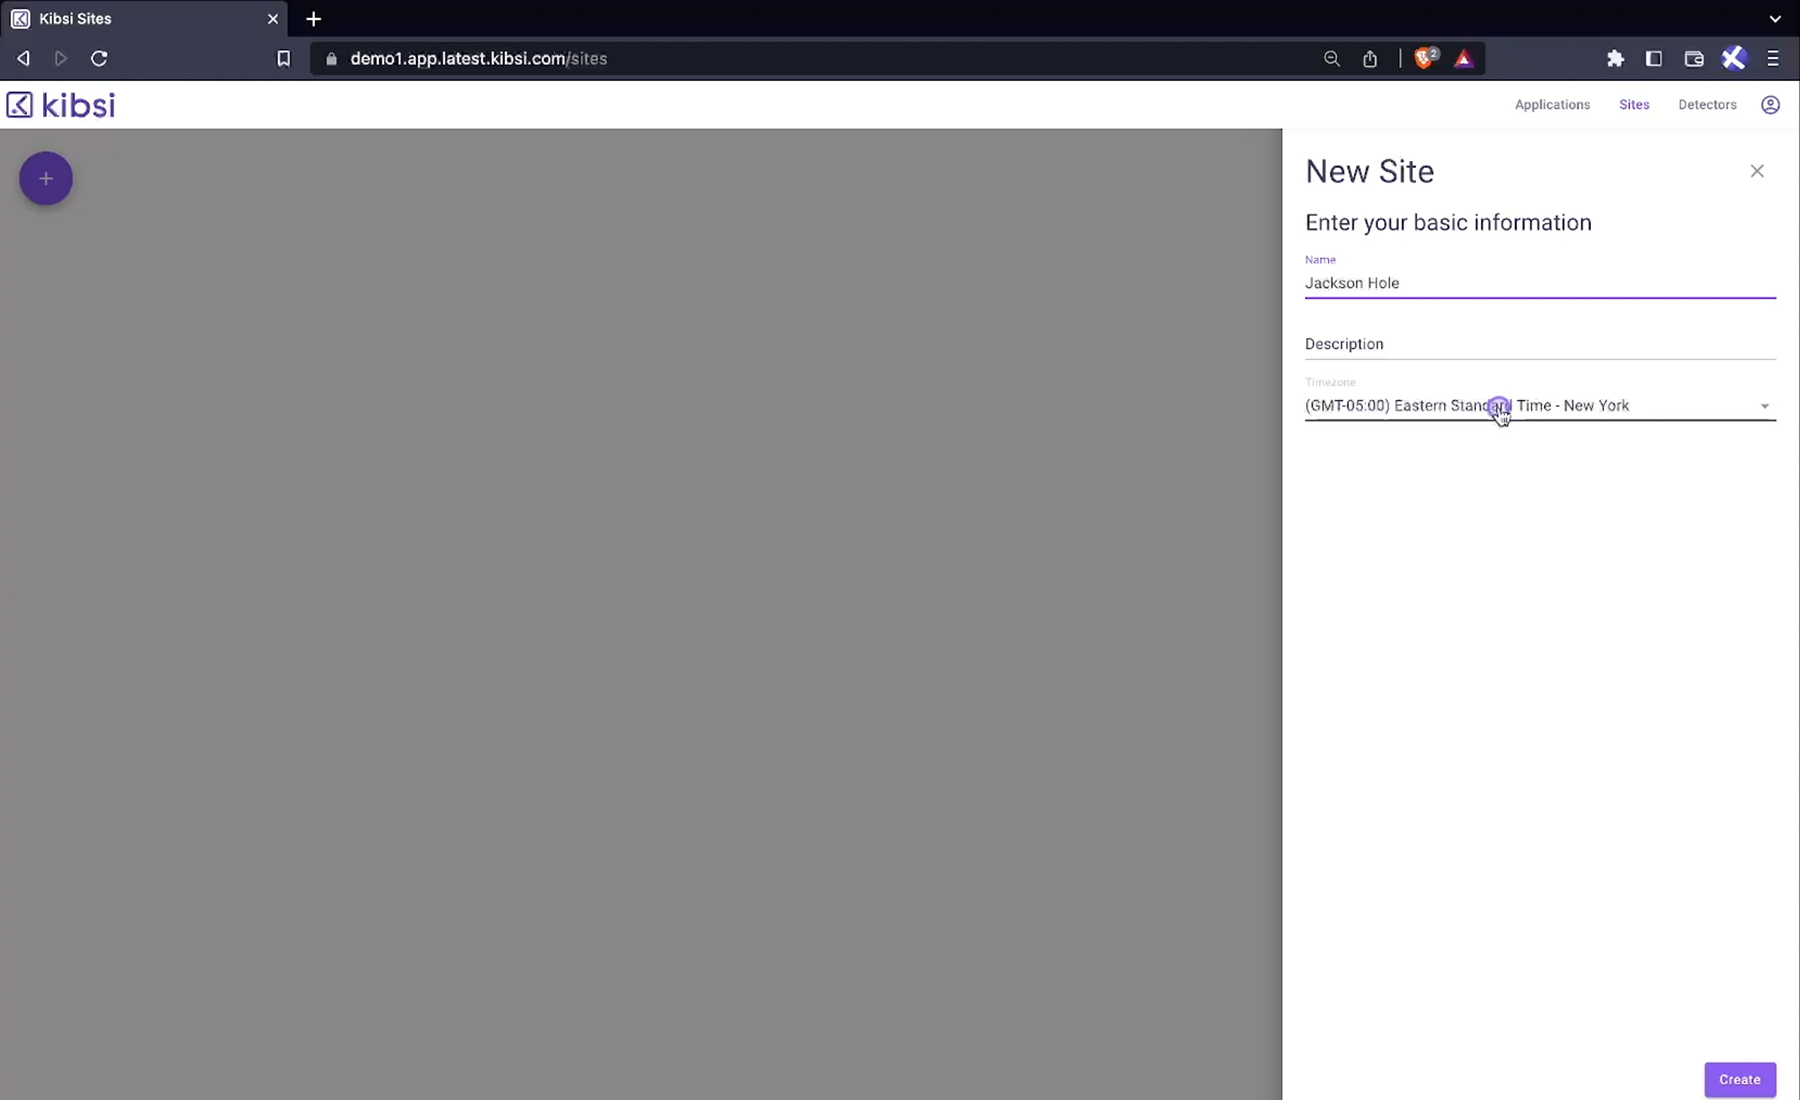
For our Hello World application, we will be using a video of a crosswalk located in Jackson Hole, Wyoming.
Name your “Jackson Hole” site, then choose “Mountain Standard Time – Boise.”
Now click “create.”
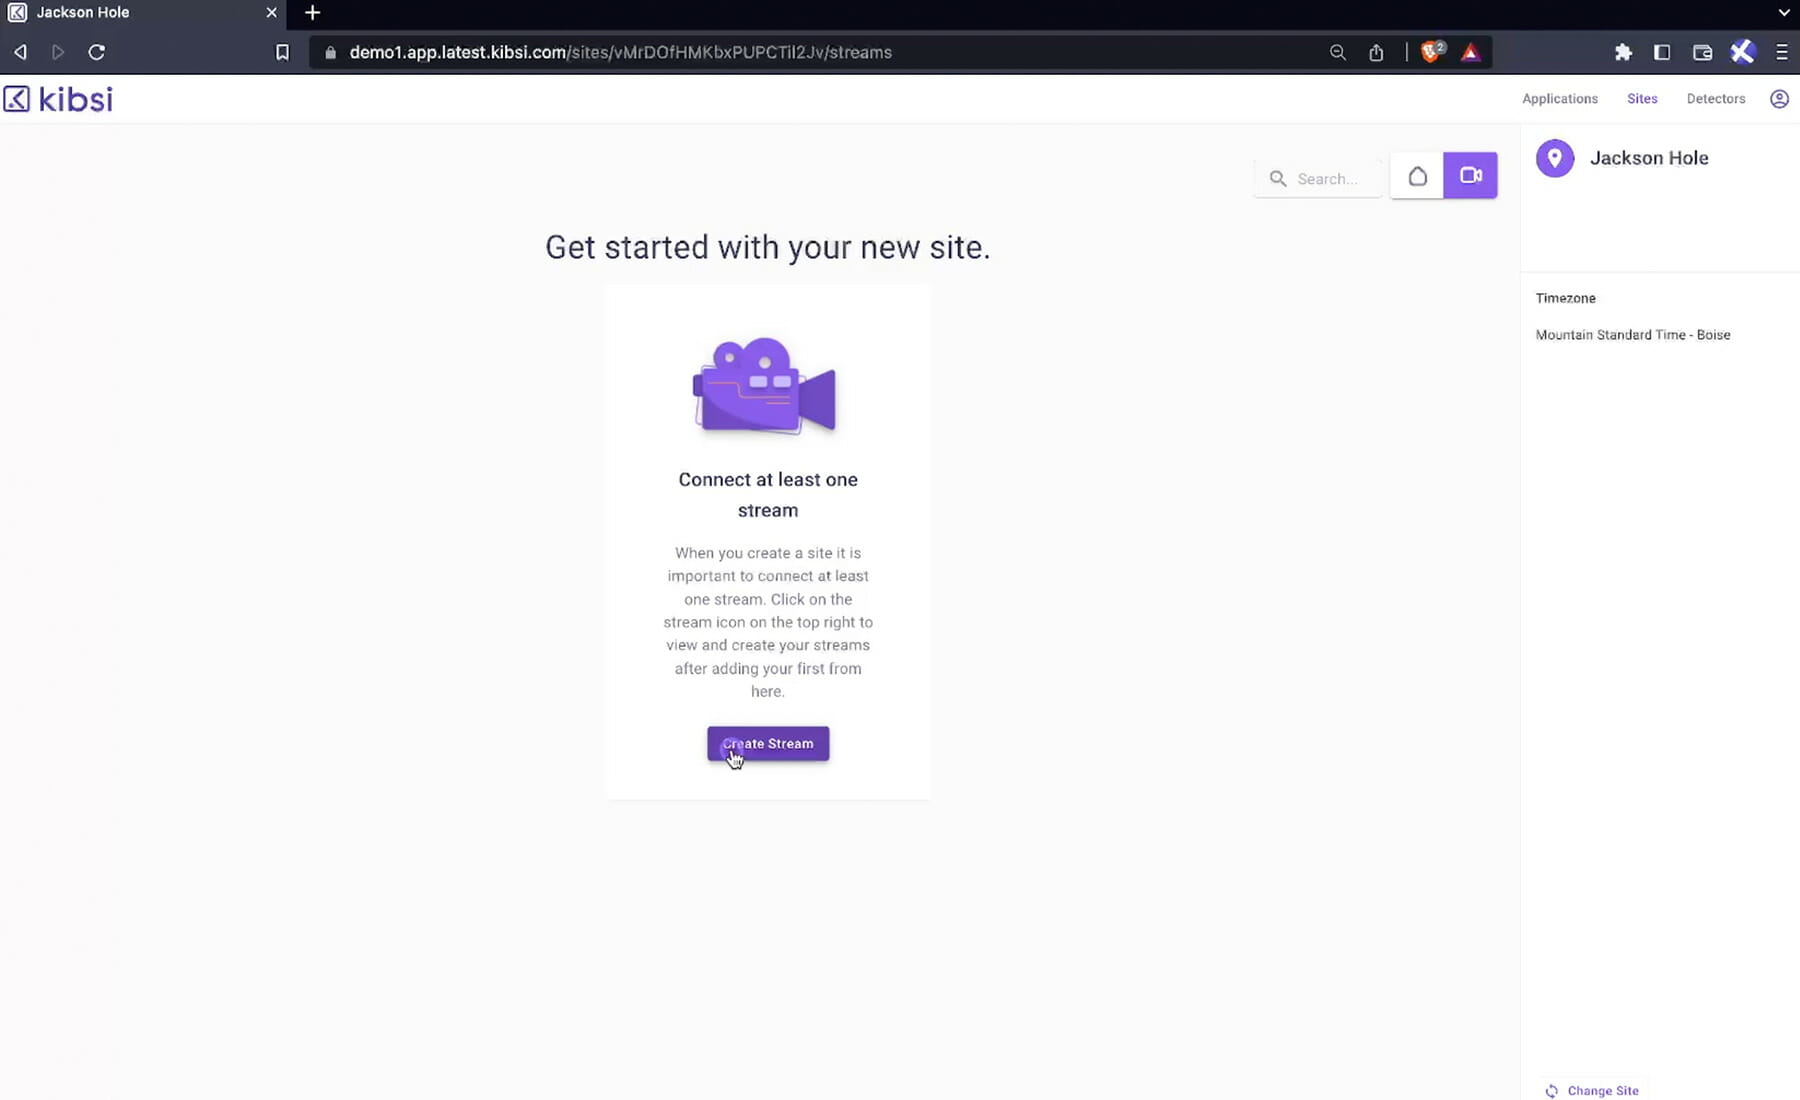
Now let’s create our first camera stream. Kibsi works with a wide variety of streams from IP security cameras to RTSP streams to live video streams, recorded video, and many other streaming sources. For our Hello World application today, we’ve provided a link to a video stream and snapshot image you can use so that you can produce the exact same deployment and data in your Kibsi application.
Click on “create stream.”
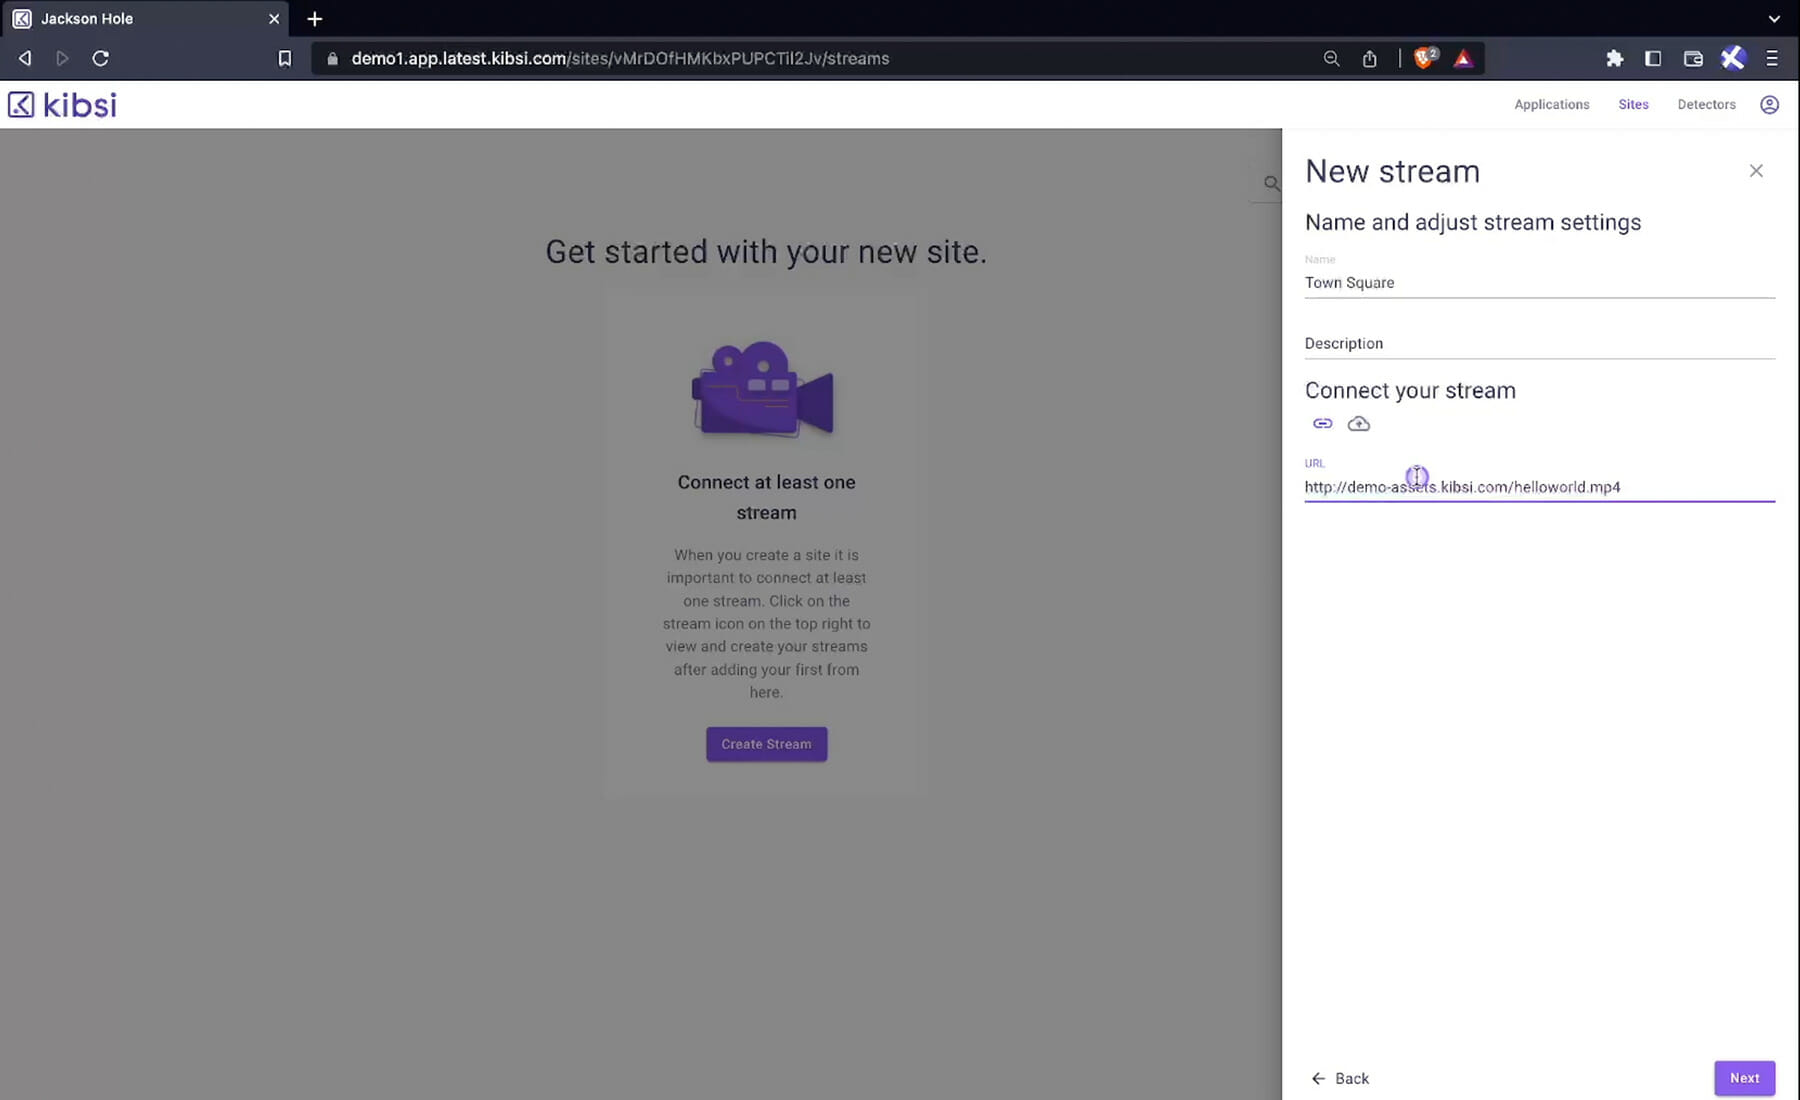
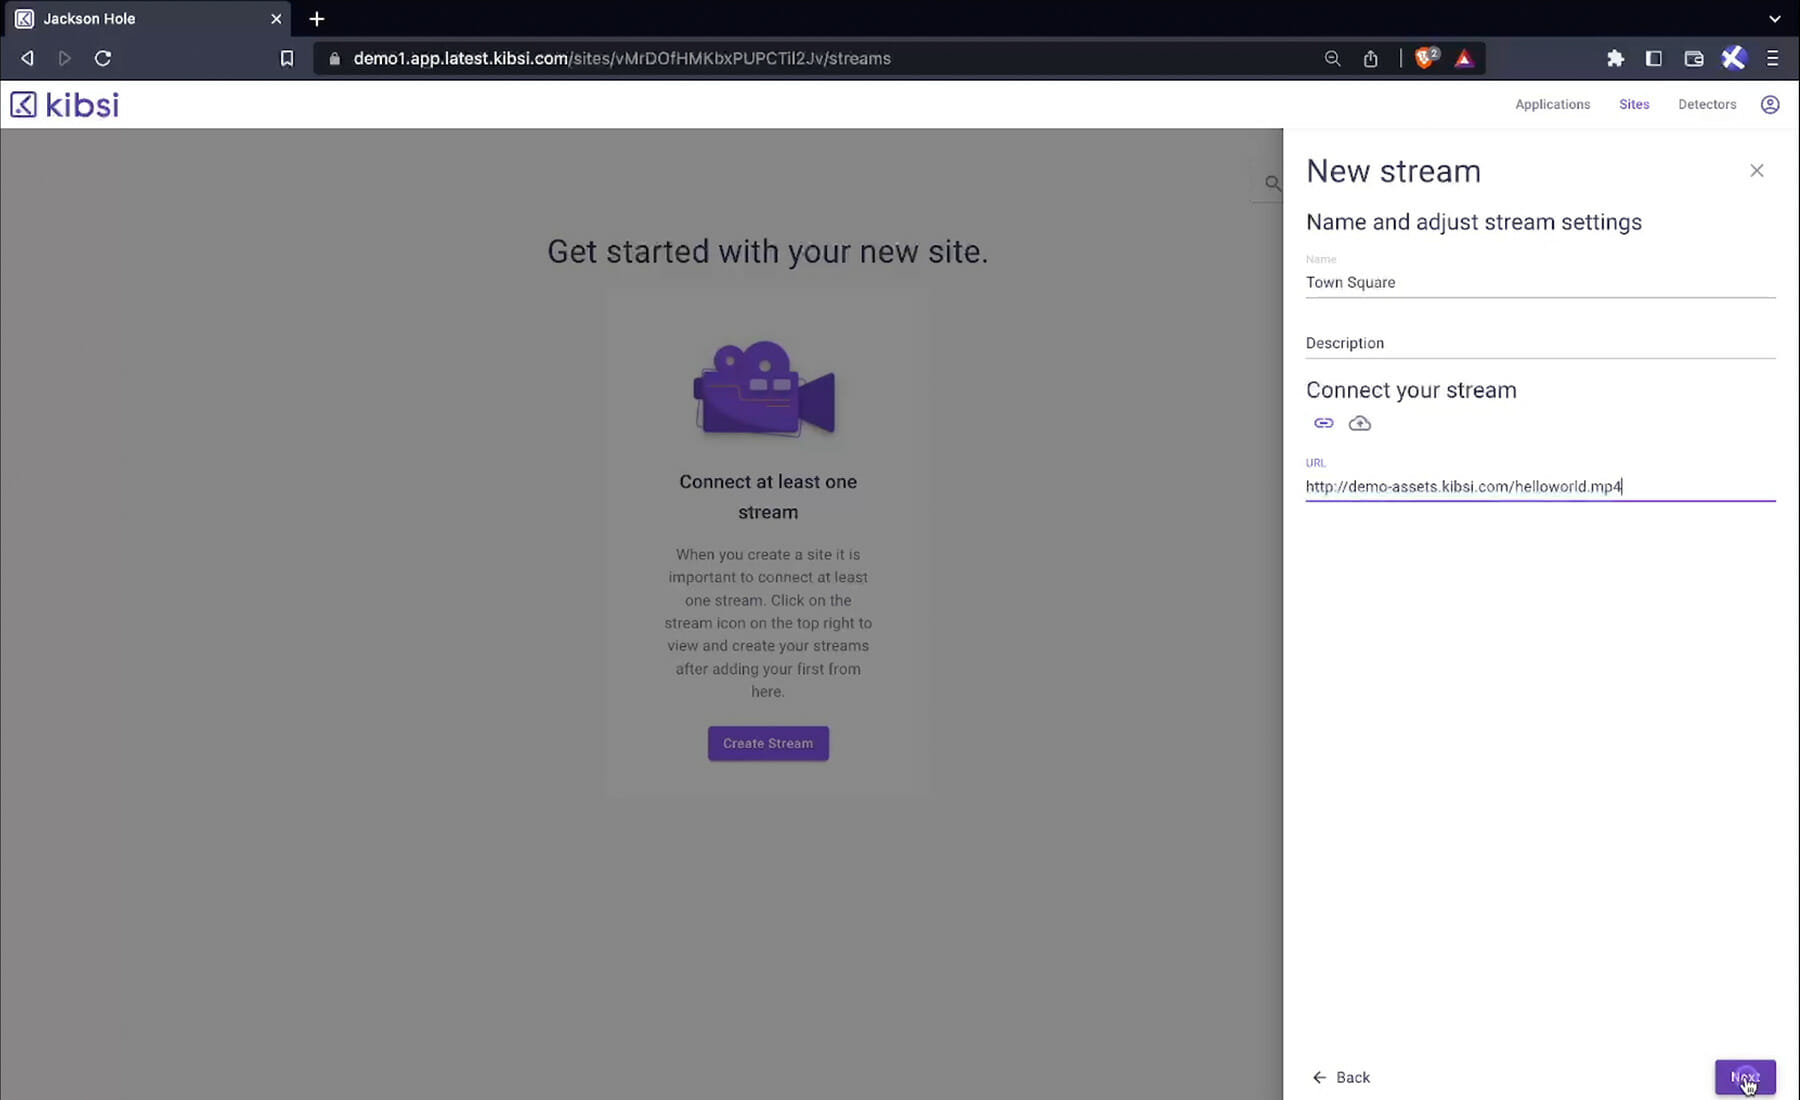
Name your stream “Town Square” since that’s where our camera is located. And then add the following URL:
http://demo-assets.www.kibsi.com/helloworld.mp4
Click “next.”
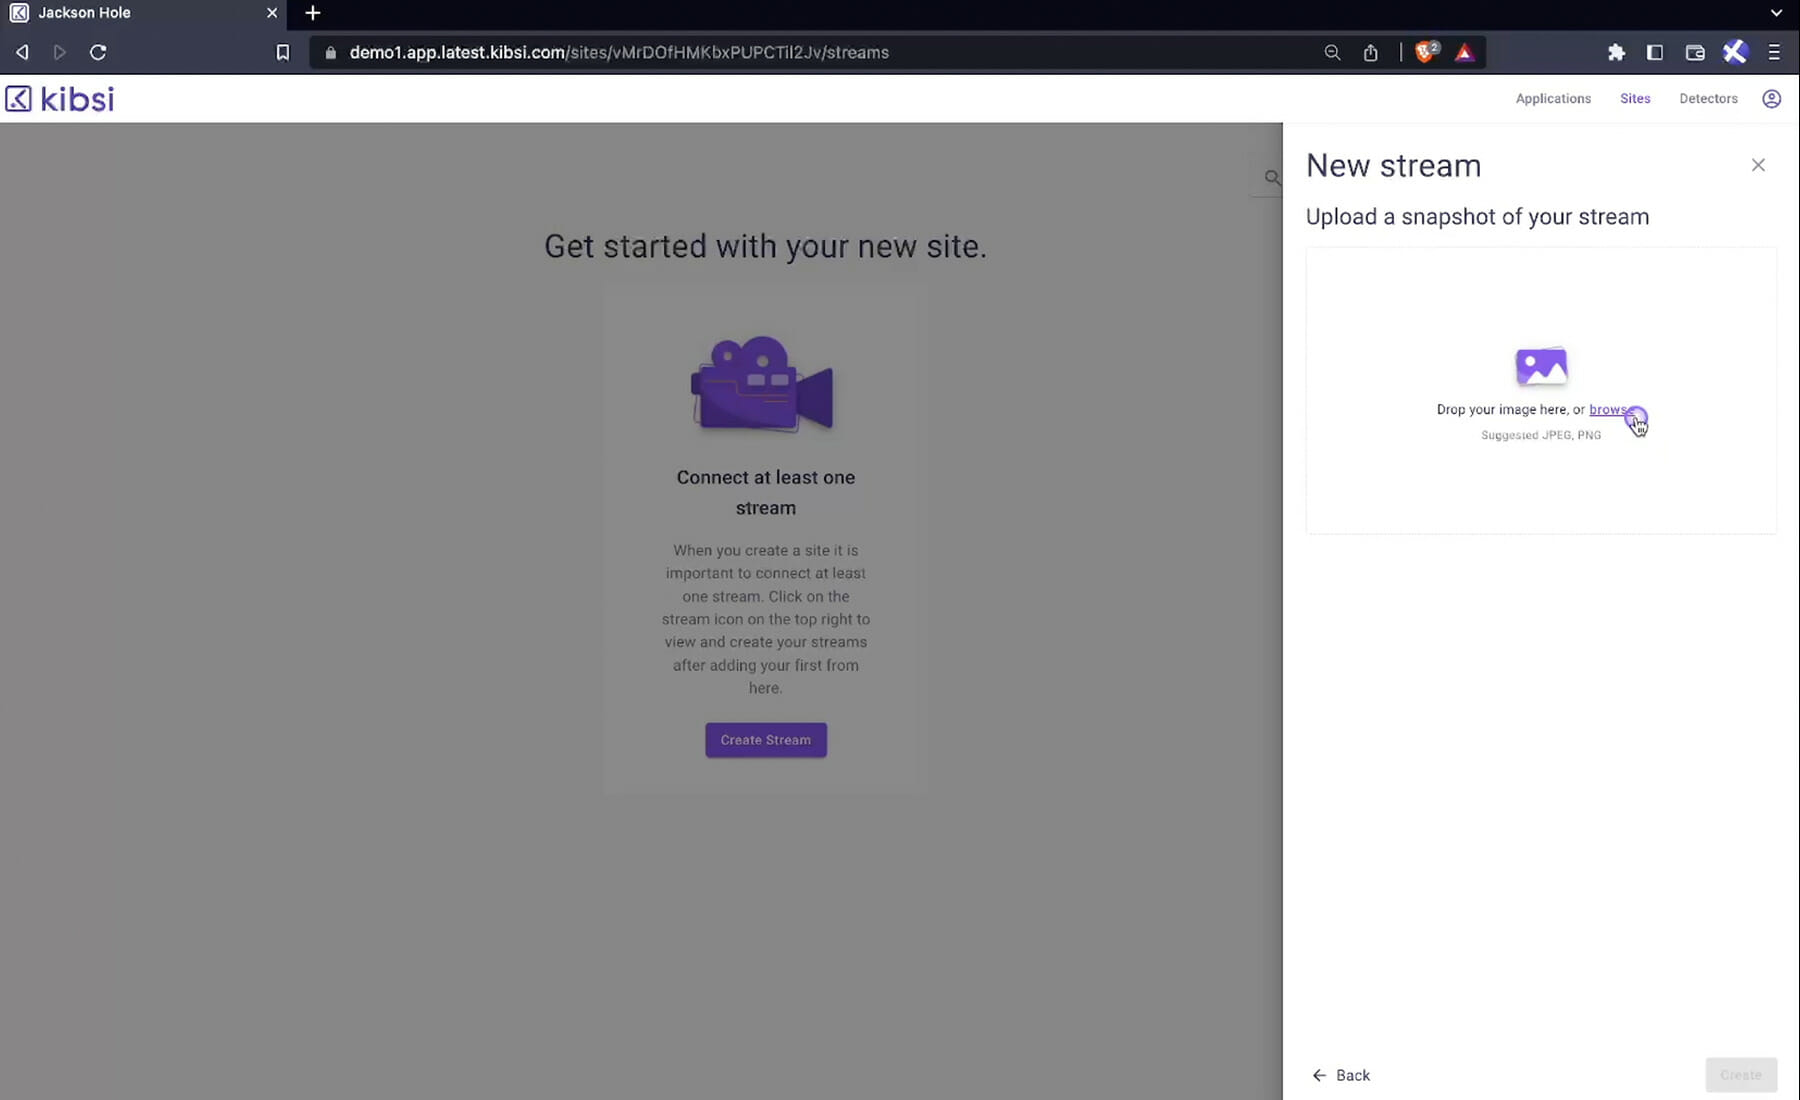
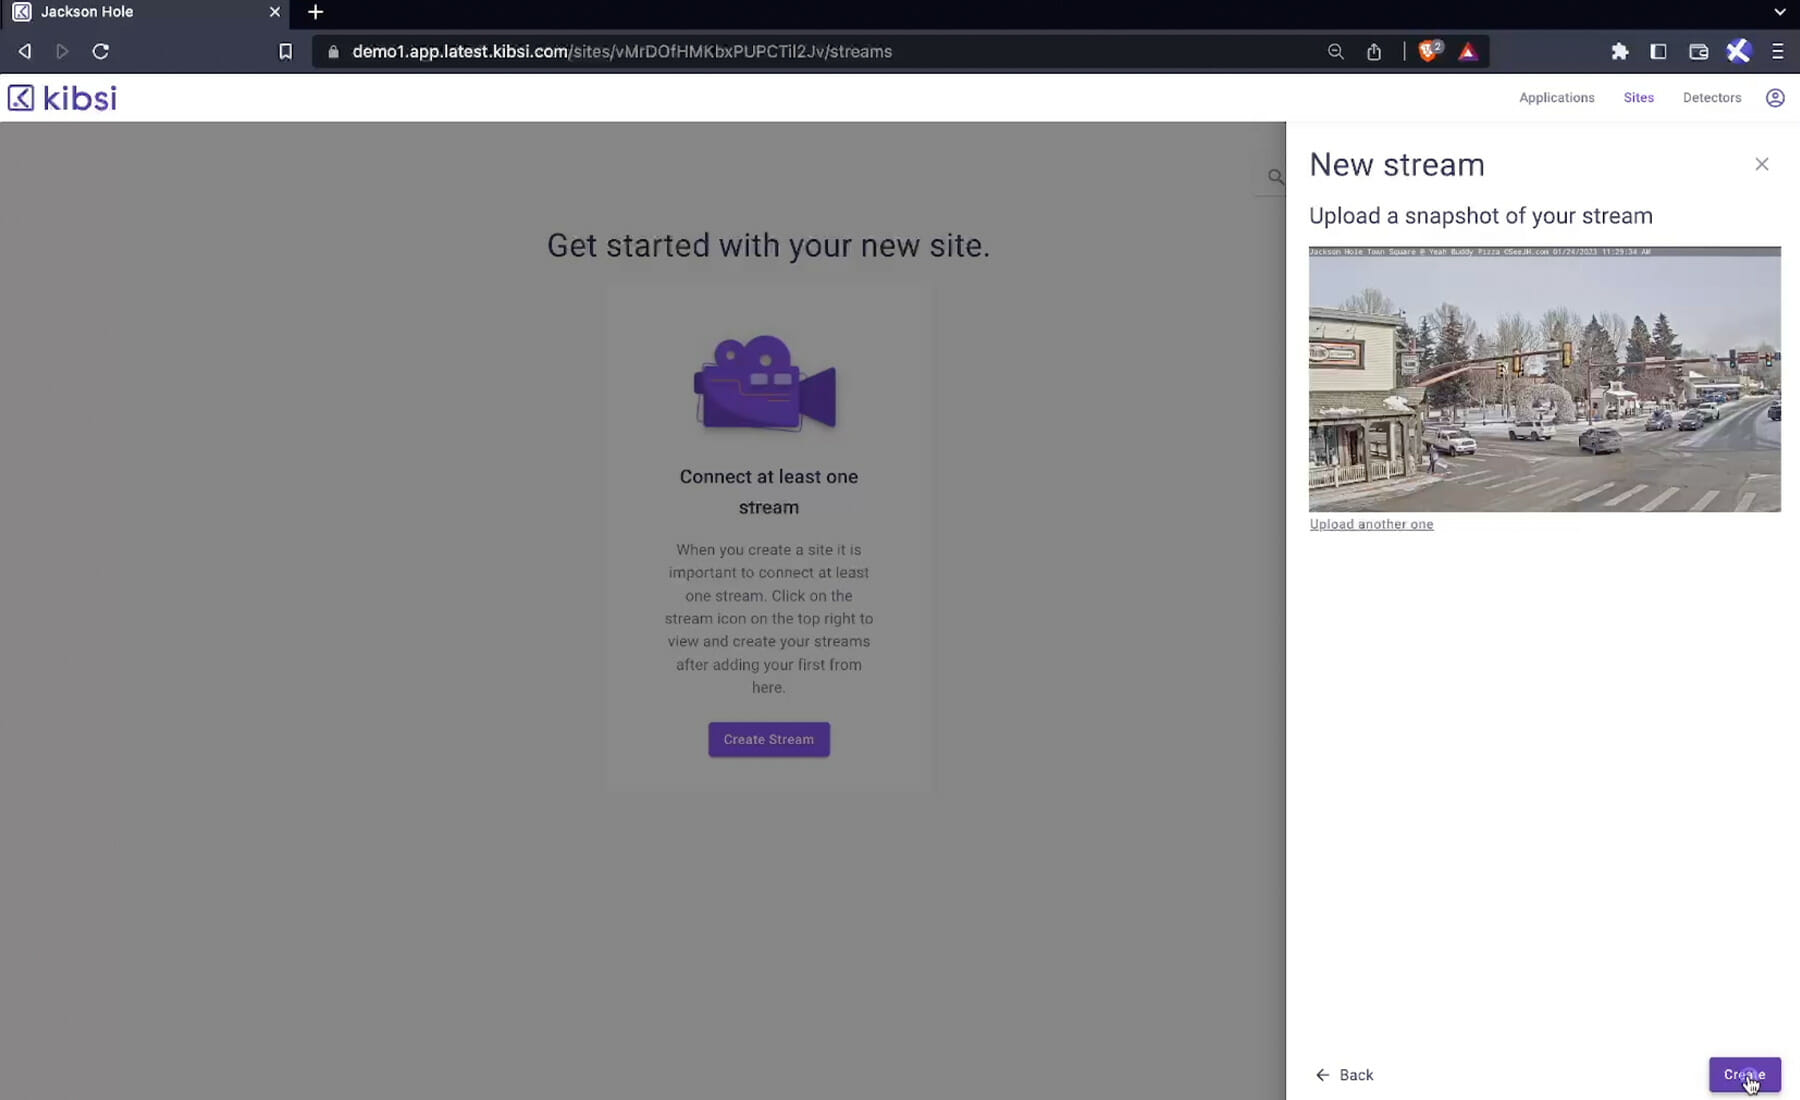
Upload a snapshot of your stream from the URL below:
http://demo-assets.www.kibsi.com/snapshot.png
Click “create.”
Now we’re ready to create our Deployment.
Click on the “deployment icon” in the upper right.
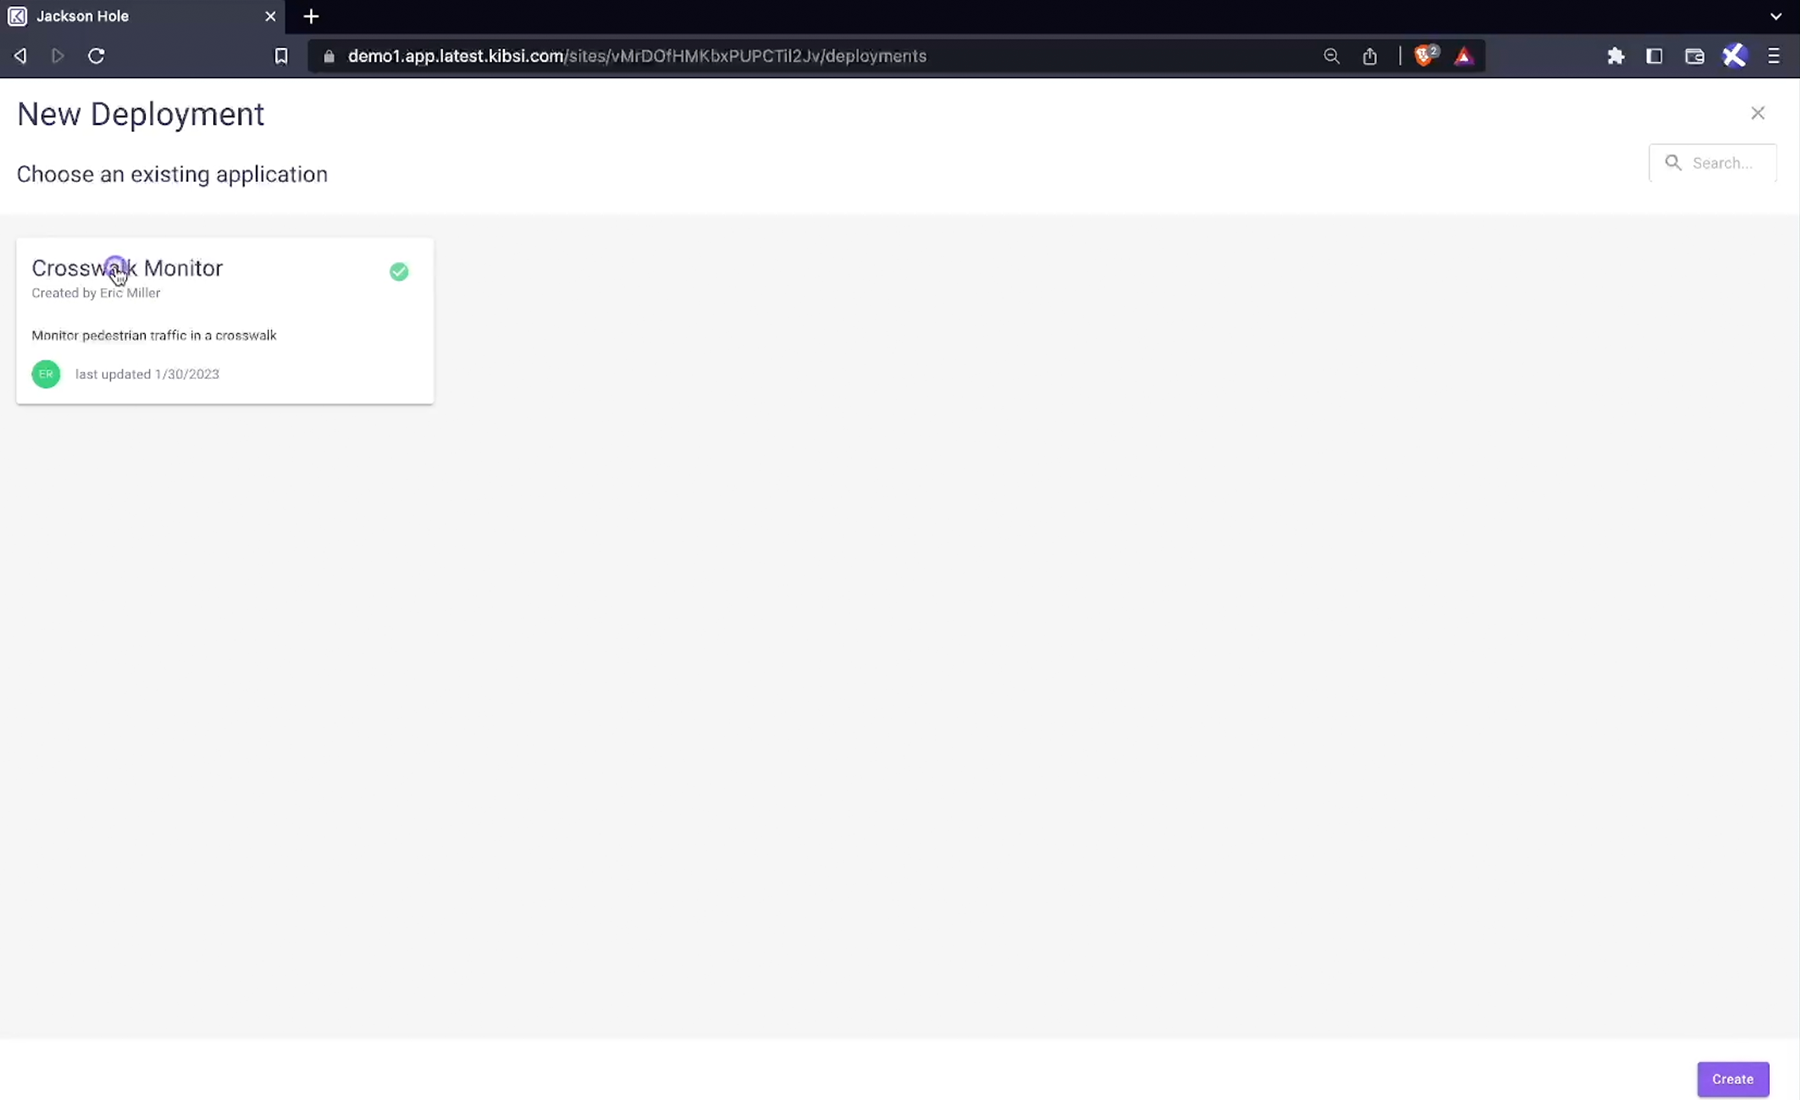
Click the “plus icon” to add a new deployment.
Choose our “Crosswalk Monitor” application” and click “create.”
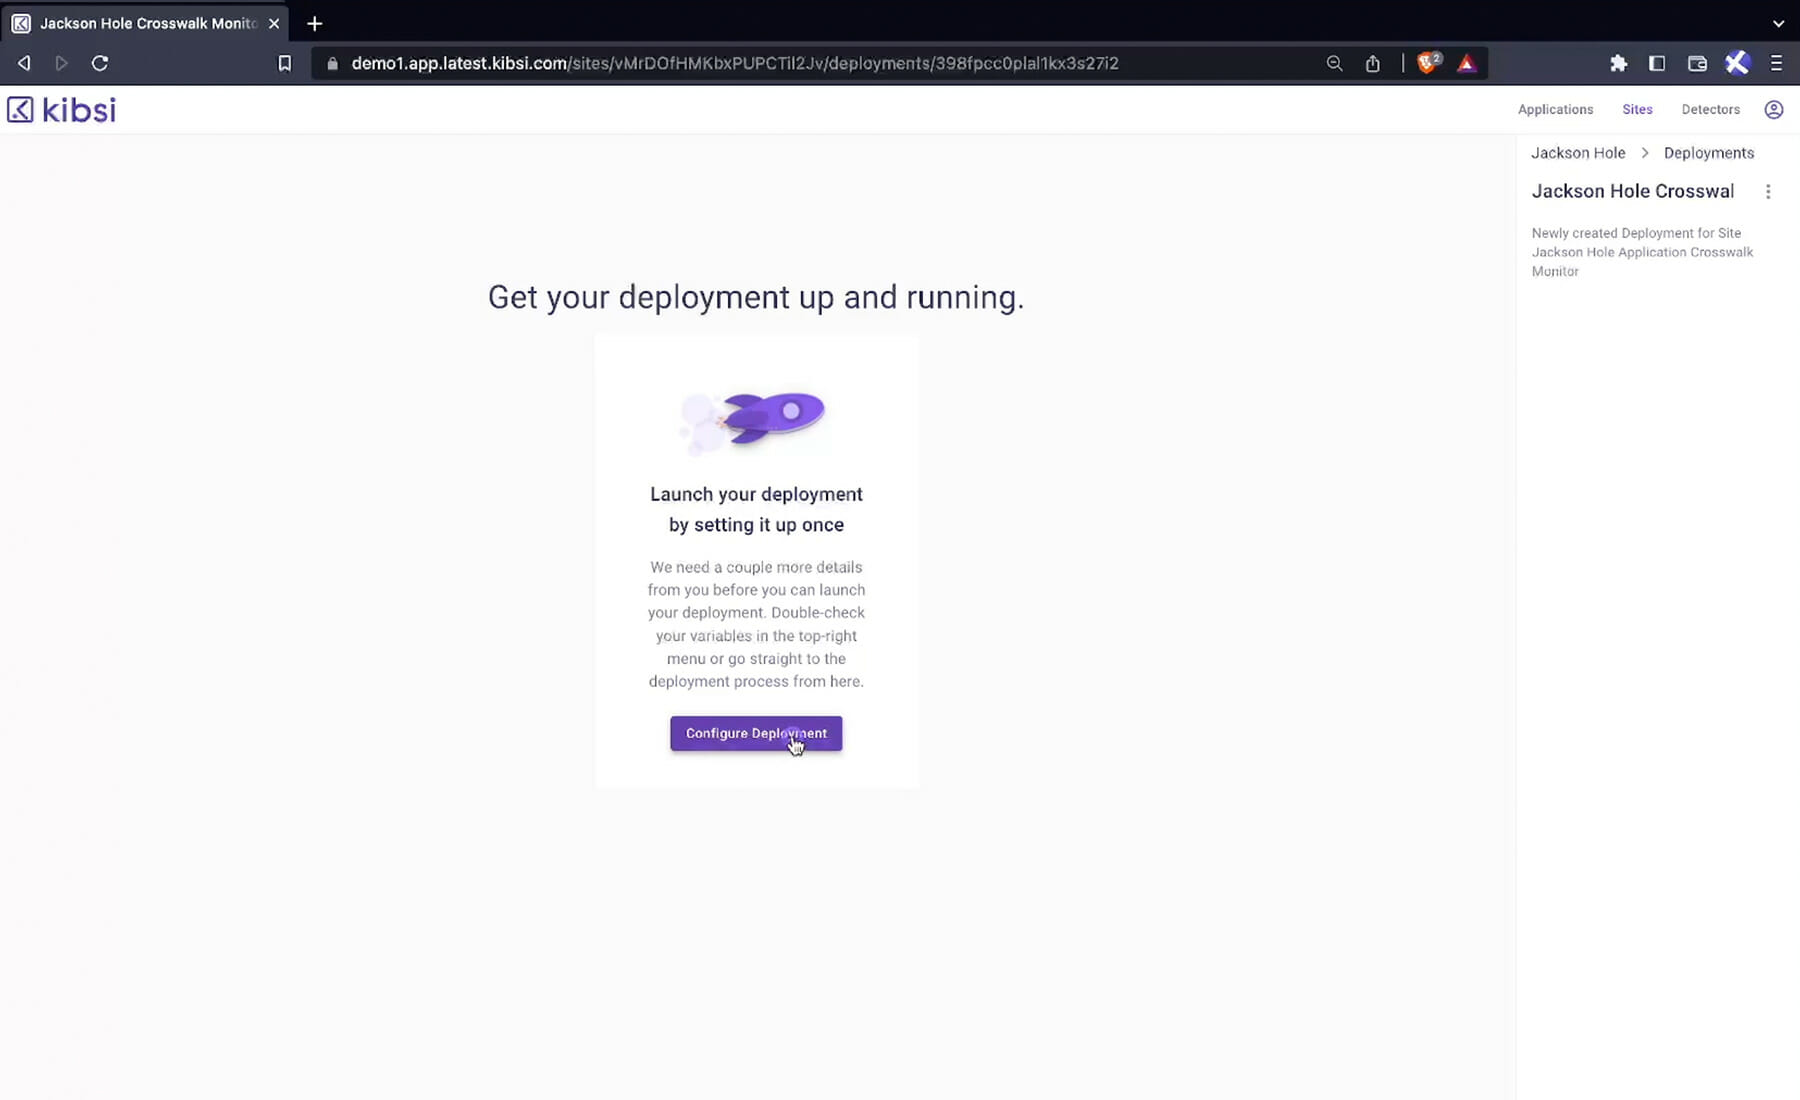
Next, click on “configure deployment.”
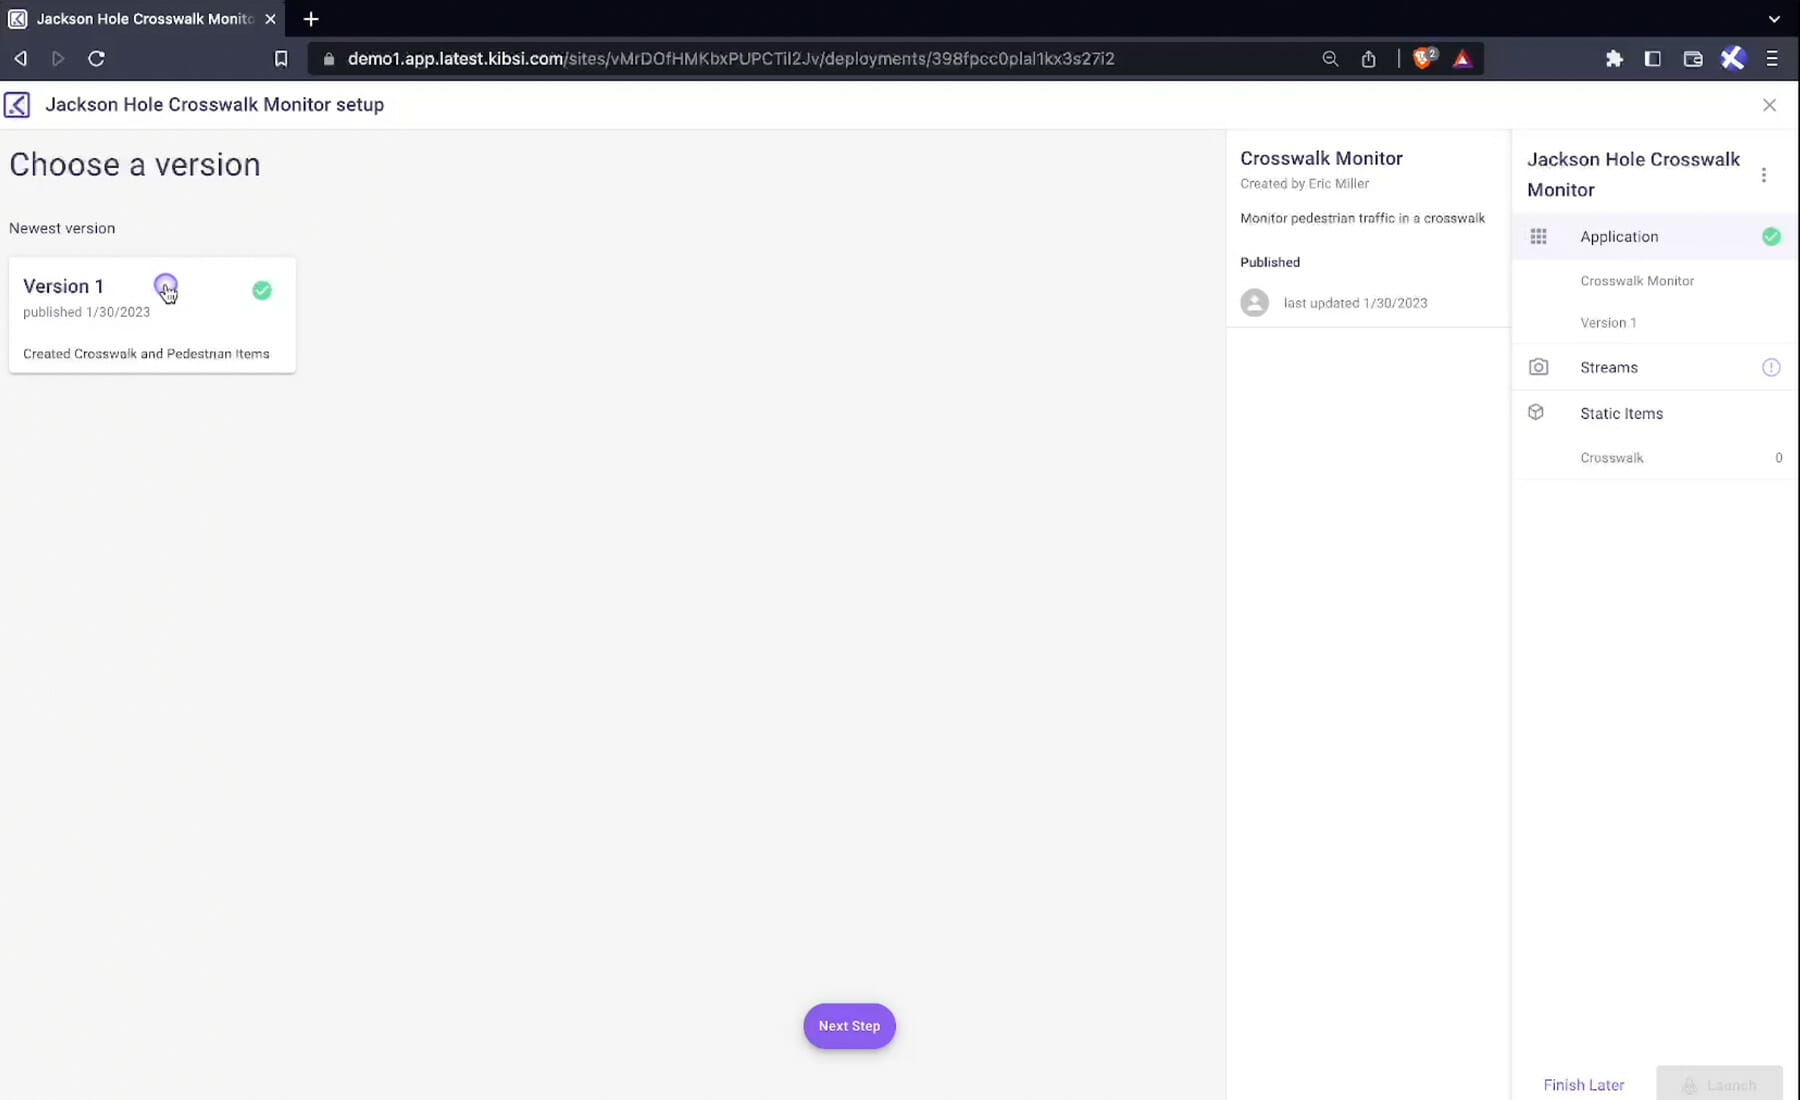
Choose “Version 1” of our application that we published earlier and click “next step.”
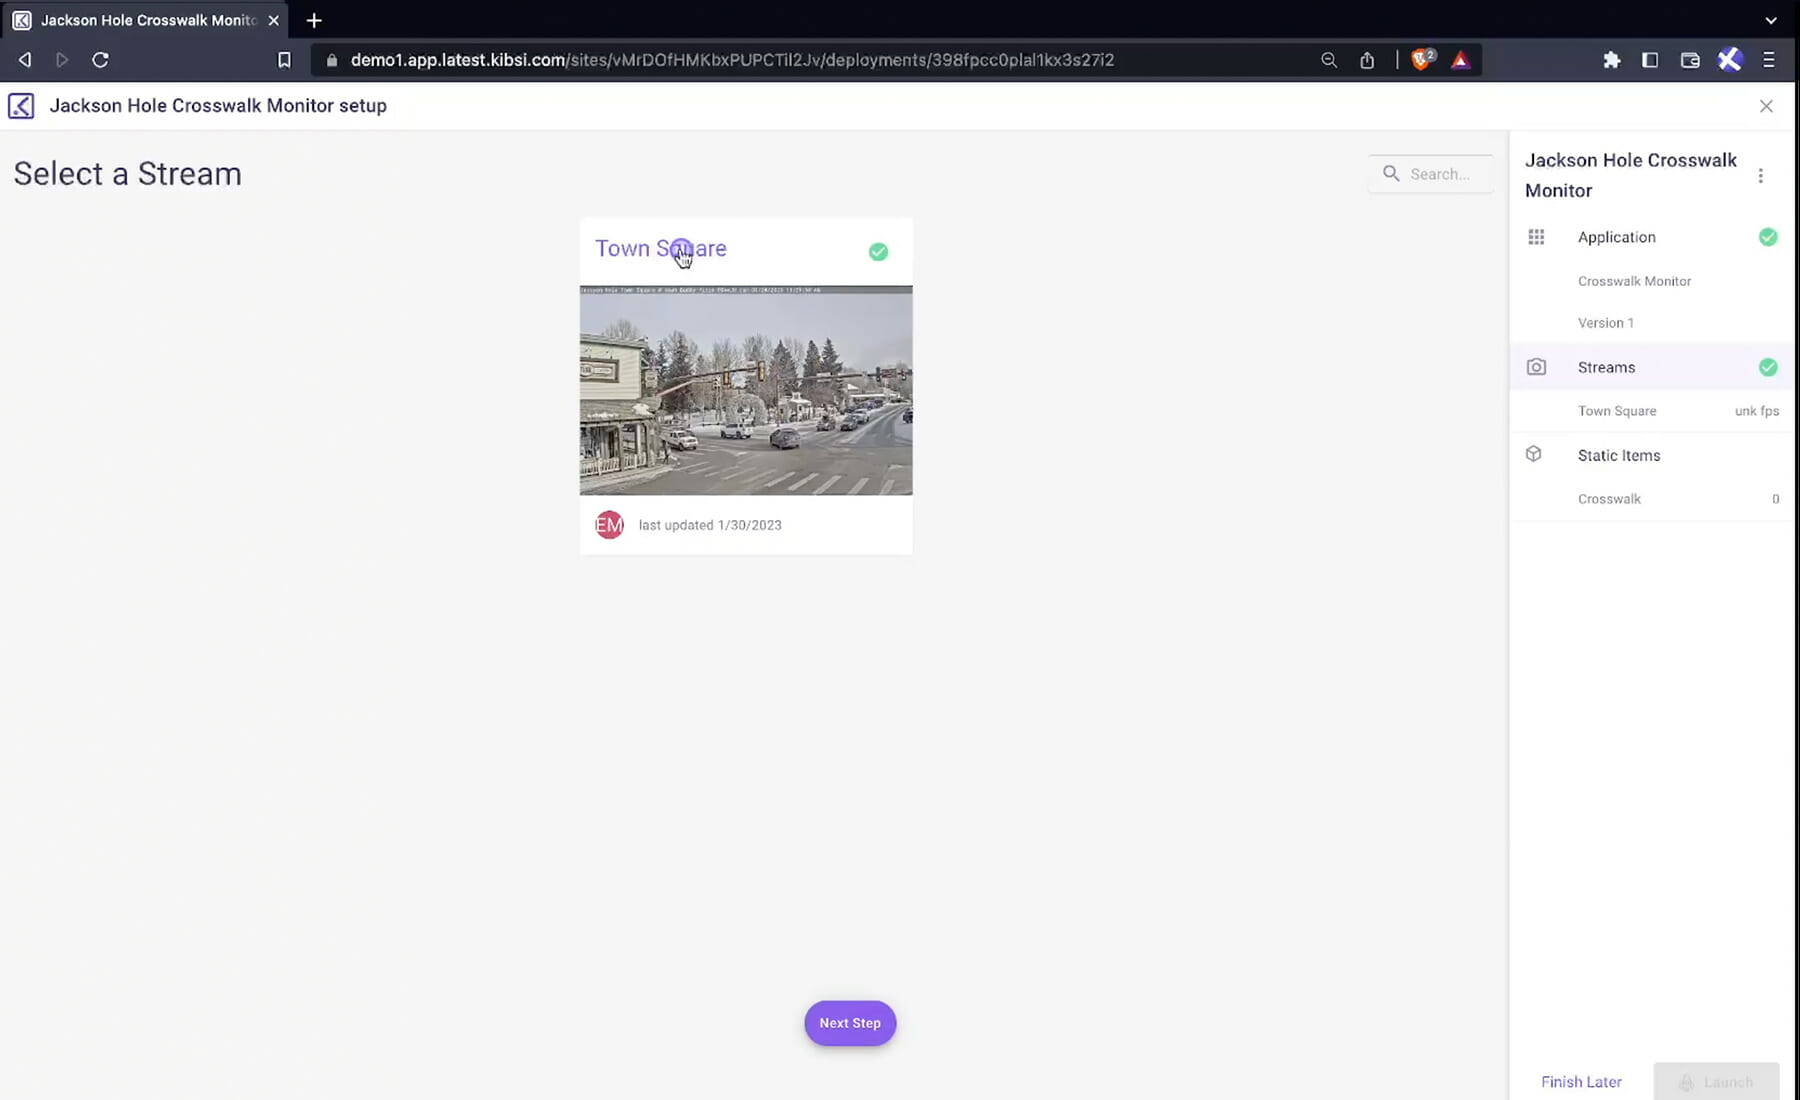
Choose the “Town Square” video stream and click “next step.”
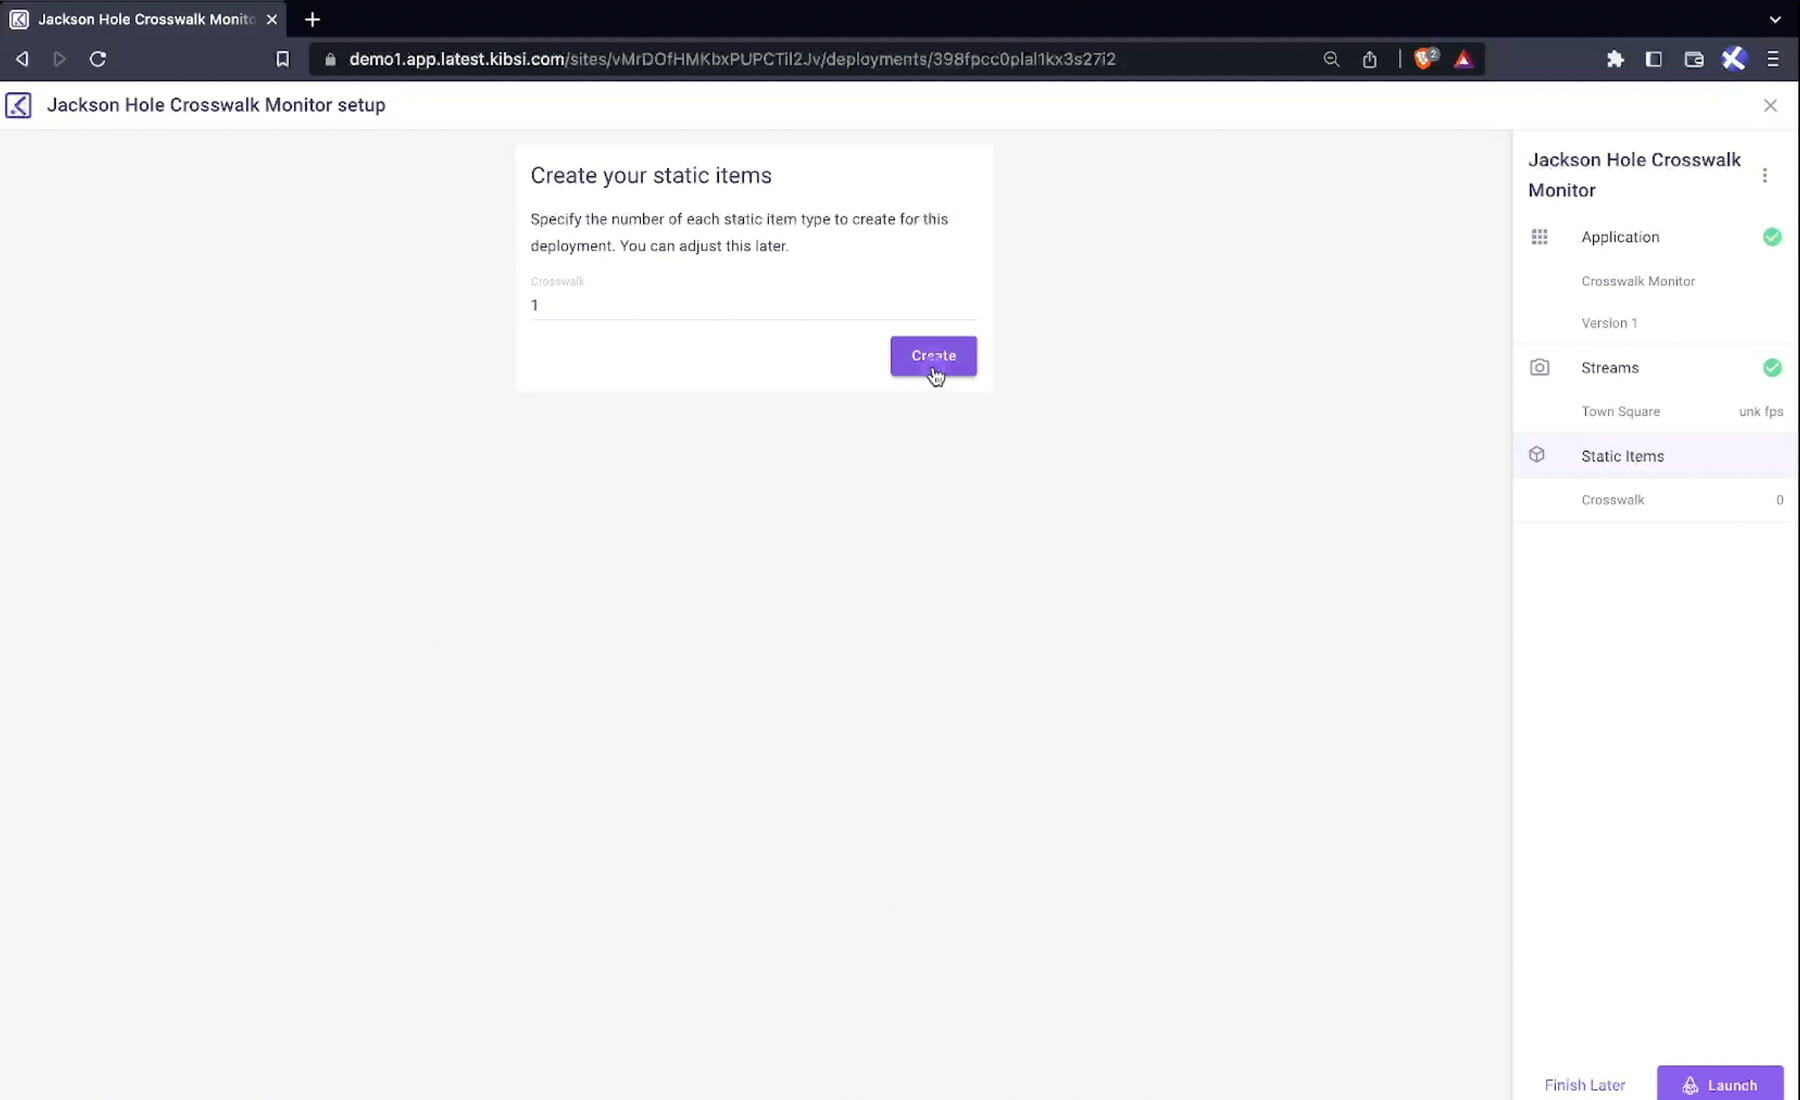
Leave the number of crosswalk static items at the default value of 1 and click “create.”
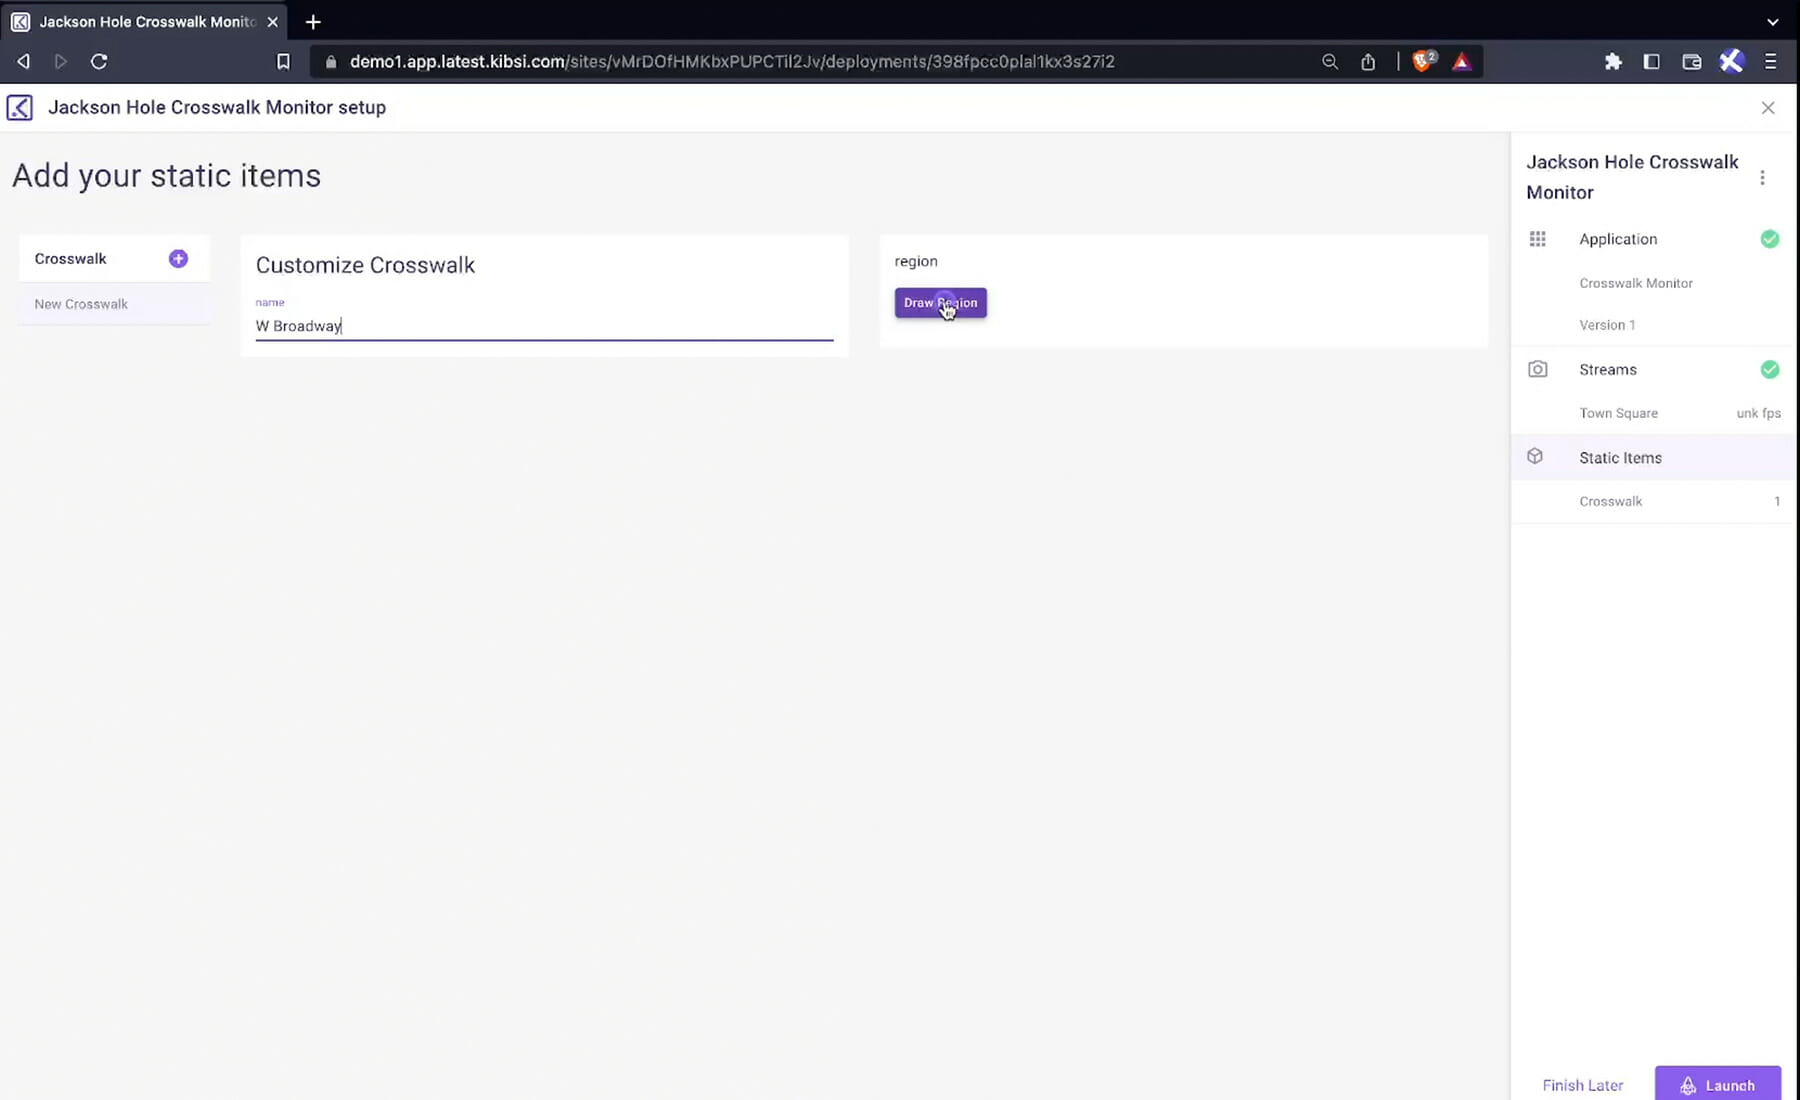
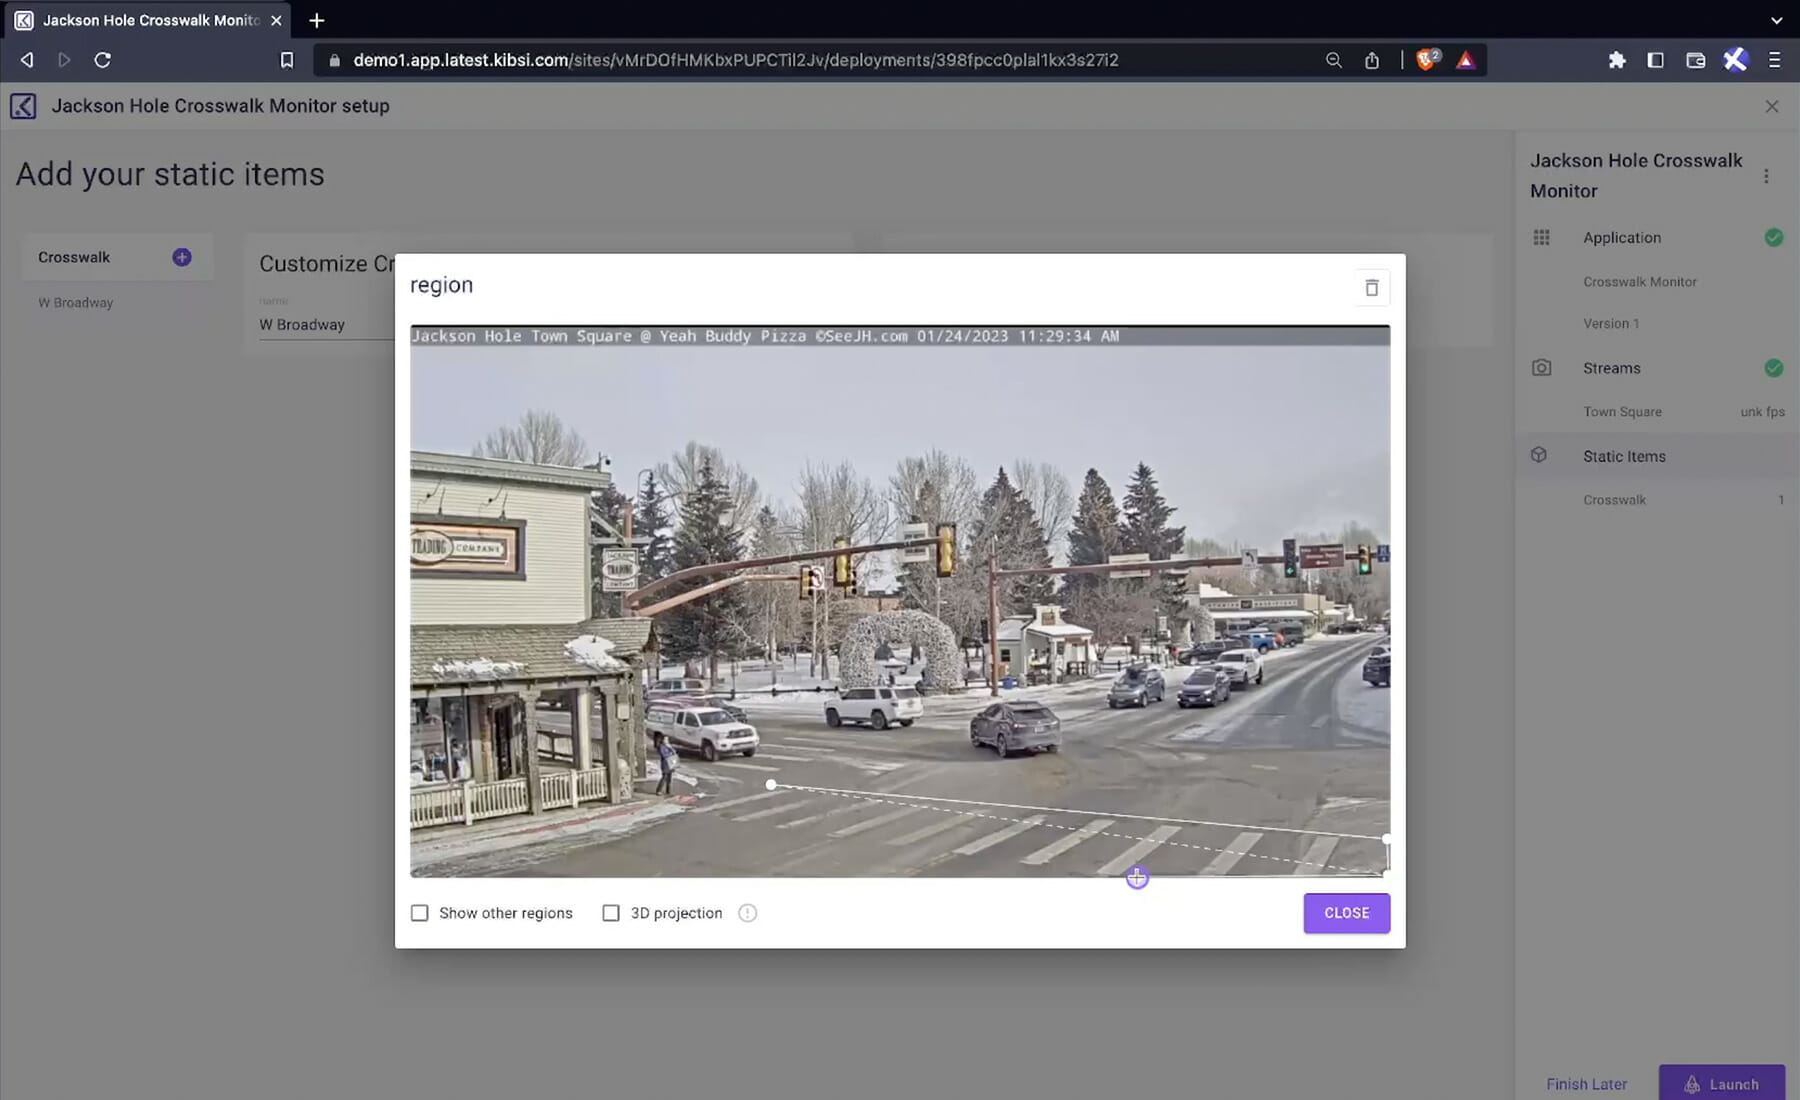
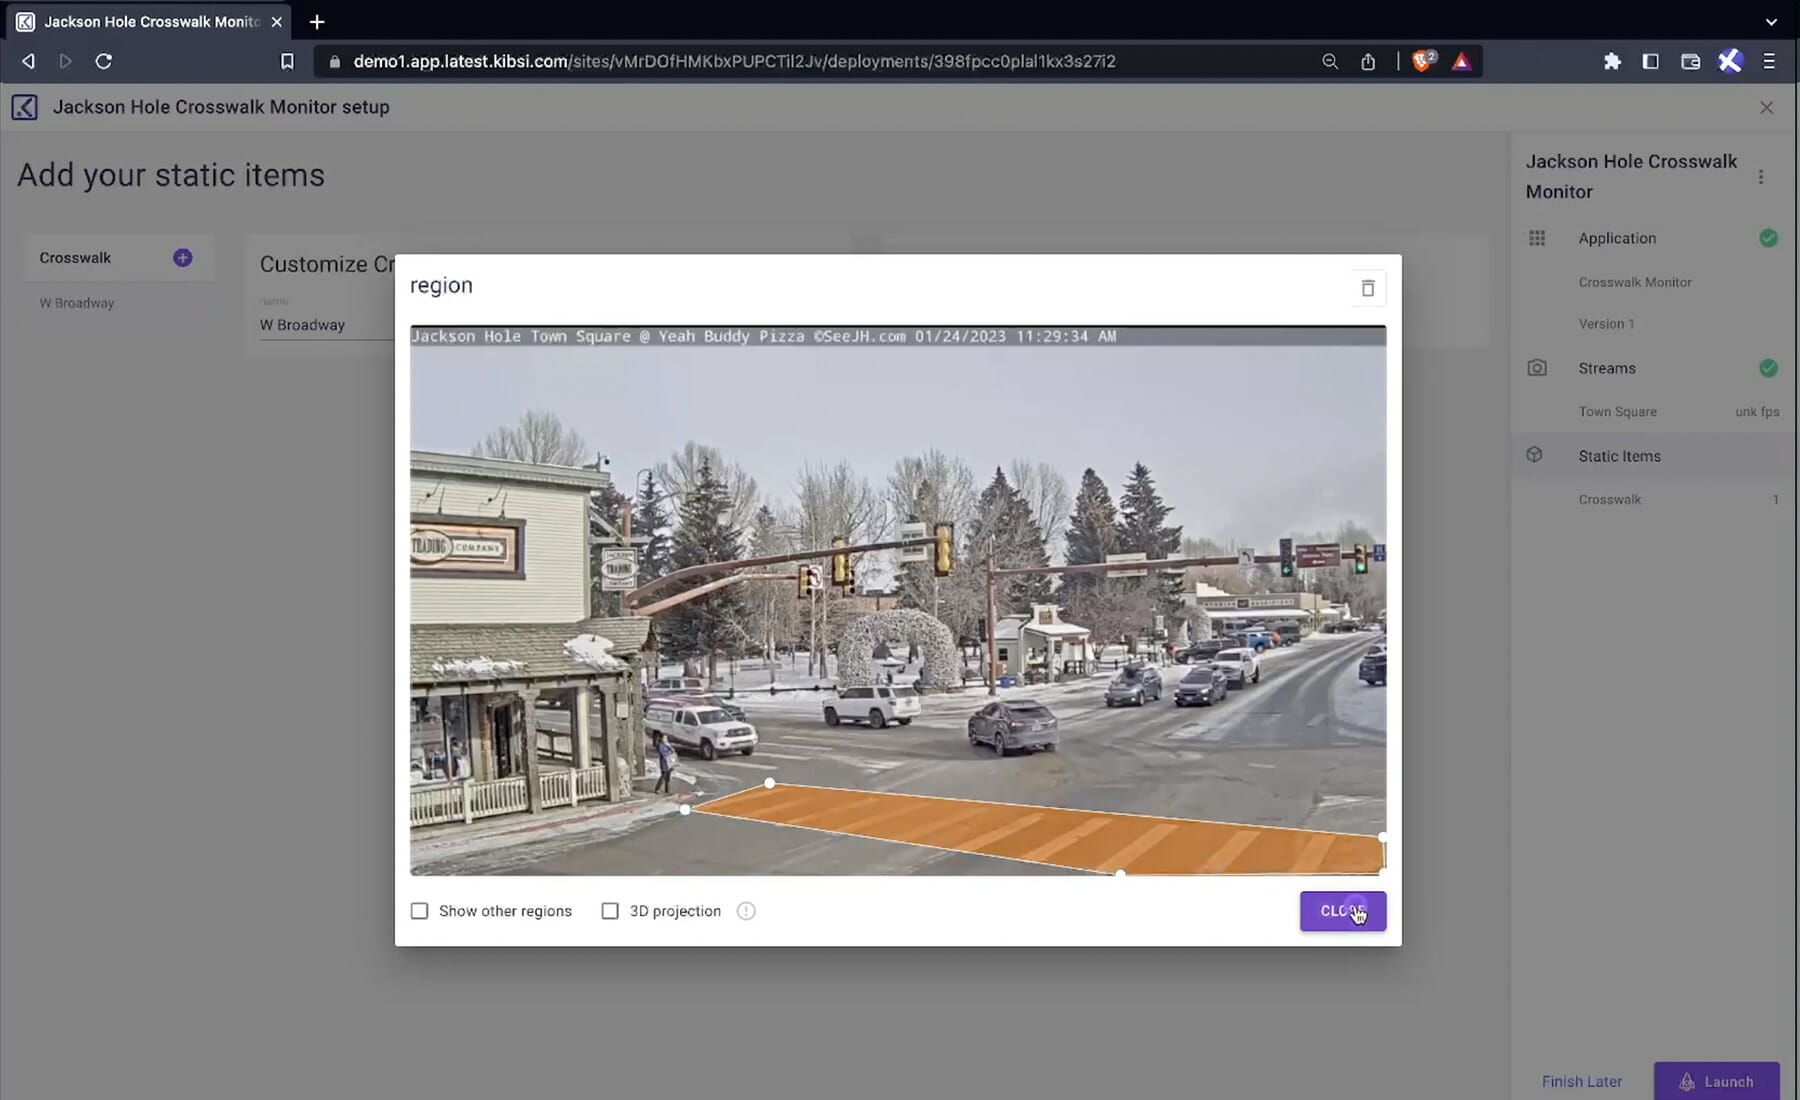
Name the static region “West Broadway,” since that’s the street our crosswalk sits on, and click on “draw region.”
Using the lines of the crosswalk as a reference, go ahead and “draw” the static region for our crosswalk and click “close.”
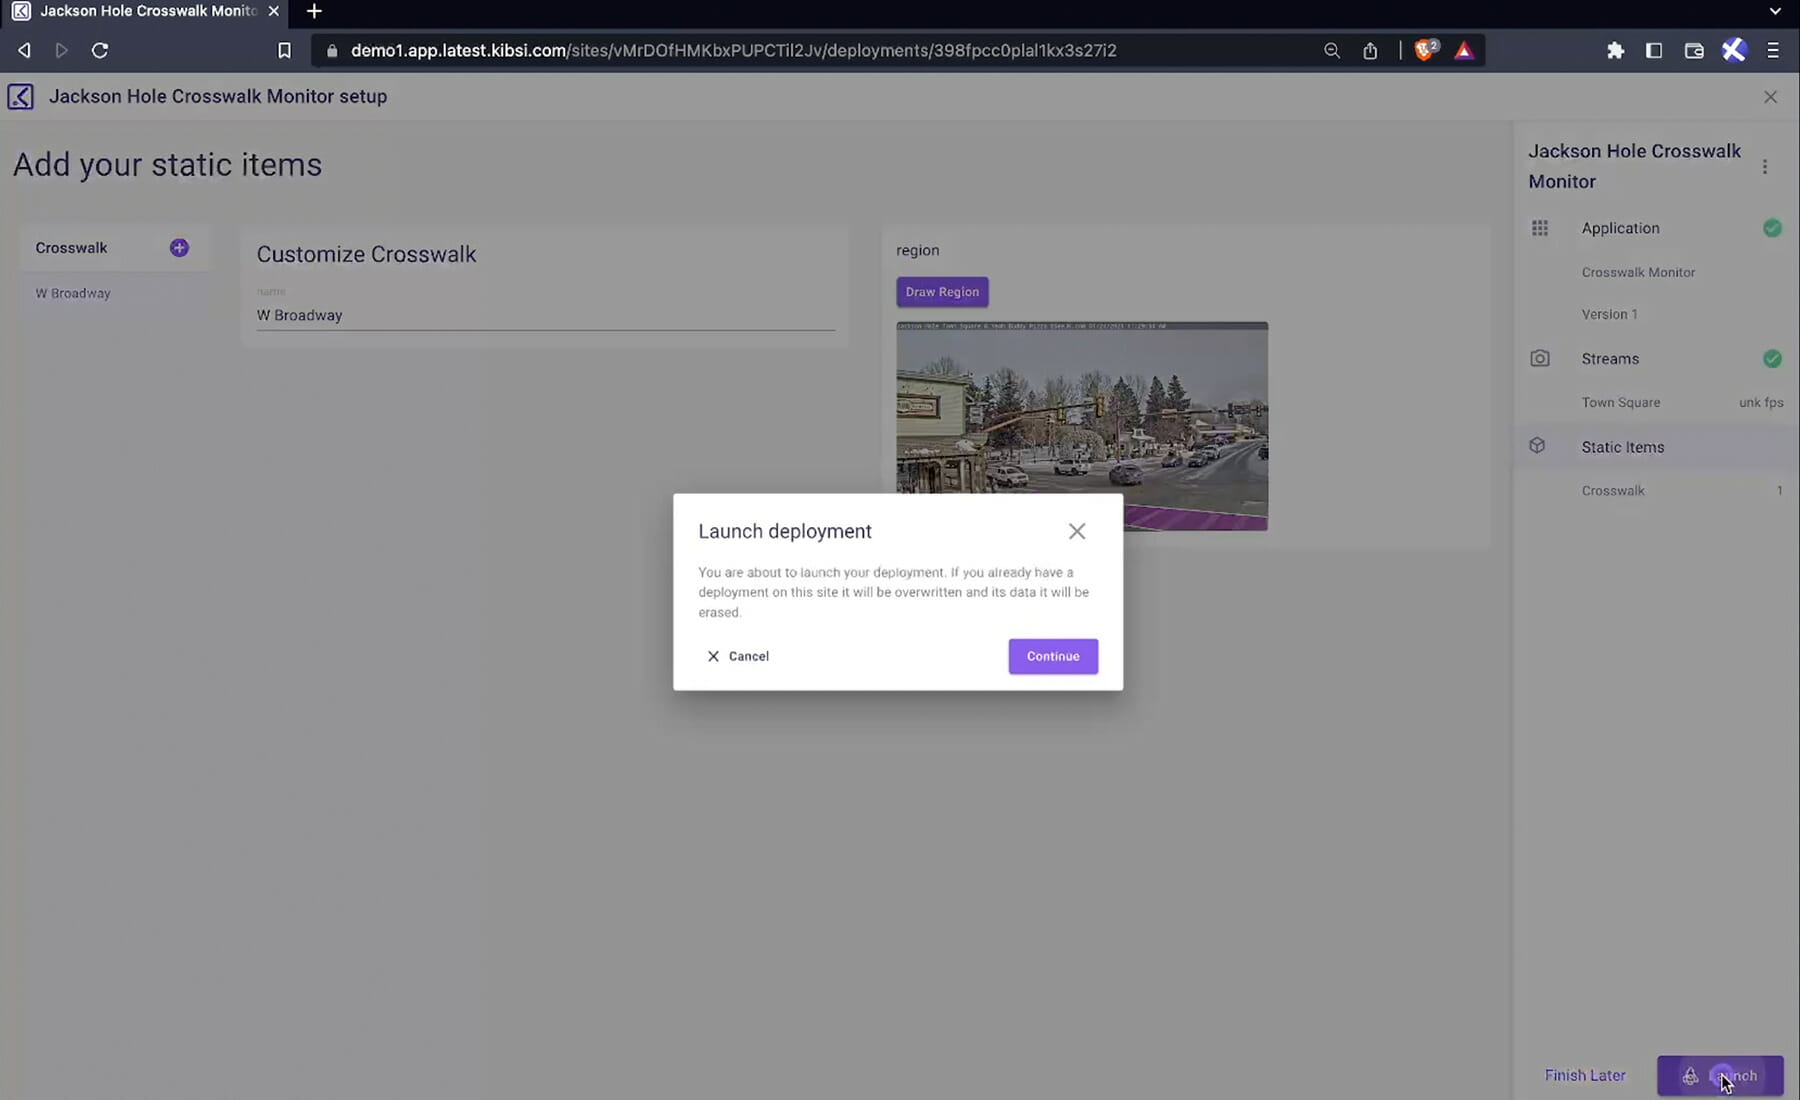
Finally, click “launch” to launch your Kibsi application to the Town Square stream.
Let’s look at the data
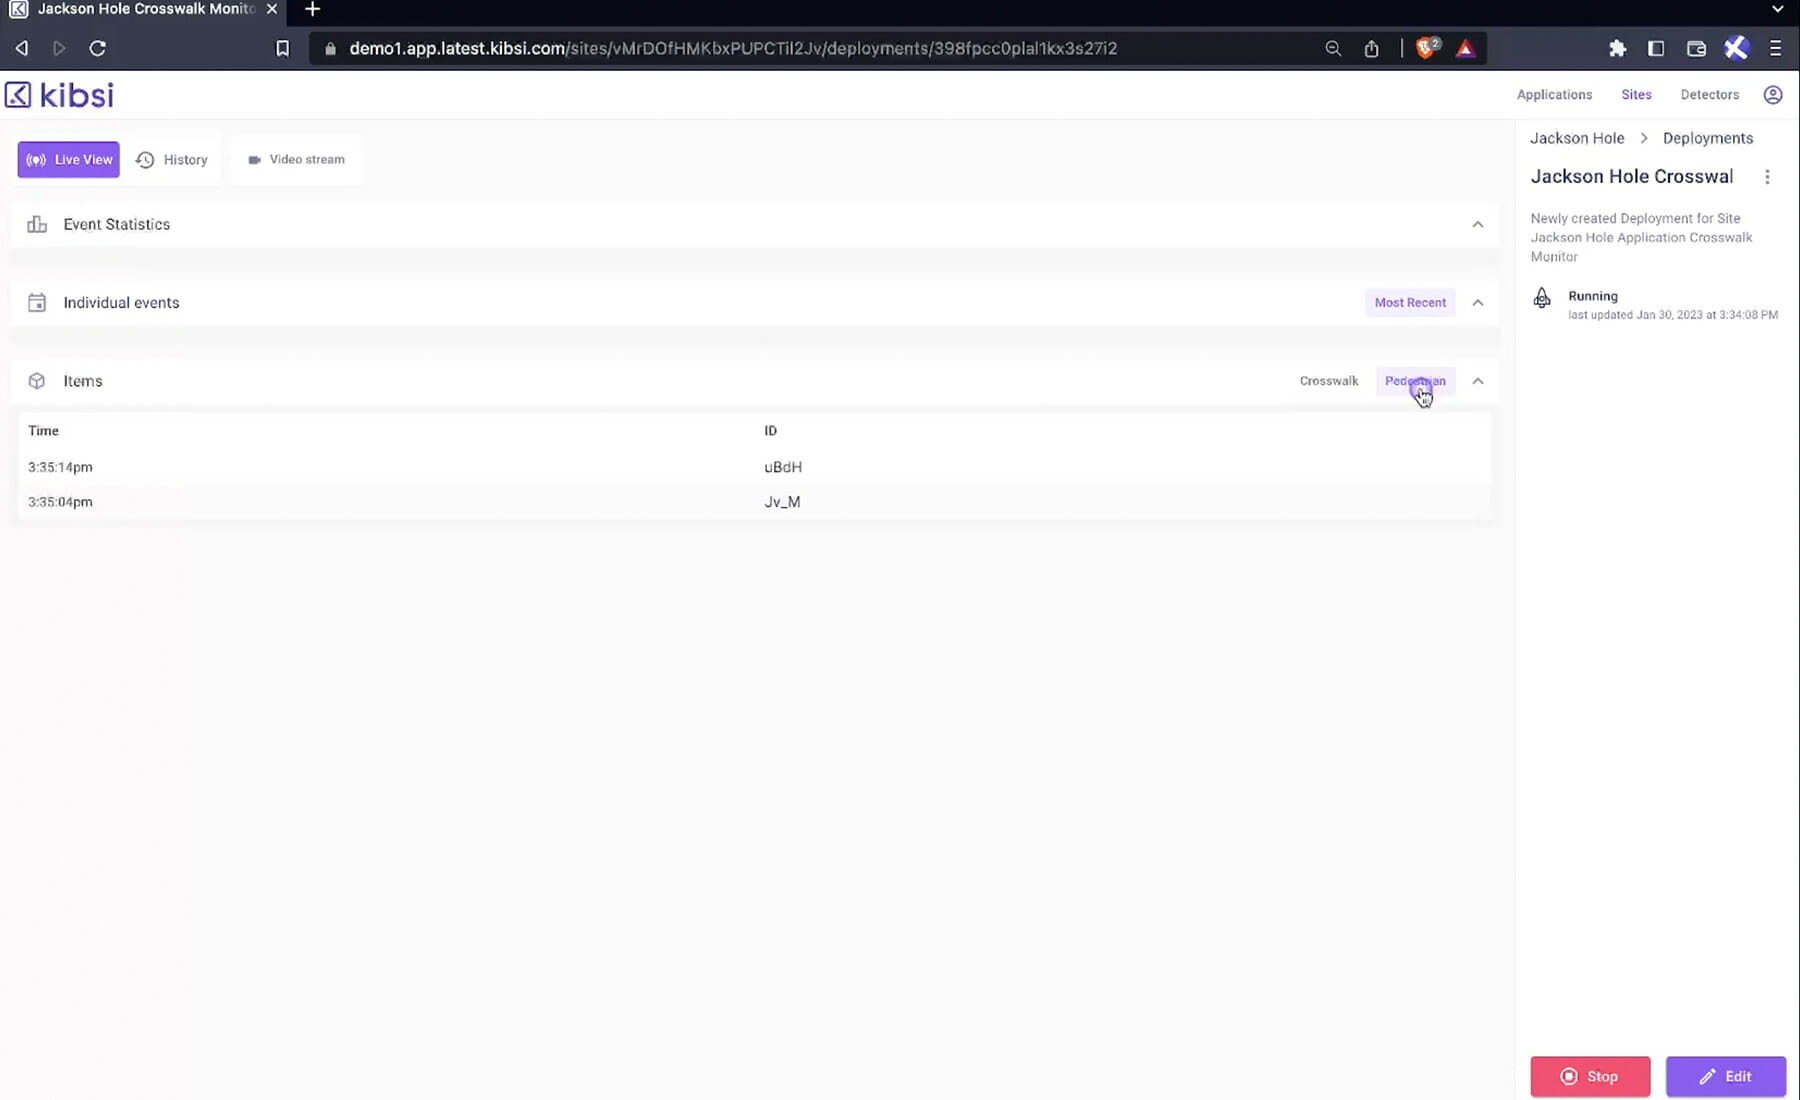
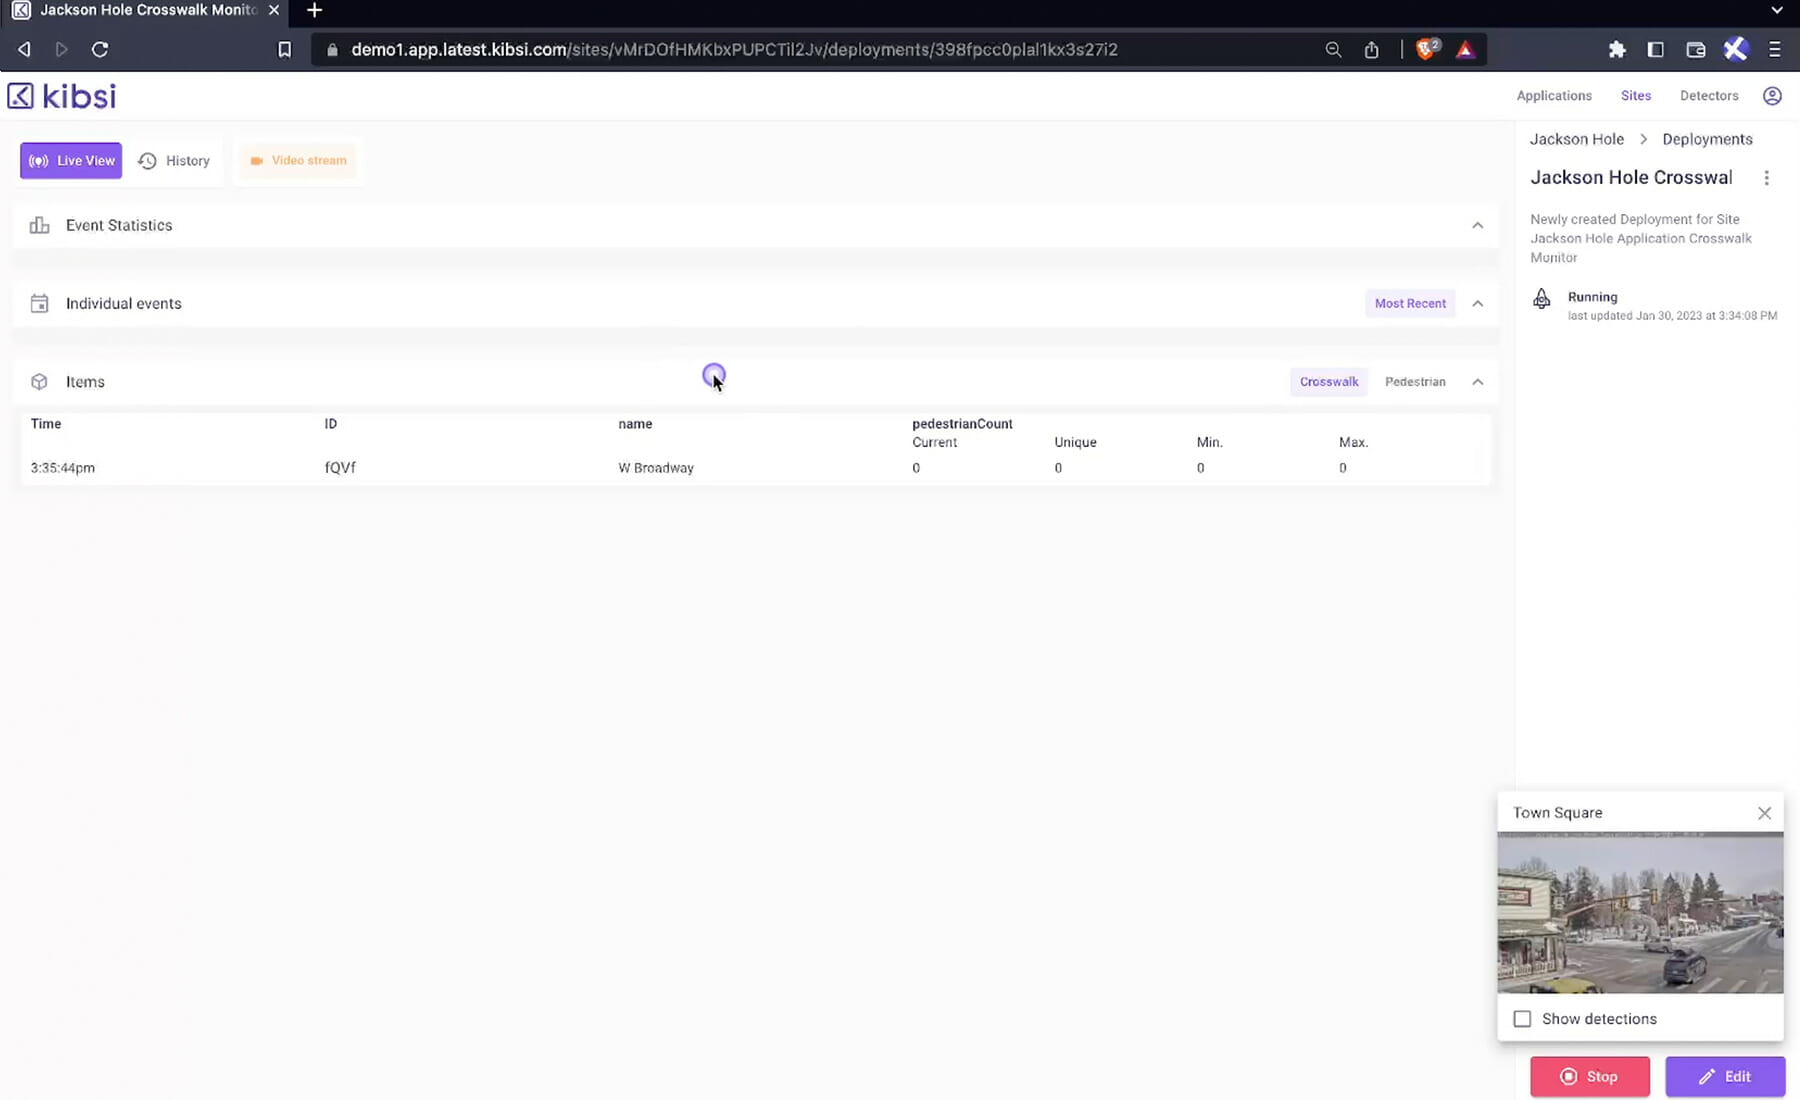
Behind the scenes, Kibsi is deploying the infrastructure needed to host your computer vision application and stream your data. This process could take up to 2 minutes. You’ll know your application is running when you start to see “crosswalk” and “pedestrian” data flowing into the “live data” view.
Spend a moment toggling back and forth between the “crosswalk” and “pedestrian” views to get a feel for how the data comes in. You’ll notice that the “pedestrian” view shows us every pedestrian detected in our stream and that the “crosswalk” view shows us the current count of pedestrians in the crosswalk as well as unique, min, and max values, all updated in real time!
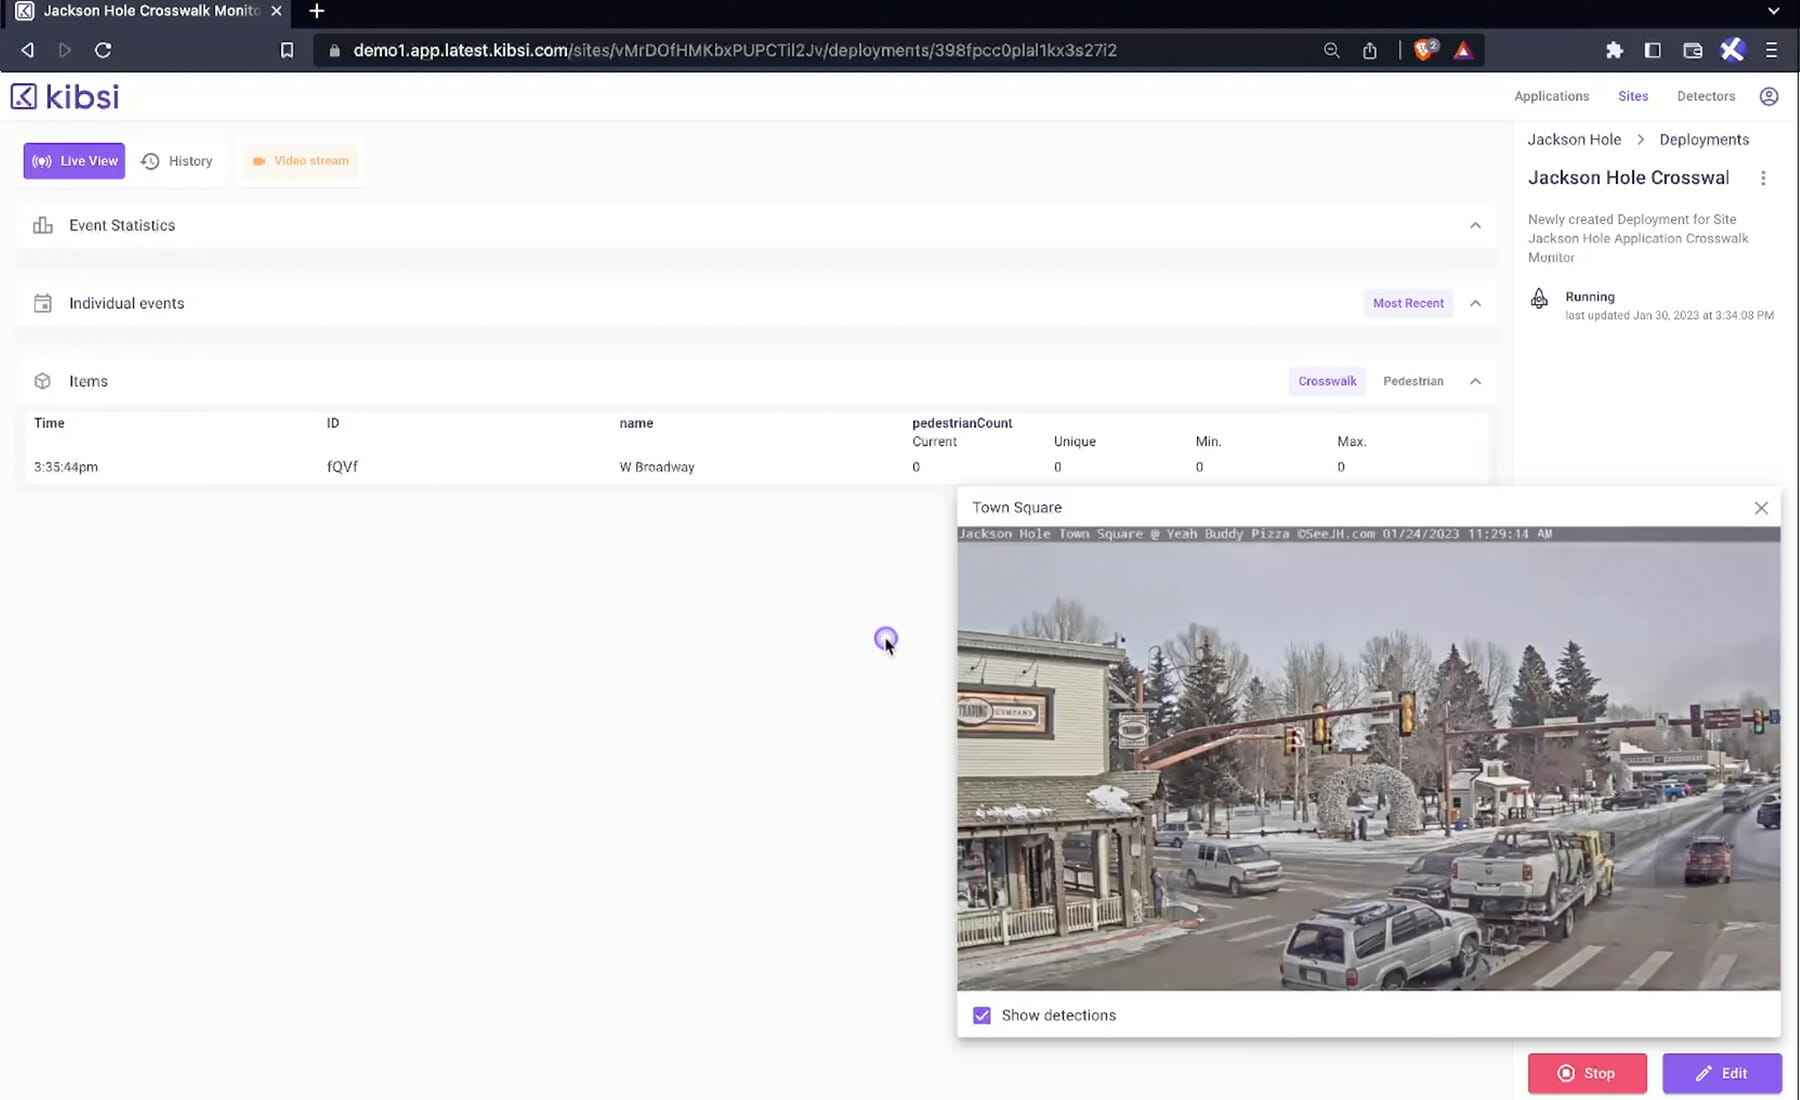
Click the “video stream” button.
Click on the “show detections” checkbox.
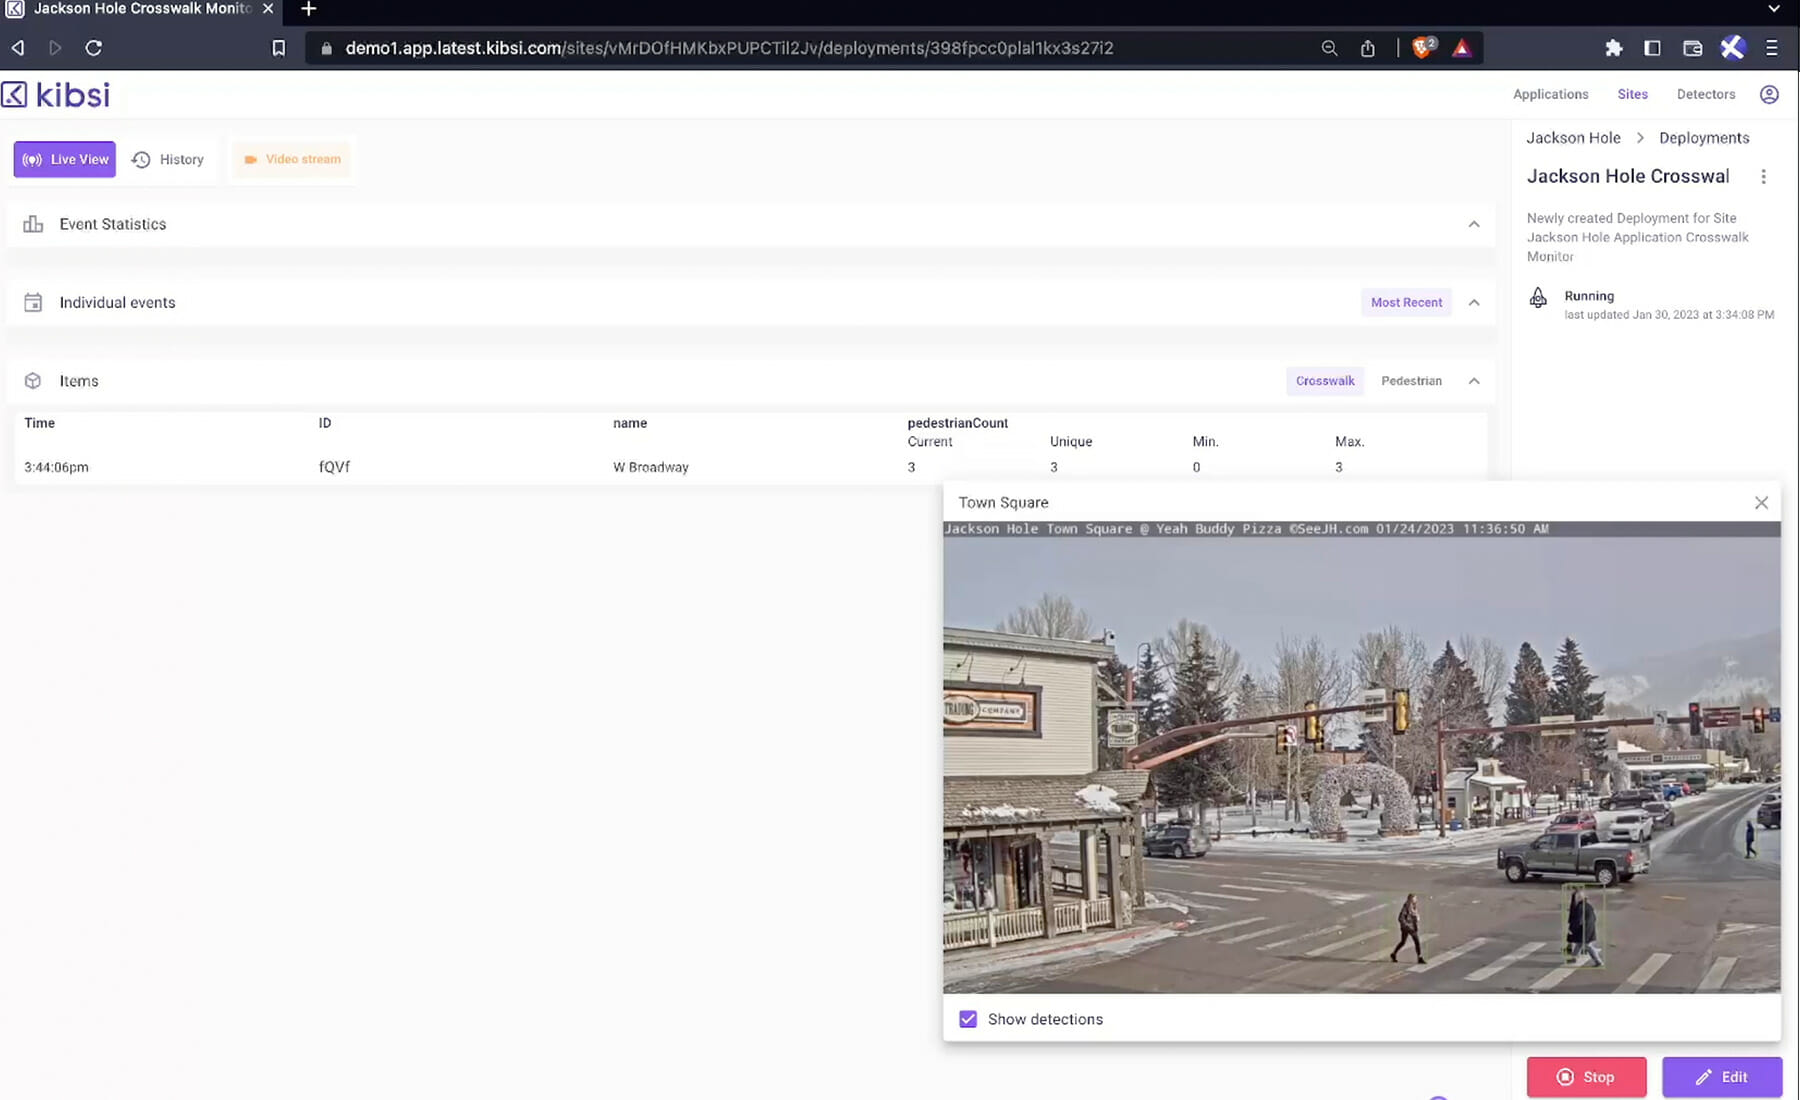
In just a few moments, you’ll have your first pedestrian crossing the crosswalk. Notice how the current value changes to 1 as soon as our pedestrian steps into the crosswalk, and notice that the unique min and max values change too. Remember, the unique min and max values are for the last 60 seconds time period, so you’ll see those values change as the unique min and max pedestrians seen in the last 60 seconds change over time. Also, notice that pedestrians in the other crosswalk don’t show up in our pedestrian count because we didn’t configure a second static region for this crosswalk. We’ll come back to that later.
Here are a few highlights from the data that you will see in your video stream:
- A single pedestrian crossing our crosswalk, you can see the pedestrian being reported as expected in the data stream
- Three different pedestrians, this time crossing from different sides of the street, notice how unique and max also increase to three since those are the counts for those values seen in the last 60 seconds
- A pair of pedestrians crossing together, with the expected values being shown in the data stream
- Seven pedestrians crossing from different directions
- A moment later, those seven are followed by three more pedestrians
- Those seven pedestrians, plus the two previous pedestrians, gets our unique count up to twelve for the 60-second time period
- Finally, we have our last four pedestrians crossing and the “Live View” data showing what we expect to see
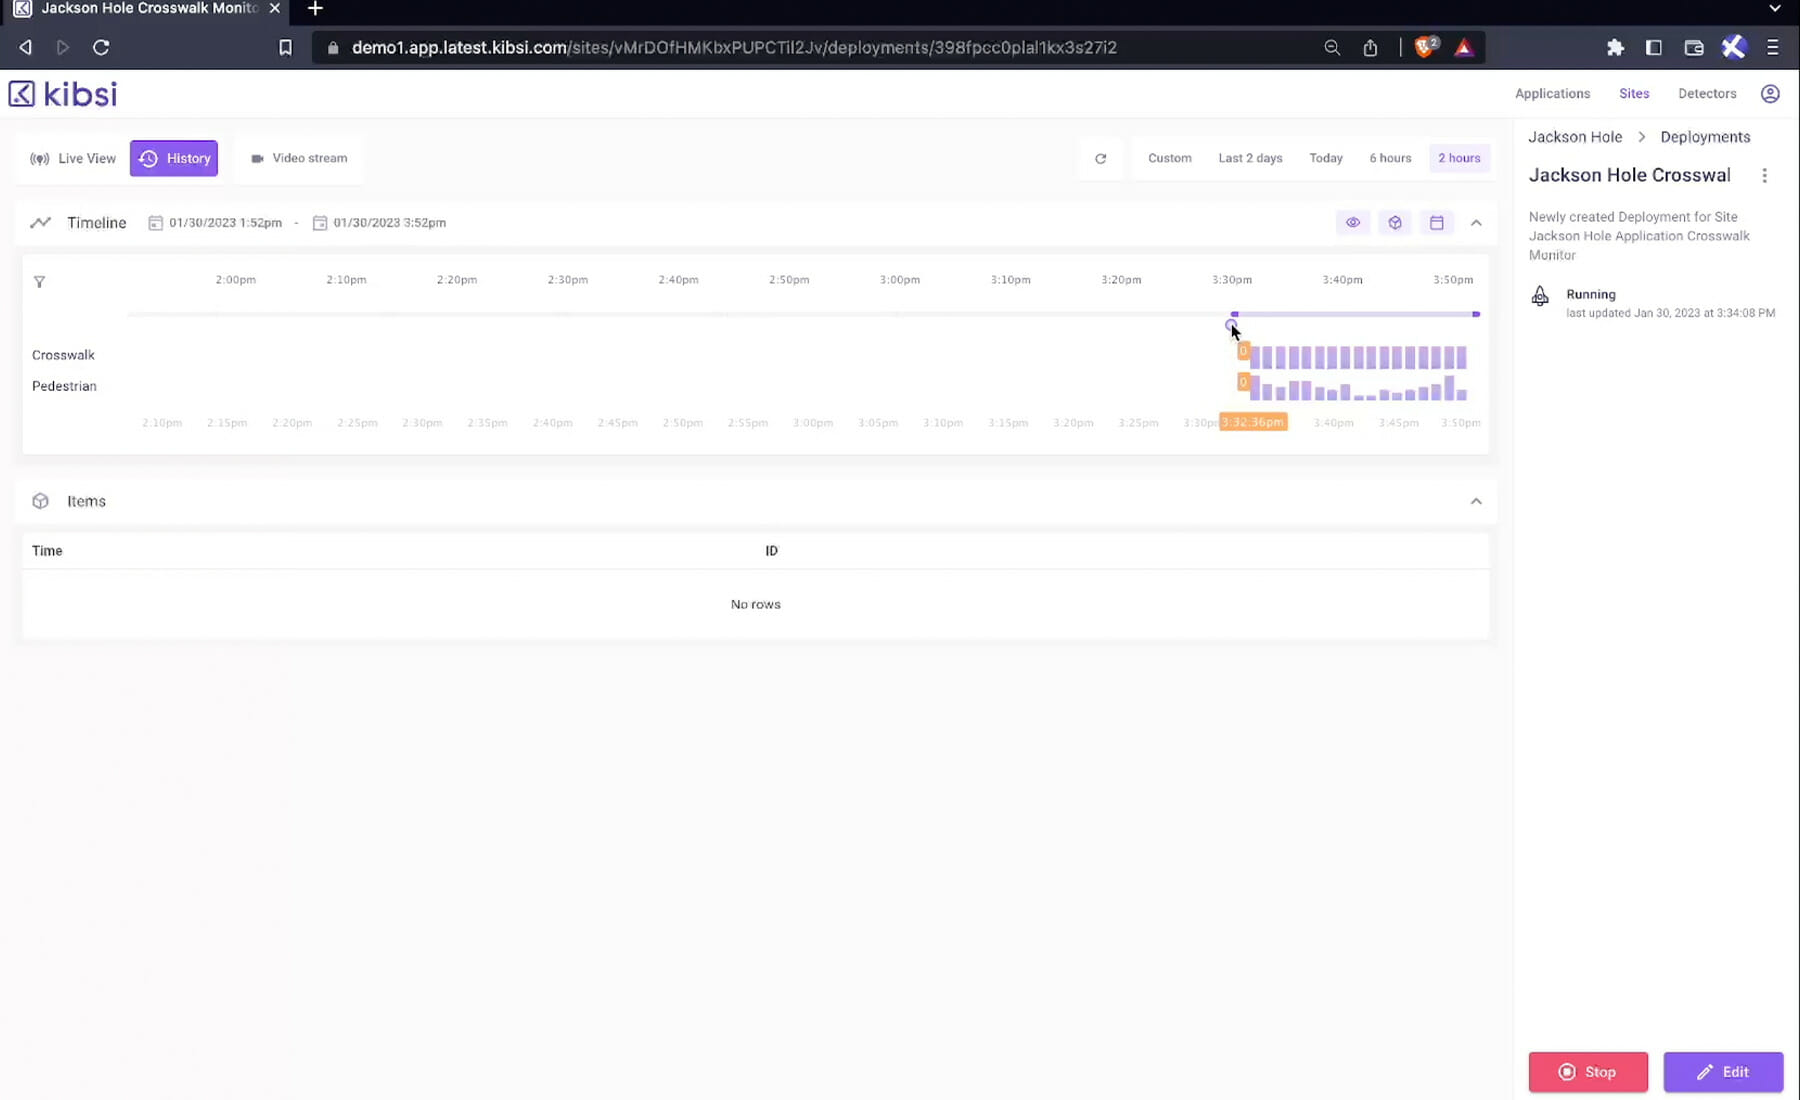
Now, let’s jump over to the “History View.”
Click the “refresh button” and adjust the time scale to focus on the data that displays in the history.
Here, you can spend some time exploring the different slices of data that were collected. Note the different values for current, unique, min, and max for the number of pedestrians using the crosswalk at each time slice.
Congratulations
And that’s it! Congratulations on building a Kibsi application that takes a video stream of a crosswalk and transforms that video into structured data.
Now that you know your way around the Kibsi platform, here are some things you can try on your own:
- First, make a new camera stream for the site you created, but for this new stream, use the actual live video feed that’s available for this camera here
- Then, create a new deployment that uses the new live video feed, and while you’re configuring the deployment, remember that second crosswalk that we said we’d come back to later. Go ahead and add another “crosswalk item” to your deployment for that second crosswalk
Launch your deployment and watch the real-time, live video stream be converted into structured data for both crosswalks.
Be sure to check out the other videos in our Getting Started series. Thanks for watching!


